Lovely Scarf with Fringes: Free Easy Crochet Pattern
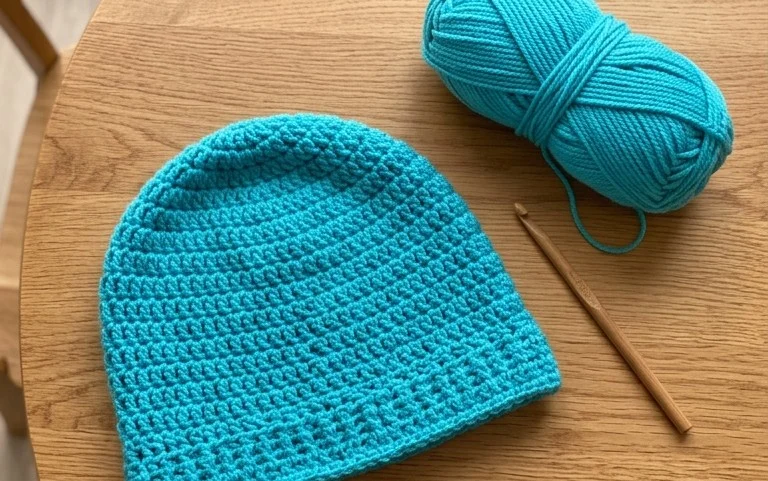
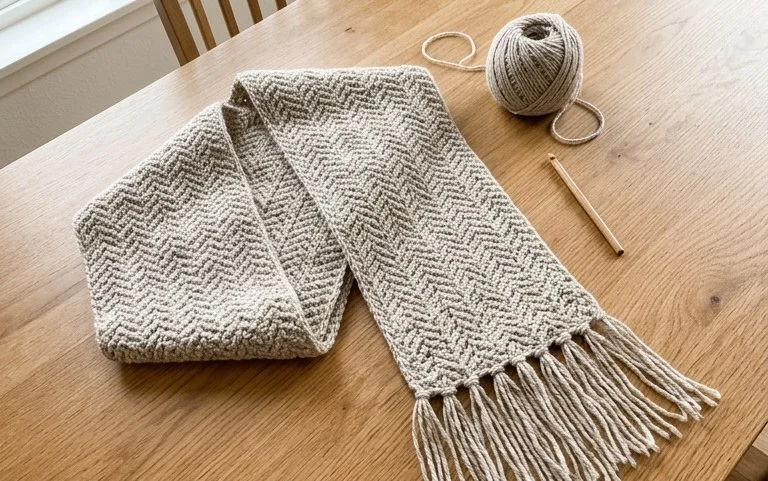
A scarf wrapped in soft yarn with long, swinging fringes provides a gentle weight around your neck during chilly morning walks. These projects suit beginners who want to practice turning rows without losing count of their stitches. Making one involves simple basic knots to secure the trim, adding a playful movement to your finished winter accessory. You will master the rhythm of the double crochet while building a textile that drapes nicely over any jacket. This process turns a single skein of wool into a thoughtful gift that feels personal and provides warmth throughout the entire season.
Why You’ll Love This Pattern
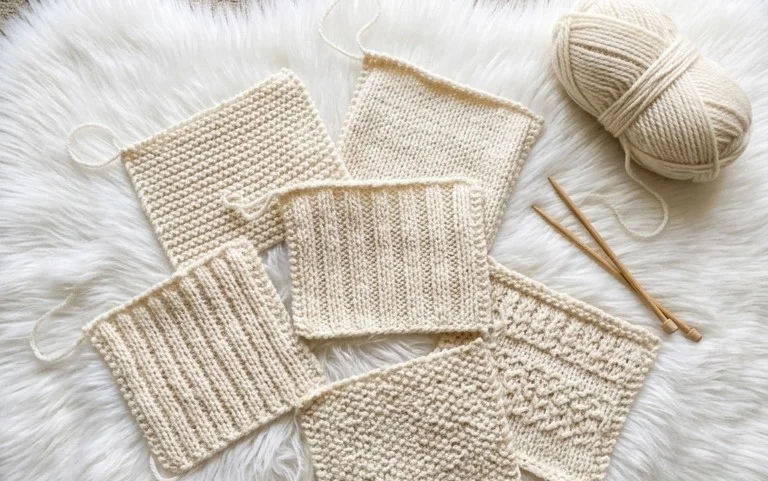
The Classic Crochet Granny Square is the fundamental building block for countless textile projects. You work this square in joined rounds, creating a distinct, open-work texture that remains lightweight yet sturdy. Because it uses basic double crochet clusters, the rhythm of the work becomes meditative and quick to memorize. It is an ideal way to use up small balls of leftover yarn, as each square consumes only a few yards of material. You can join these squares to create blankets, bags, or even garments with minimal effort.
I started these squares as a way to use up my scrap yarn and ended up making a full lap blanket in just two weeks. The rhythm of the pattern is so consistent that I could crochet while watching movies without losing my place.
— Sarah, hobbyist crocheter
Pattern Overview & Skill Level
- Skill Level: Beginner
- Approximate Time: 30 to 45 minutes per square
- Construction: Worked in joined rounds, starting from a center ring and expanding outward
- Finished Dimensions & Sizing: Approximately 5 inches by 5 inches when using standard worsted weight yarn
Materials & Supplies Needed
- Yarn: Worsted #4 weight, acrylic or wool blend, approximately 15-20 yards per square.
- Hook Size: 5.0 mm (US H-8).
- Notions: Tapestry needle for weaving in ends, scissors, and a measuring tape.
- Safe yarn substitutions: You may use DK weight yarn with a 4.0 mm hook for a smaller, tighter square, or bulky weight yarn with a 6.0 mm hook for a faster, larger square. Note that changing weight will alter the final dimensions and total yardage requirements.
Stitch Guide & Abbreviations (US Terms)
- ch = chain
- st = stitch
- sl st = slip stitch
- dc = double crochet
- dc cluster = 3 double crochet stitches worked into the same space
- sp = space
- MR = magic ring (or alternative ch 4 and join with sl st to form a loop)
Step-by-Step Pattern Instructions
Center and Foundation
- Rnd 1: Start with a MR. Ch 3 (counts as first dc), work 2 dc into the ring. Ch 2, *3 dc into the ring, ch 2; repeat from * twice more. Join with a sl st to the top of the beginning ch-3. (12 dc, 4 ch-2 spaces)
Expanding the Square
- Rnd 2: Sl st into the next dc and into the first ch-2 corner sp. Ch 3, 2 dc, ch 2, 3 dc into the same corner sp. *Ch 1, skip 3 dc, (3 dc, ch 2, 3 dc) into the next ch-2 corner sp. Repeat from * around, ending with a ch-1 and a sl st to the top of the beginning ch-3. (24 dc, 4 ch-2 spaces, 4 ch-1 spaces)
- Rnd 3: Sl st into the next 2 dc and into the corner sp. Ch 3, 2 dc, ch 2, 3 dc in same corner sp. *Ch 1, 3 dc in next ch-1 sp, ch 1, (3 dc, ch 2, 3 dc) in next corner sp. Repeat from * around, ending with ch 1, 3 dc in the final ch-1 sp, ch 1, sl st to top of beg ch-3. (36 dc, 4 ch-2 spaces, 8 ch-1 spaces)
- Rnd 4: Continue pattern by placing (3 dc, ch 2, 3 dc) in every corner and 3 dc in every side ch-1 space. Join with a sl st to finish. (48 dc, 4 ch-2 spaces, 12 ch-1 spaces)
Finishing
Fasten off your yarn, leaving a 6-inch tail. Use your tapestry needle to weave the tail through the back of the double crochet stitches to secure it firmly. Trim any excess yarn close to the fabric.
Care & Washing Instructions
- Machine wash on a gentle cycle in cool water (30°C/86°F) using a mild detergent.
- Lay the square flat on a clean towel to air dry, reshaping it with your hands while damp.
- Avoid wringing or twisting the fabric, as this can distort the square shape.
Pro Tips & Common Mistakes to Avoid
- Maintain consistent tension: If your squares are curling, your tension on the chain stitches might be too tight. Try using a slightly larger hook if the square does not lay flat when placed on a table.
- Use a stitch marker: Place a stitch marker in the first stitch of each round to easily identify where to join, as the corners can sometimes look crowded.
- Weaving ends: Weave your ends in multiple directions rather than just one straight line. This prevents the ends from poking out or unraveling after multiple washes.
- Adjusting size: You can continue adding rounds beyond Rnd 4 for as long as you like. Remember that every additional round requires more yarn, so ensure you have enough yardage if you are working from a limited supply.
Frequently Asked Questions
Can I use a different yarn weight for this pattern?
Yes, you can use any weight of yarn. Use a hook size recommended on the yarn label. Keep in mind that lighter weight yarns will result in smaller squares, while thicker yarns will result in larger, chunkier squares.
Is this pattern suitable for a total beginner?
This is an excellent project for beginners. It focuses on the double crochet stitch and introduces the concept of working into spaces rather than individual stitches, which makes the process much faster and more forgiving.
Can I sell items made from this pattern?
You are welcome to sell finished items created from this pattern. We appreciate it if you credit the pattern design when listing your handmade goods online or at markets.
Why is my square not perfectly flat?
A square that ripples often has too many stitches, while a square that pulls inward has too few. Ensure you are working exactly 3 double crochets into each side space and the corner chain spaces as described in the instructions.
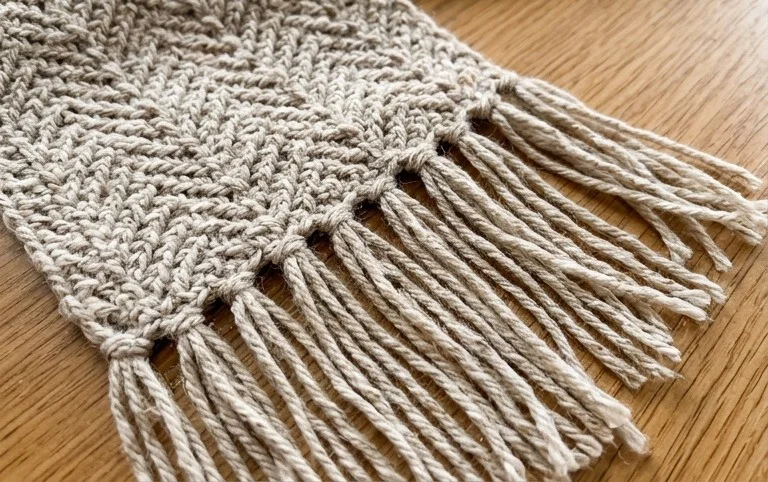
Your new scarf will keep you cozy through many cold afternoons. You can adjust the length by adding more foundation chains at the start or swap the wool for a cotton blend to wear the accessory during transitional spring weather. Posting a photo of your work on social media helps other makers see how different color combinations look in practice. Browse the rest of the blog for additional free designs that allow you to practice your skills and create more handmade items for your wardrobe.