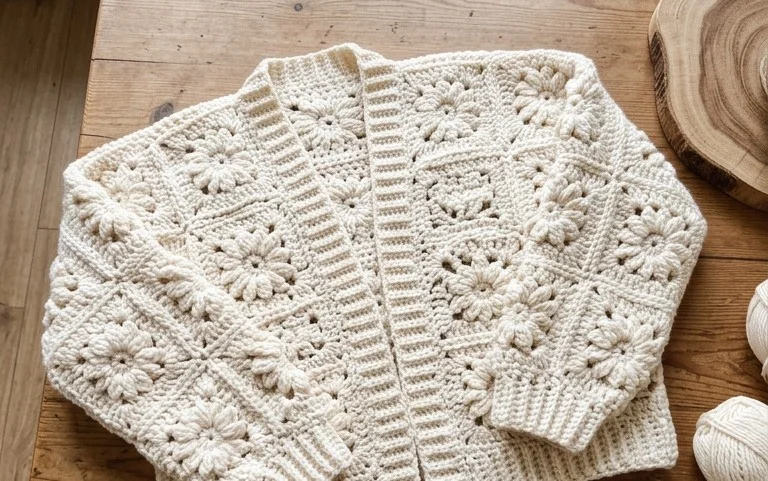
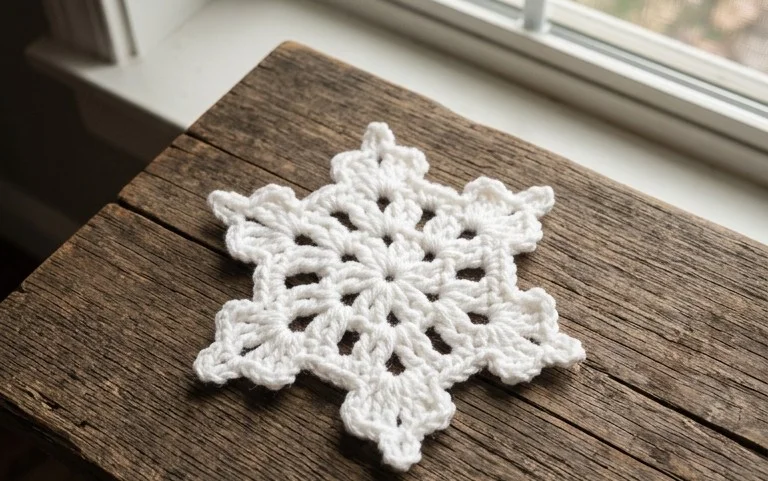
Easy Crunch Stitch Dishcloth Free Crochet Pattern
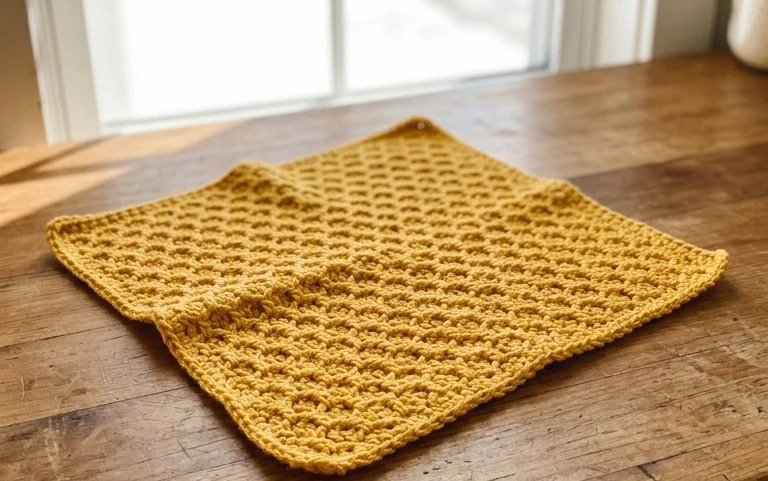
A scrubby, textured surface defines these handmade dishcloths, making them an effective tool for tackling stuck-on food or dirty countertops. You will find that the crunch stitch creates a dense, bumpy fabric that stays flexible enough to fold into corners but holds its shape during heavy use. This project suits anyone wanting to learn a new texture while clearing out leftover cotton yarn from their stash. Making these items serves as a meditative break from a busy schedule, and they offer a practical addition to your kitchen or a thoughtful handmade present for friends and family.
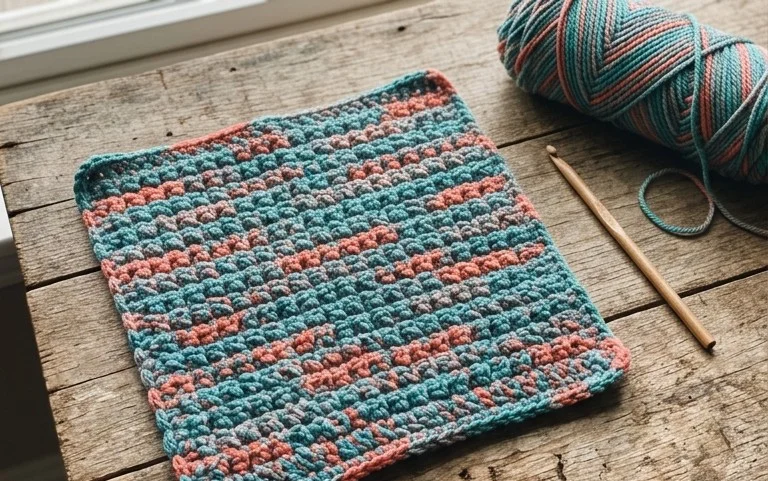
Why This Project Is Worth Making
This beginner-friendly project creates a structured, durable crochet basket using the classic thermal stitch. The resulting fabric is nearly twice as thick as standard single crochet, providing a rigid base that holds its shape without the need for plastic inserts or stiffeners. It is a scrap-yarn friendly pattern that works up in an afternoon, making it an ideal choice for last-minute housewarming gifts or bathroom organization. Because the thermal stitch is worked through the back loop and the stitch from the row below, the finished basket features a dense, clean aesthetic that hides yarn tails well and stands up to frequent daily use.
I finally found a pattern that actually stands upright on its own. The thermal stitch was a bit tricky for the first few rows, but once I got the rhythm, it was very meditative and the basket is solid.
— Sarah, home organizer
Pattern Overview & Skill Level
- Skill Level: Advanced Beginner
- Approximate Time: 3 to 4 hours
- Construction: Worked in continuous rounds from a flat circular base upward into a vertical tube
- Finished Dimensions: 6 inches in diameter and 5 inches in height
Materials & Supplies Needed
- Yarn: Worsted weight (#4), 100% cotton yarn, approximately 180 yards. Cotton provides the necessary rigidity for basket walls compared to acrylic or wool.
- Hook Size: 4.5 mm / US 7. This smaller hook size creates a tight gauge, which is essential for the structure of the basket.
- Notions: Tapestry needle for weaving ends, stitch marker to track the beginning of rounds, and scissors.
- Yarn Substitutions: You may use a bulky weight (#5) acrylic yarn for a larger basket, though it will be less stiff. If you use wool, be aware that it will not hold its shape as well as cotton when carrying heavy items.
Stitch Guide & Abbreviations (US Terms)
- ch: Chain
- sc: Single crochet
- sl st: Slip stitch
- inc: Increase (2 sc in the same stitch)
- MR: Magic Ring
- BLO: Back loop only
- Thermal St: Insert hook into the back loop of the current stitch and the unworked loop from the row below, then complete a single crochet.
Basket Base
- Rnd 1: Work 6 sc into a MR. (6 sts)
- Rnd 2: Work 2 sc in each st around. (12 sts)
- Rnd 3: 1 sc, inc repeat 6 times. (18 sts)
- Rnd 4: 2 sc, inc repeat 6 times. (24 sts)
- Rnd 5: 3 sc, inc repeat 6 times. (30 sts)
- Rnd 6: 4 sc, inc repeat 6 times. (36 sts)
- Rnd 7: 5 sc, inc repeat 6 times. (42 sts)
Basket Sides
- Rnd 8: Sc in BLO of every stitch around. (42 sts)
- Rnd 9: Working in the remaining front loops from Rnd 8 and the standard loop above, begin the Thermal St. Sc in each st around. (42 sts)
- Rnd 10-20: Continue using the Thermal St in each round. Ensure you always catch the unworked loop from the round directly below. (42 sts)
- Rnd 21: Finish with one round of standard sl st to create a clean, non-stretching top edge. Fasten off and weave in ends.
Care & Washing Instructions
- Hand wash in cool water with mild detergent to prevent the cotton fibers from losing their stiffness.
- Lay the basket flat on a clean towel to air dry, reshaping it into a perfect circle while damp.
- Avoid machine drying or high-heat pressing, as this can cause the cotton to shrink and lose its structural integrity.
Pro Tips & Common Mistakes to Avoid
- Maintain consistent tension throughout the thermal stitch rounds. If your tension loosens, the basket walls will appear wavy or saggy rather than straight.
- Always place a stitch marker at the start of your round. Because the thermal stitch creates a dense, uniform fabric, it is easy to lose track of where one round ends and the next begins.
- Weave your ends vertically into the base of the basket rather than horizontally. This locks the yarn into the dense fabric and prevents tails from popping out during use.
- To adjust the size, add more increase rounds to the base. Note that every increase round adds 6 stitches, so you must ensure the base diameter is exactly the width you desire before transitioning to the vertical sides.
Frequently Asked Questions
Can I use a larger hook for this pattern?
Using a larger hook will make the basket fabric loose and floppy. Stick to the 4.5 mm hook or smaller to ensure the basket remains stiff enough to hold its shape.
Is this pattern suitable for a total beginner?
While the thermal stitch is not complex, it requires careful attention to the stitches below. If you are comfortable with basic increases and reading a pattern, you will find this project manageable.
How do I make the basket taller?
Simply repeat the Thermal St rounds until you reach your desired height. Remember that increasing the height will require more yardage, so ensure you have an extra skein of yarn on hand.
Can I sell the baskets I make from this pattern?
You are welcome to sell finished items made from this pattern, provided you credit the design. Please do not redistribute the pattern itself or use these exact photos for your listings.
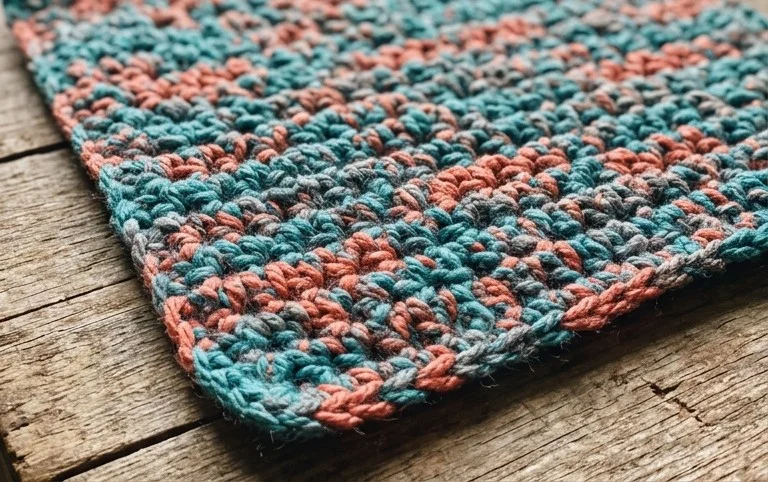
Your finished dishcloth has a unique, rugged texture that handles daily washing tasks better than standard store-bought sponges. Consider working this pattern in a variegated cotton yarn to create a playful striping effect, or adjust the starting chain to turn the design into a larger hot pad. Posting a photo of your work on Instagram helps others see the texture of the stitch in different color combinations. Feel free to browse through the rest of the pattern archive on this blog for more functional cotton projects.