Easy Off the Grid Ear Warmer Free Crochet Pattern
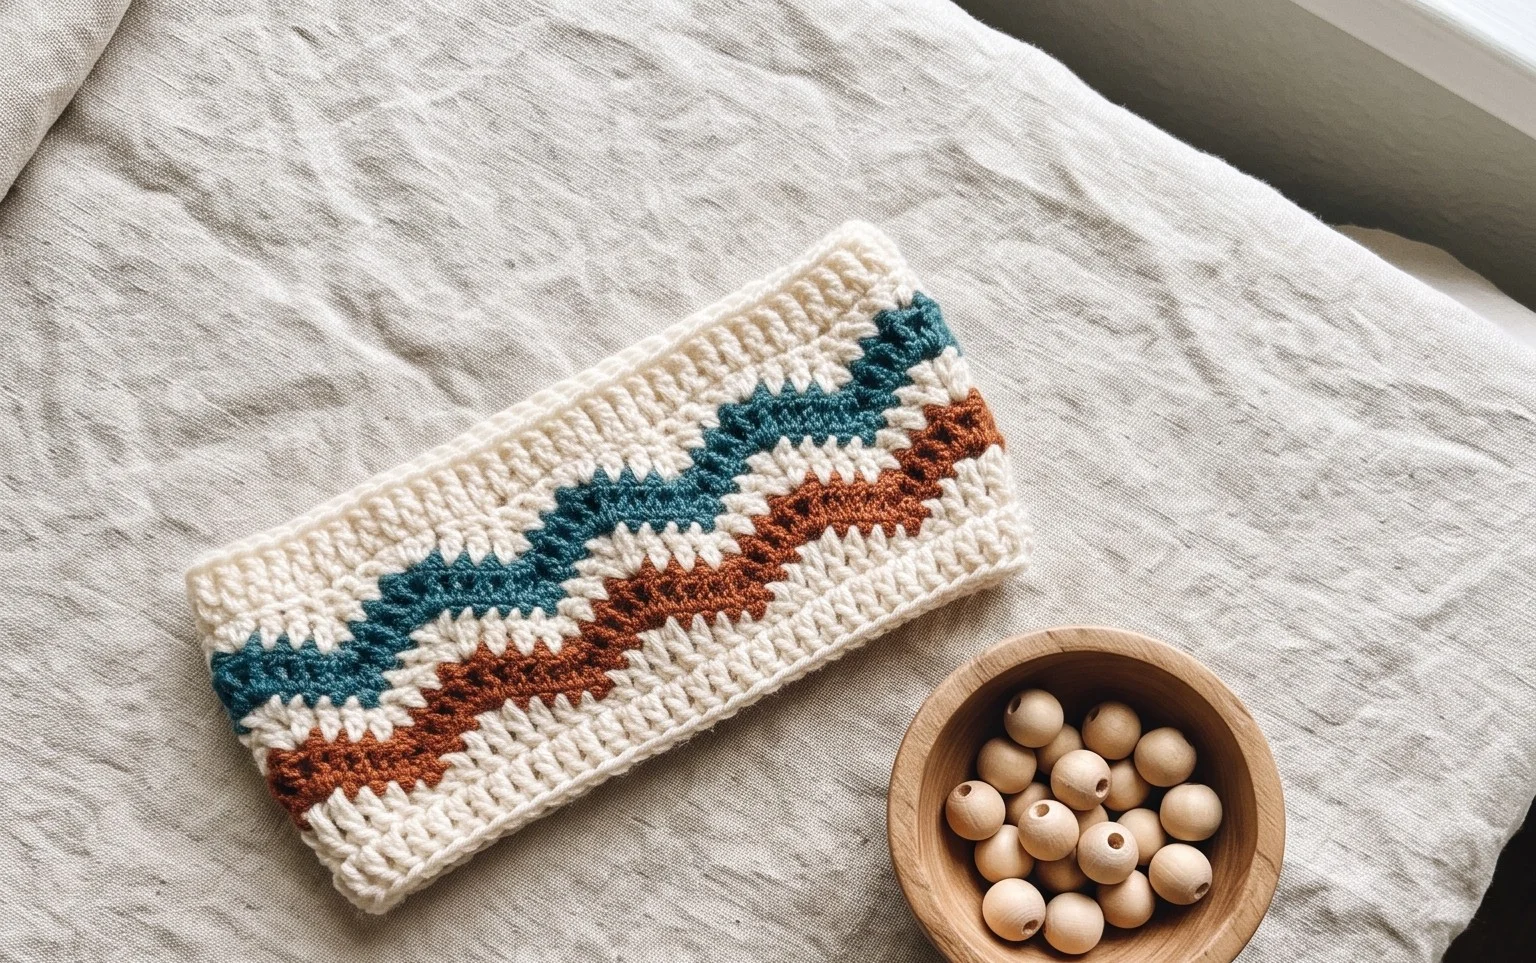
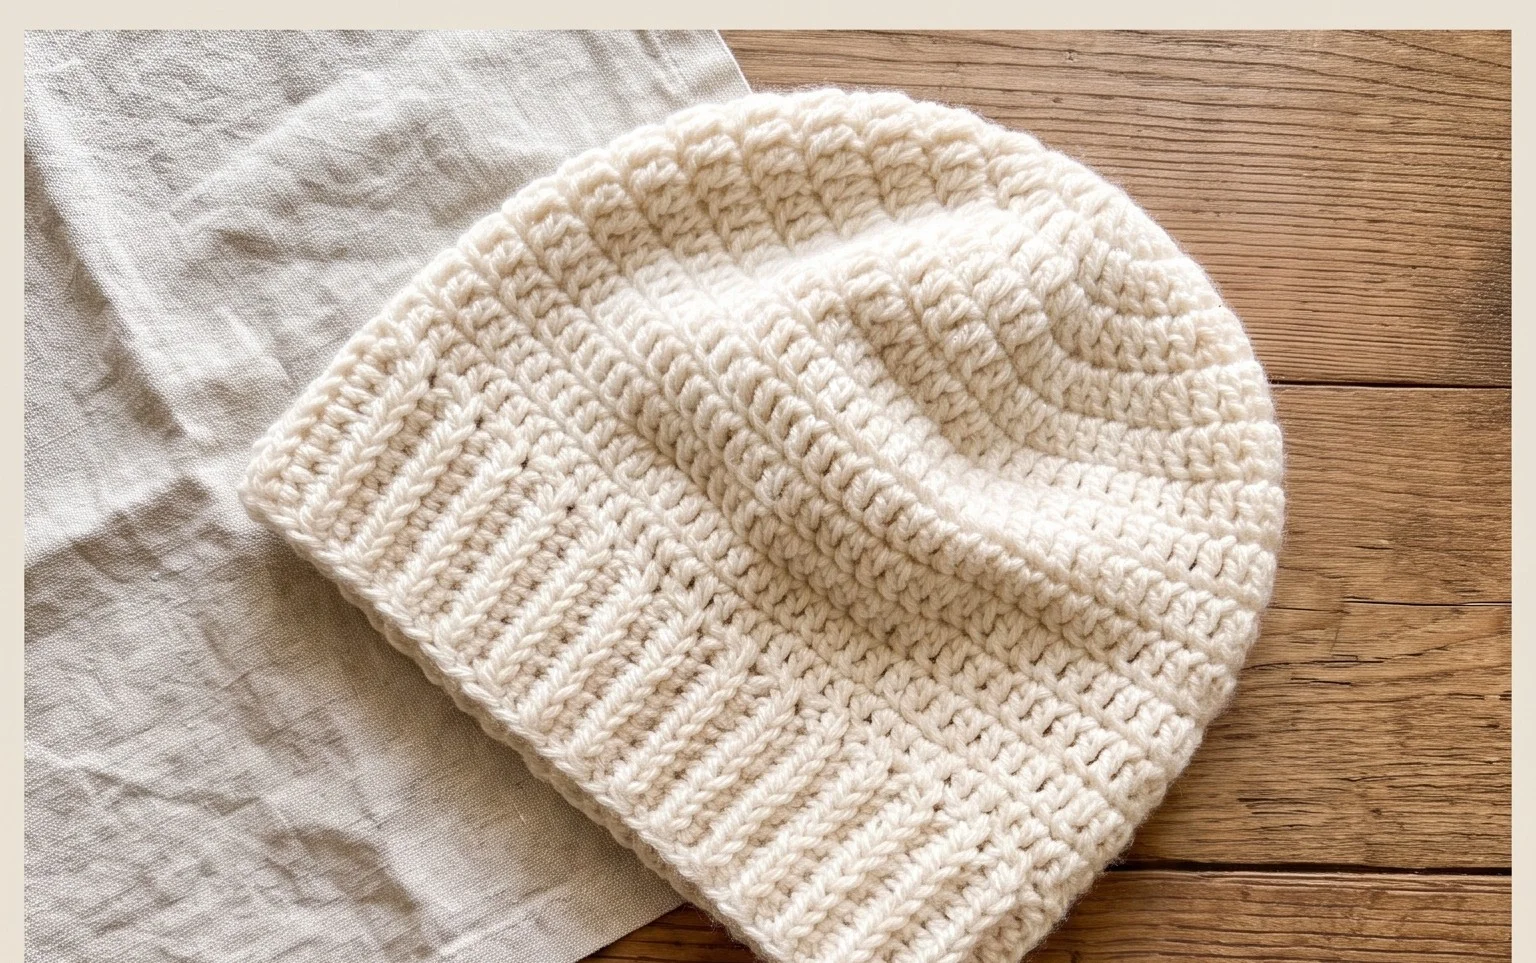
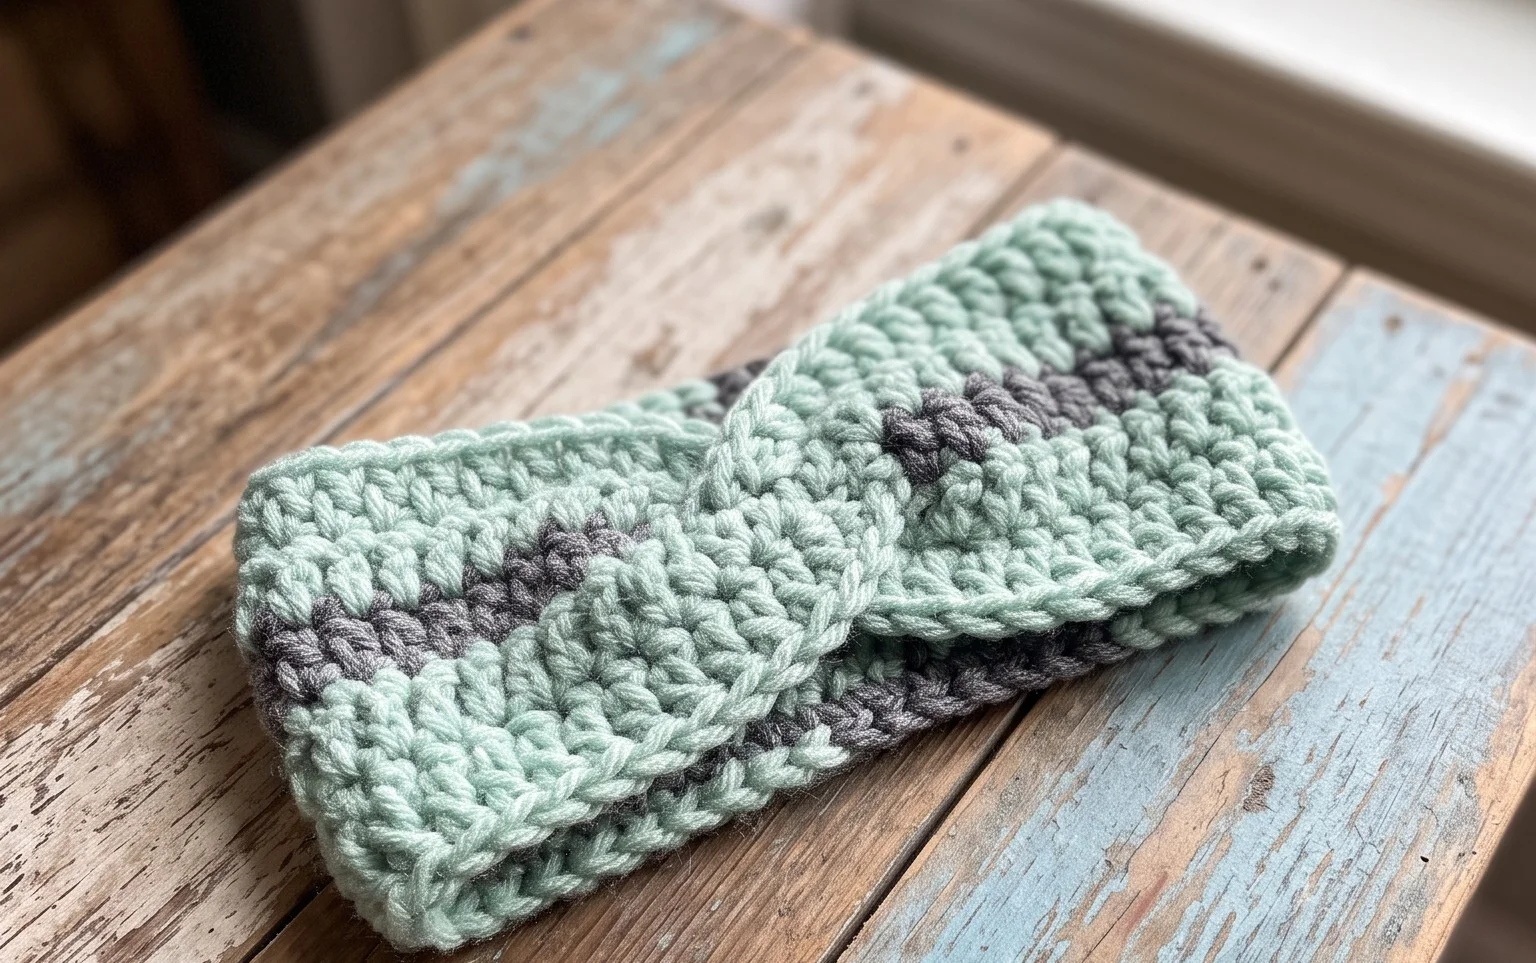
This wool accessory rests against the skin with a soft, dense texture that keeps wind away from your ears on cold mornings. It functions as a minimalist head wrap for people who dislike full hats but want extra warmth while walking or commuting. The construction relies on the moss stitch to create a tight, woven fabric that resembles knitwear despite being made with a standard hook. You will practice working back and forth in rows before joining the ends, which is a manageable technique for anyone comfortable with single crochet and chain stitches. This project takes about an hour, providing a quick sense of accomplishment after a busy week.
Why You’ll Love This Pattern
The Classic Crochet Granny Square is the fundamental building block of crochet design. This specific version uses a traditional cluster technique that balances structure and drape, making it perfect for blankets, tote bags, or decorative cushions. You will find that the rhythmic, three-double-crochet cluster pattern creates a meditative flow, allowing you to work through a project without constant reference to a chart. Because it is worked in rounds from the center outward, you can stop at any time to adjust the final size of your piece to fit a specific throw or pillow insert.
This project is ideal for using up leftover yarn scraps from your stash, as each round can be worked in a different color to create a vibrant mosaic effect. The construction is incredibly forgiving, and because you are only working with basic double crochet stitches and chain spaces, it is easy to undo and correct if you miscount a corner. Even if you are entirely new to crochet, the repeatable nature of the corners ensures that you gain confidence in tension control and stitch placement with every completed round.
I started this project as a way to use up my leftover worsted weight yarn, and I was surprised by how quickly the squares grew. The corners are very easy to keep track of, and it is now my go-to project for relaxing while watching movies.
— Sarah, beginner crocheter
Pattern Overview & Skill Level
- Skill Level: Beginner
- Approximate Time: 30 to 45 minutes per square
- Construction: Worked in rounds from the center outward, starting with a magic ring or a starting chain
- Finished Dimensions: Approximately 6 inches by 6 inches when using worsted weight yarn and a 5.0 mm hook
Materials & Supplies Needed
- Yarn: Worsted #4 weight, 100% acrylic or wool blend, approximately 25 yards per square.
- Hook Size: 5.0 mm / H-8
- Notions: Yarn needle for weaving ends, scissors, and optional stitch markers to identify the first stitch of the round.
- Safe yarn substitutions: You may use DK weight yarn for a smaller, more delicate square, though you will need to increase the number of rounds to reach 6 inches. Cotton yarn works well for dishcloths but will result in a firmer, less pliable fabric.
Stitch Guide & Abbreviations (US Terms)
- ch = chain
- dc = double crochet
- sl st = slip stitch
- sp = space
- MR = magic ring
- cluster = a group of 3 dc stitches worked into the same chain space
- corner = (3 dc, ch 2, 3 dc) worked into the same chain space
Step-by-Step Pattern Instructions
Square Base
- Rnd 1: Start with a MR. Ch 3 (counts as 1 dc), 2 dc into the ring, ch 2, 3 dc, ch 2 3 times. Join with a sl st to the top of the beginning ch 3. (12 dc, 4 ch-2 spaces)
- Rnd 2: Sl st into the next 2 sts and into the first ch-2 space. Ch 3, 2 dc in same sp, ch 2, 3 dc in same sp (first corner made). Ch 1, skip 3 dc, work corner (3 dc, ch 2, 3 dc) in next ch-2 space. Repeat from * to * two more times. Ch 1, sl st to the top of the beginning ch 3. (24 dc, 4 ch-1 spaces, 4 ch-2 spaces)
- Rnd 3: Sl st into the next 2 sts and into the first ch-2 corner space. Ch 3, 2 dc in same sp, ch 2, 3 dc in same sp. Ch 1, 3 dc in next ch-1 space, ch 1, work corner (3 dc, ch 2, 3 dc) in next ch-2 corner space. Repeat from * to * two more times, ending with ch 1, 3 dc in last ch-1 space, ch 1. Sl st to the top of the beginning ch 3. (36 dc, 8 ch-1 spaces, 4 ch-2 spaces)
- Rnd 4 and beyond: Repeat the pattern of Rnd 3, working 3 dc clusters into every ch-1 space along the sides and corners in every ch-2 space, until the square reaches your desired size.
Care & Washing Instructions
- Machine wash your finished item on a gentle cycle in cool water, ideally inside a mesh laundry bag.
- Lay the item flat on a towel to air dry, reshaping it with your hands while it is still damp.
- If you used a natural wool fiber, consider hand washing in cool water to prevent accidental felting or stretching.
Pro Tips & Common Mistakes to Avoid
- Maintain consistent tension by holding your yarn with a steady grip, ensuring your double crochet stitches are neither too loose nor too tight.
- Place a stitch marker in the first stitch of every round to easily identify where to join, as the starting chain can sometimes hide in the corner.
- Weave in your ends as you go if you are changing colors every round, as this prevents having dozens of ends to finish at the very end of your blanket.
- To adjust the size, simply add more rounds; however, note that each additional round will require more yardage as the perimeter of the square increases.
Frequently Asked Questions
Can I use a different yarn weight for this pattern?
Yes, you can use any weight of yarn. If you choose a finer yarn, you will need to add more rounds to achieve the same 6-inch finished dimension.
How do I join these squares together?
The most common methods are the invisible mattress stitch for a seamless look or a single crochet join for a decorative, raised ridge between the squares.
Is this pattern suitable for complete beginners?
It is excellent for beginners because it uses basic stitches and the pattern repeat is easy to memorize after completing the first two rounds.
Can I sell items made from this pattern?
You are welcome to sell finished items you have created using this pattern, provided you credit the design and use your own photographs to represent your work.
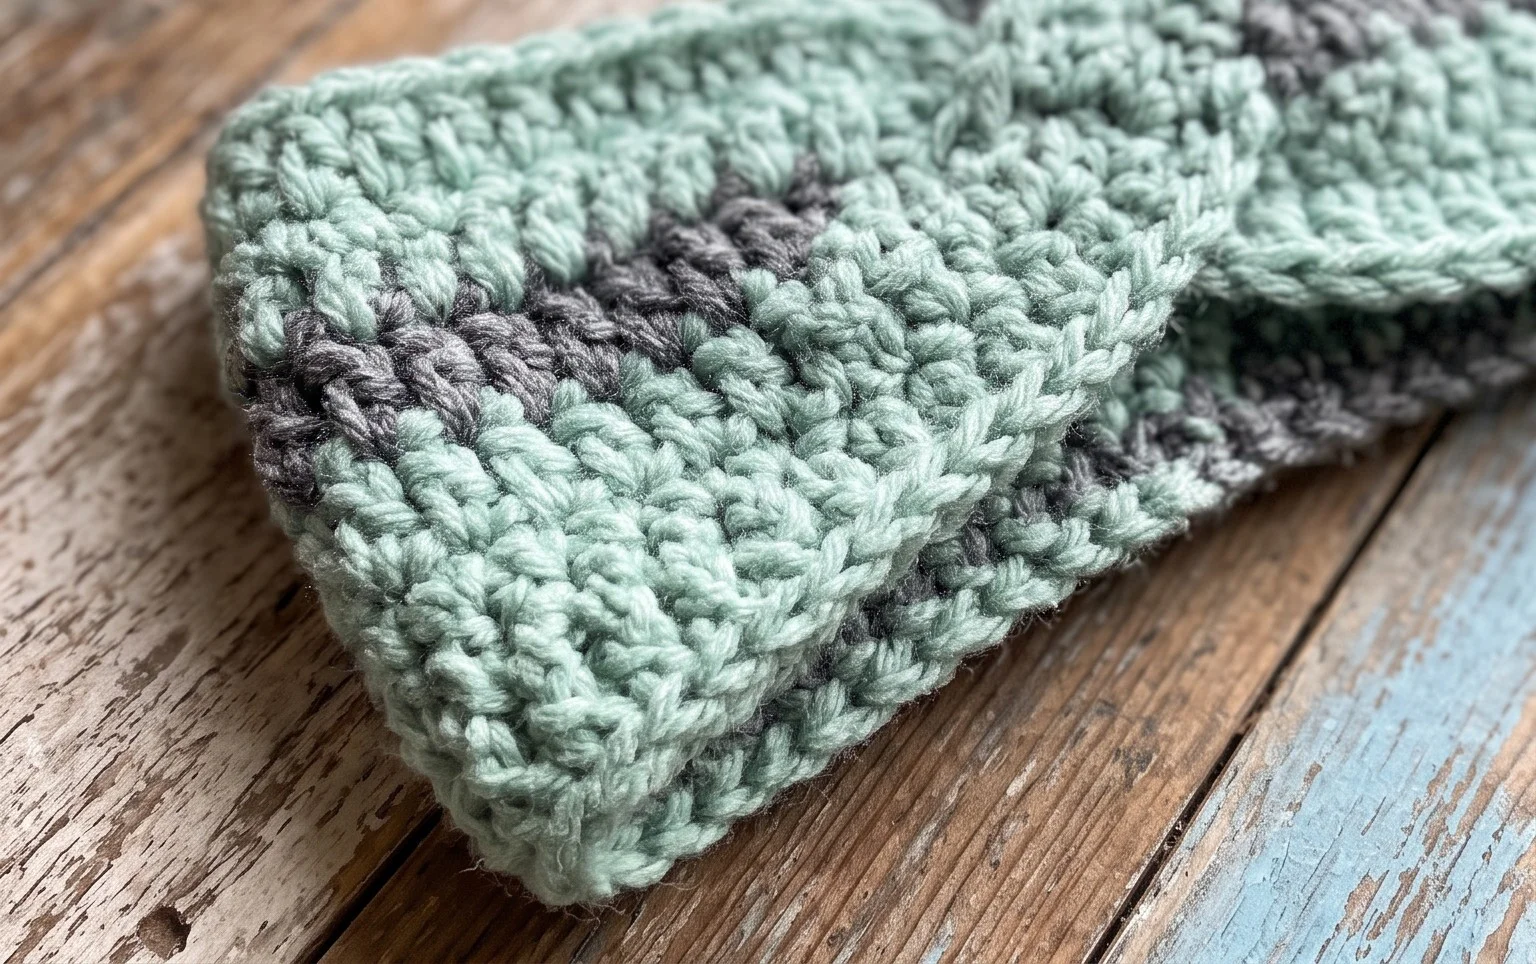
You now have a finished piece that keeps your ears warm and your style understated during chilly weather. Try using a thick, variegated wool yarn to change the look without needing to adjust the stitch count. Sharing a photo of your work on social media helps other makers see how different color choices turn out in the same pattern. Please check the rest of my site for more free guides to help you build your collection of handmade winter accessories for friends and family.