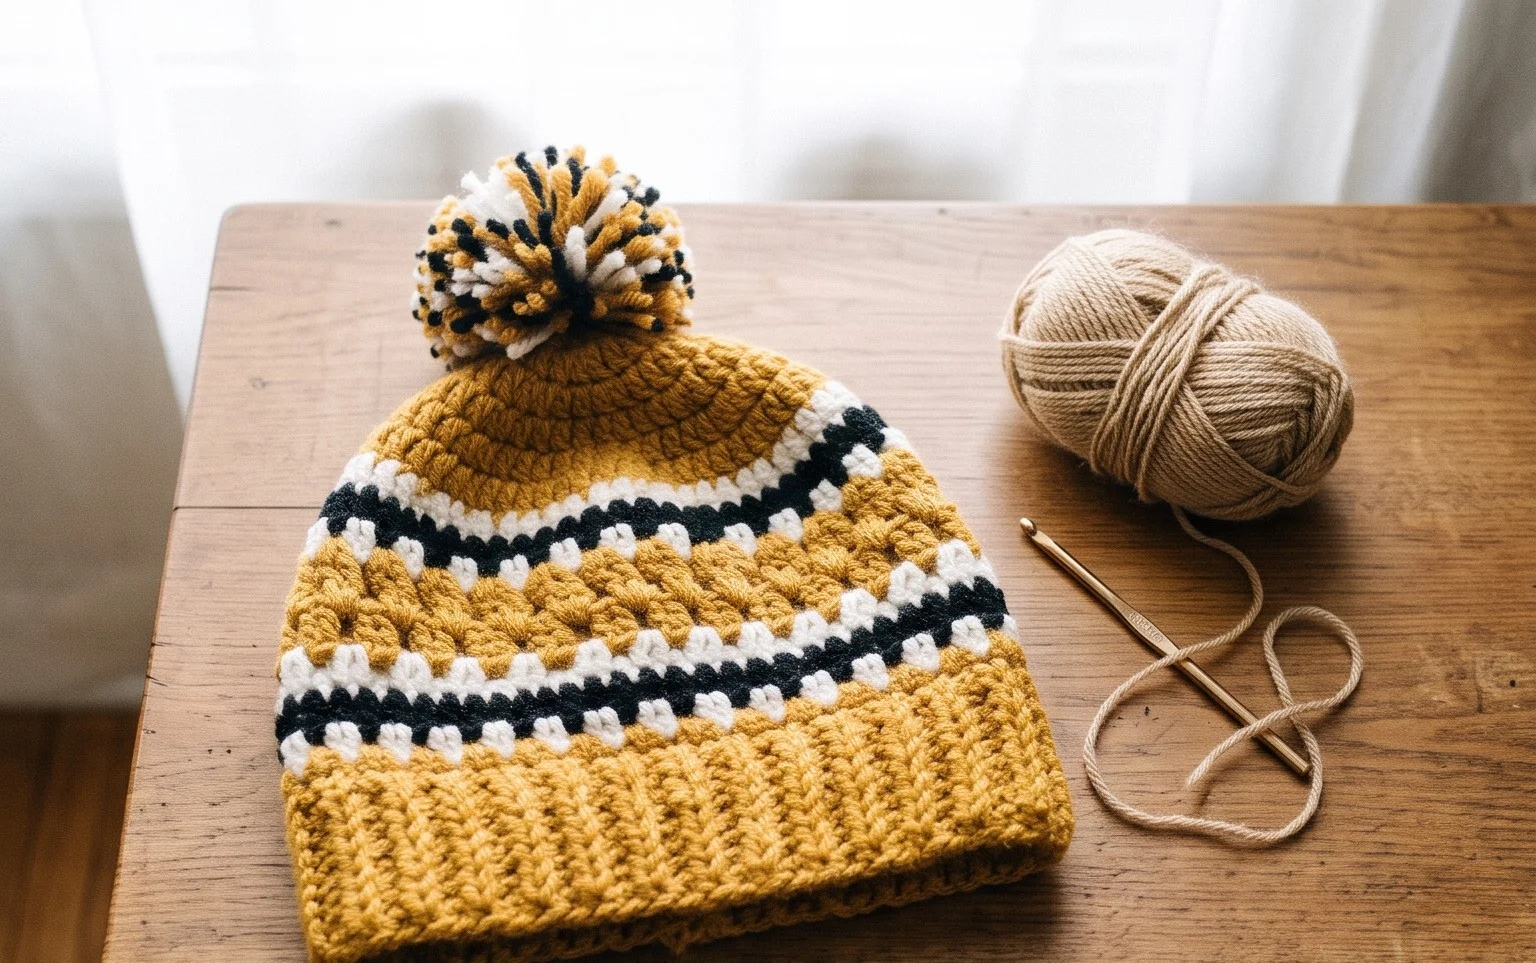
Cozy Slouch Hat: Free Beginner Crochet Pattern
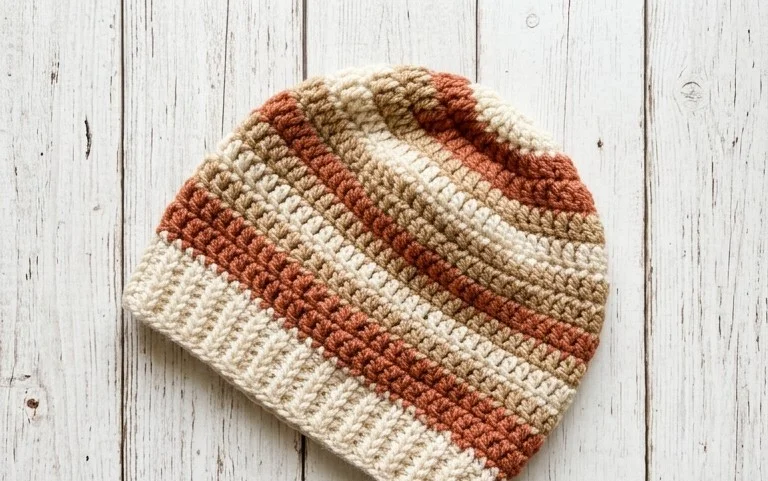
Soft wool against your skin turns a chilly morning walk into a warm, comfortable experience. This slouchy beanie features a relaxed silhouette that drapes just right, making it a reliable staple for your winter wardrobe or a thoughtful gift for a friend. You will rely on the half double crochet stitch worked into the back loop only to achieve that signature squishy texture. Beginners often find this method approachable because it removes the stress of counting stitches in the round. Building this simple rectangle provides a meditative rhythm that helps you master consistent tension in just one sitting.
Why You’ll Love This Pattern
This beginner-friendly crochet beanie is a project you can finish in a single afternoon, making it an ideal choice for quick gift-giving. It utilizes a simple ribbing technique that creates natural elasticity, ensuring the hat fits a variety of head sizes comfortably. Because it is worked in a flat rectangle and then seamed, you do not need to manage complex circular increases or color changes. The texture is soft, squishy, and looks professional despite being approachable for someone who has just mastered the basic single crochet stitch.
This pattern was the first project where I felt confident about my tension. The ribbing is so satisfying to work up and the final result looks like a boutique purchase.
— Sarah, hobbyist crocheter
Pattern Overview & Skill Level
- Skill Level: Beginner
- Approximate Time: 3 to 5 hours
- Construction: Worked as a flat rectangle back and forth in rows, then seamed along the side and gathered at the top.
- Finished Dimensions: 9 inches wide by 10 inches tall (fits average adult head circumference of 21–23 inches).
Materials & Supplies Needed
- Yarn: Worsted weight (#4) acrylic or wool blend, approximately 200 yards.
- Hook Size: 5.5 mm (US I-9).
- Notions: Tapestry needle for seaming and weaving ends, locking stitch markers, and a tape measure.
- Yarn Substitutions: You may use cotton yarn, though it will result in a heavier, less stretchy beanie. Wool provides the best thermal retention and elasticity for a fitted hat.
Stitch Guide & Abbreviations (US Terms)
- ch: Chain
- st/sts: Stitch/Stitches
- sc: Single crochet
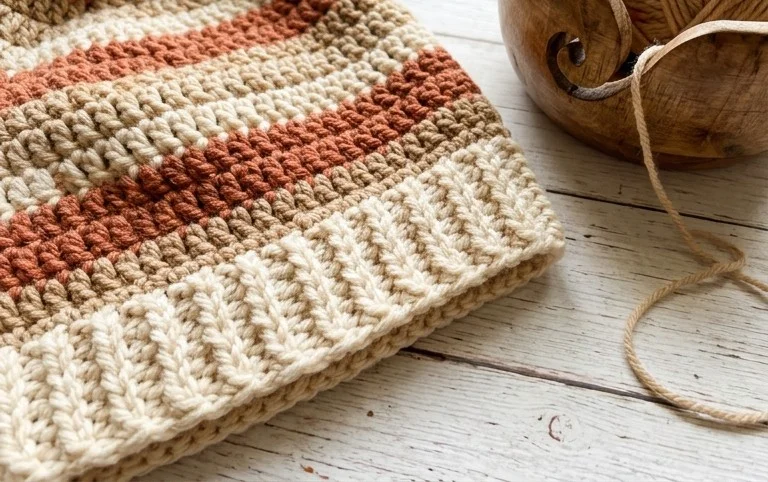
- BLO: Back loop only. Insert hook only through the back loop of the stitch from the previous row to create a ribbed effect.
- sl st: Slip stitch
- turn: Turn your work to begin the next row
Step-by-Step Pattern Instructions
Main Body Panel
The hat is worked in one rectangular piece. The length of your starting chain determines the height of your hat, while the number of rows determines the circumference.
- Row 1: Ch 36. Sc in the 2nd ch from the hook and in each ch across. Turn. (35 sts)
- Row 2: Ch 1, working in BLO, sc in each st across. Turn. (35 sts)
- Rows 3–60: Repeat Row 2 until the piece measures approximately 18 inches unstretched.
- Finishing: Fasten off, leaving a 20-inch tail for seaming.
Assembly and Finishing
- Seaming: Fold the rectangle in half by bringing the two short ends together. Use your tapestry needle and the long tail to whip stitch the two edges together, working through both loops of the foundation chain and the back loop of the final row.
- Gathering: Once the side seam is secure, use the remaining yarn tail to weave in and out along the top edge of the tube. Pull the tail tightly to close the hole at the crown of the hat. Secure the knot firmly on the inside.
- Weaving Ends: Turn the hat right side out and weave in any remaining yarn tails using your tapestry needle.
Care & Washing Instructions
- Hand wash your beanie in cool water with a mild wool-safe detergent to maintain the integrity of the fibers.
- Lay the piece flat on a clean towel away from direct sunlight to air dry, as hanging can cause the hat to stretch out of shape.
- Reshape the hat while it is damp to ensure the ribbing settles back into its original dimensions after the washing process.
Pro Tips & Common Mistakes to Avoid
Maintain consistent tension throughout the project by keeping your yarn feed steady. If your rows start to look uneven, check that you are not accidentally skipping the last stitch of each row, which is a common occurrence for beginners working in the back loop. Use a stitch marker on the first stitch of every row to ensure you maintain exactly 35 stitches throughout the entire panel. If you wish to adjust the size, simply add more rows for a larger circumference or fewer rows for a tighter fit; just ensure the total number of rows remains an even number to keep the seam aligned.
Frequently Asked Questions
Can I use a different weight of yarn for this pattern?
Changing yarn weight will significantly alter the size and drape of the hat. If you use a lighter weight (DK), you will need to increase your starting chain length and work more rows to achieve the same adult fit.
Is this pattern suitable for complete beginners?
Yes, this is an excellent choice for a first project. It focuses on the fundamental single crochet stitch and the concept of working in the back loop to create texture without requiring advanced shaping.
How do I make the beanie larger for a slouchy fit?
To create a slouchier silhouette, increase your starting chain from 36 to 45 stitches. This will add height to the hat, allowing it to hang further down the back of the head.
May I sell items made from this pattern?
You are welcome to sell finished items created from this pattern. Please credit the original design and use your own photographs when listing your products online.
Seeing your handmade accessory come to life with just a single skein of yarn provides such a quiet sense of accomplishment. You can change the look of this piece by using a variegated yarn for a colorful effect or adding a large faux fur pompom to the crown for extra personality. Please post a photo of your finished work so others can see your color choices. You can find more free patterns in our archive to help you build your collection of handmade goods.