30 Free Fingerless Gloves Patterns: Easy DIY Crochet Guide
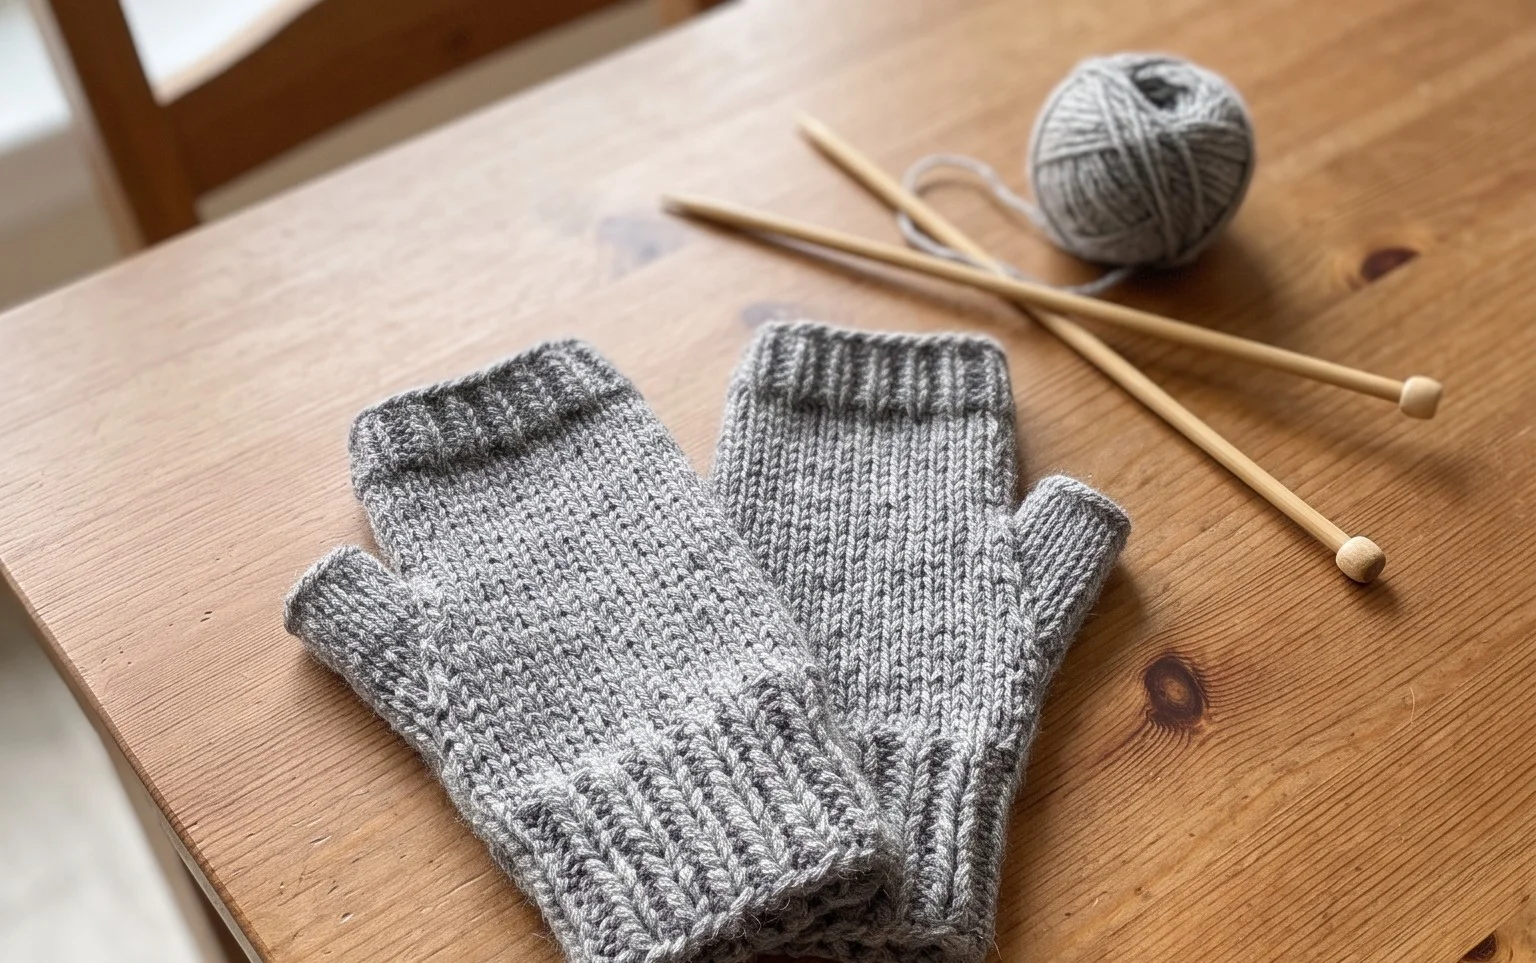
Soft wool keeps your hands warm while your fingers stay free to type, hold a coffee mug, or turn pages in a book. These fingerless designs offer a practical way to use up small bits of yarn left over from larger projects. Making these allows you to practice basic increases and simple seaming techniques that form the foundation of most garment construction. Whether you want a snug fit that stays tight on the wrist or a loose, slouchy style for running errands, you will find a project here to match your current skill level and personal aesthetic.
Why You’ll Love This Pattern
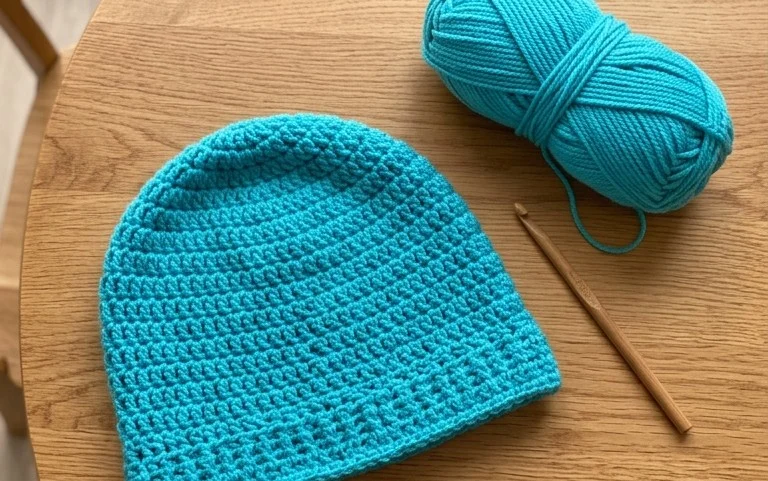
This crochet ribbed beanie offers a classic, fitted silhouette that sits comfortably against the head without feeling overly tight. Because the design uses a simple half double crochet slip stitch in the back loop, the fabric mimics the appearance of knit ribbing while maintaining the speed and structure of a crochet project. The pattern works up in a single rectangular panel that is seamed at the end, making it an ideal choice for makers who prefer flat-row construction over working in the round. You can easily adjust the height of the hat by changing the starting chain length, allowing for either a skull-cap fit or a slouchy look. It is a fantastic project for using up partial skeins of medium-weight yarn from your stash.
I finished this hat in one evening while watching a movie. The instructions were very easy to follow and the texture looks just like a store-bought knitted cap.
— Sarah, beginner crocheter
Pattern Overview & Skill Level
- Skill Level: Beginner
- Approximate Time: 2 to 3 hours
- Construction: Flat panel worked in rows, folded, and seamed to form a tube
- Finished Dimensions: 9 inches wide (flat) by 10 inches tall (adjustable)
Materials & Supplies Needed
- Yarn: Worsted weight (#4), approximately 180 yards of wool or acrylic blend
- Hook Size: 5.5 mm (US I-9)
- Notions: Tapestry needle for seaming, scissors, and a measuring tape
- Safe yarn substitutions: You can use any worsted weight yarn, though wool blends provide better elasticity. Using 100% cotton yarn will result in a heavier hat with less stretch, so you may need to add one extra inch to your foundation chain to compensate.
Stitch Guide & Abbreviations (US Terms)
- ch = chain
- hdc = half double crochet
- sl st = slip stitch
- BLO = back loop only
- hdc-slst: Yarn over, insert hook into stitch, pull up a loop, pull that loop through the two loops already on your hook. This creates the ribbing effect.
Step-by-Step Pattern Instructions
Hat Body
- Row 1: Ch 41. Starting in the second chain from the hook, work 1 hdc in each chain across. Turn. (40 sts)
- Row 2: Ch 1 (does not count as a stitch). Work 1 hdc-slst in the BLO of each stitch across. Turn. (40 sts)
- Rows 3-60: Repeat Row 2 until the piece measures approximately 18 inches unstretched. Ensure you end on an even-numbered row. Do not fasten off.
Assembly and Finishing
- Fold the rectangle in half by bringing the two short ends together.
- With the right sides facing in, slip stitch the edges together through both layers to create a tube. (40 sts)
- Fasten off, leaving a 12-inch tail of yarn.
- Using your tapestry needle, weave the long yarn tail through the ends of the stitches along the top edge of the tube. Pull the tail tightly to cinch the top of the hat closed. Secure the yarn with a knot and weave in your ends.
- Turn the hat right side out.
Care & Washing Instructions
- Hand wash your finished hat in cool water using a mild wool-safe detergent to preserve the elasticity of the stitches.
- Lay the piece flat on a clean towel to air dry, reshaping it into a circle while damp to ensure it retains its intended dimensions.
- Avoid using a tumble dryer, as heat can cause synthetic fibers to lose their shape and wool fibers to felt or shrink unintentionally.
Pro Tips & Common Mistakes to Avoid
Maintain consistent tension throughout the project, especially when working the slip stitches, as these tend to tighten up naturally. If your hat feels too stiff, consider going up half a hook size to allow the fabric to drape more naturally against the skin.
Place a stitch marker in the first stitch of every row to ensure you are not accidentally dropping stitches at the ends, which is a frequent error that leads to a lopsided rectangle. This ensures the seam remains straight when you fold the piece for finishing.
When weaving in your ends, run the needle through the inside of the ribbing rows rather than pulling tight through the visible outer fabric. This keeps your finished project looking professional and prevents the ends from popping out during wear.
Adjust the size by changing your starting chain count. Each chain you add or subtract changes the height of the hat by approximately 0.25 inches. Remember that adding height will increase the amount of yarn required for the project.
Frequently Asked Questions
Can I use a chunky weight yarn instead of worsted?
Yes, you can use chunky weight yarn, but you will need to reduce the number of stitches in your foundation chain to account for the increased thickness. You will likely need a larger hook size, such as a 6.5 mm or 7.0 mm, to maintain the desired drape.
Is this pattern suitable for someone who has never made a garment?
This is an excellent choice for a first garment or wearable item. It requires only straight rows and basic seaming, which helps you practice uniform stitch tension without the complexity of shaping or rounds.
How do I know if the hat will fit my head correctly?
Wrap the unfinished rectangular panel around your head before seaming. It should feel snug but not restrictive. If it feels too loose, remove a few rows; if it feels tight, add a few more rows until the circumference reaches your preference.
Can I sell the hats I make from this pattern?
You are welcome to sell finished items made from this design in small quantities. Please provide credit to the pattern designer in your online listings or tags to support the original work.
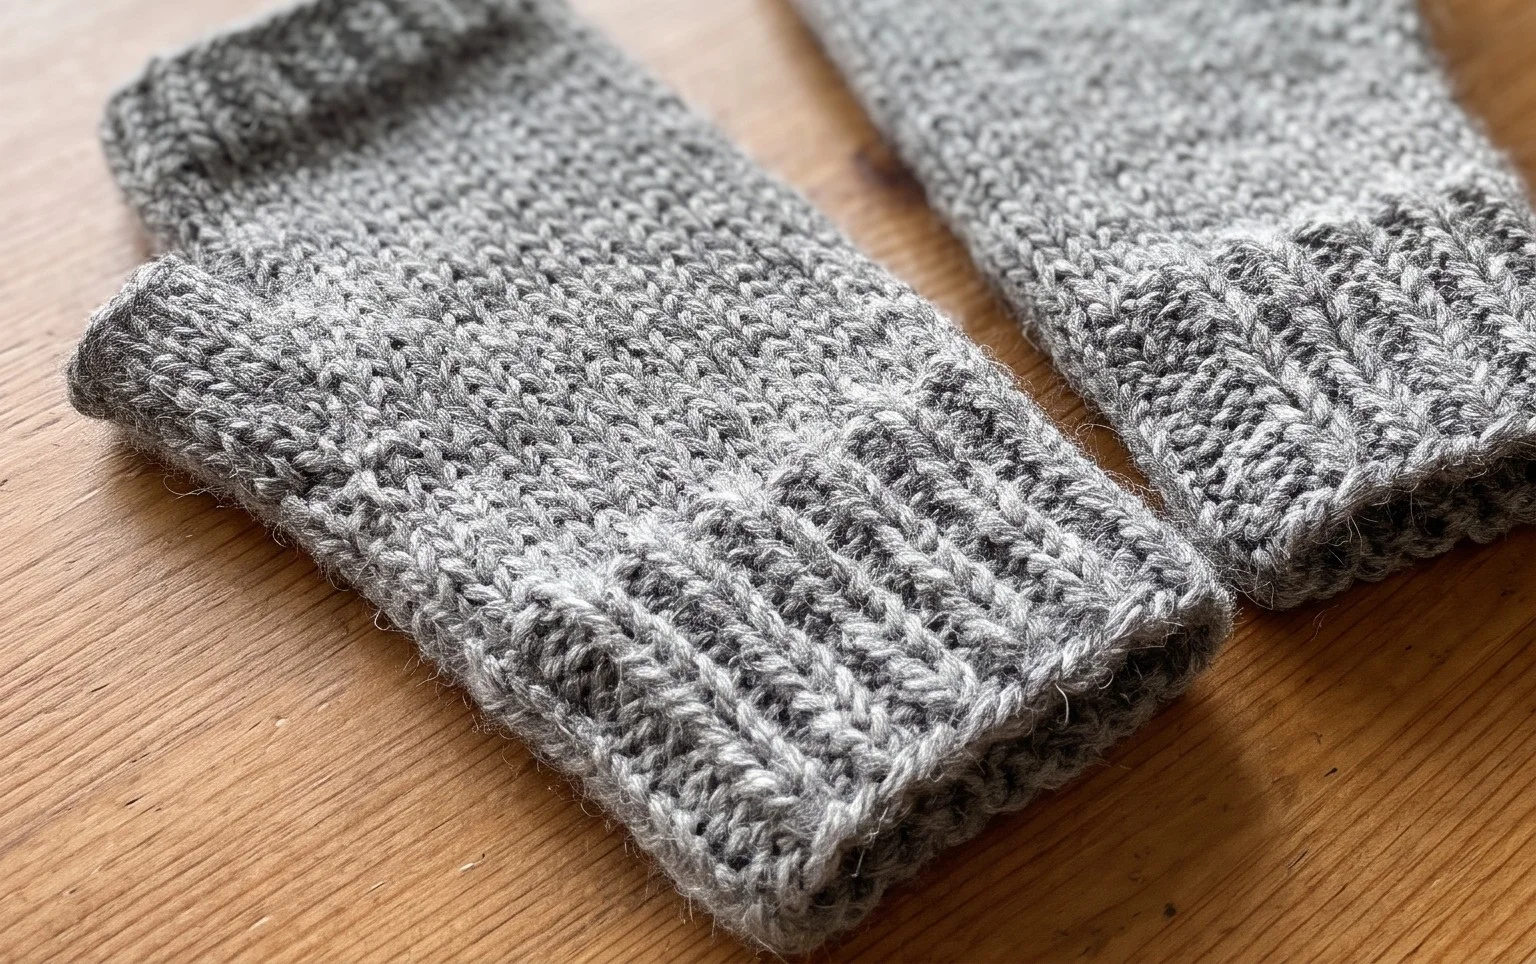
Your finished pair of hand warmers provides a cozy layer of protection during chilly morning walks. Experiment with using a variegated yarn to create stripes automatically or add a row of contrasting color at the cuff for a bold pop of visual interest. Sharing a photo of your work on Instagram helps others find inspiration for their own yarn stash. Explore the rest of our pattern library to find more projects you can finish in a single afternoon.