Easy Granny Square Christmas Pot Holder Free Pattern
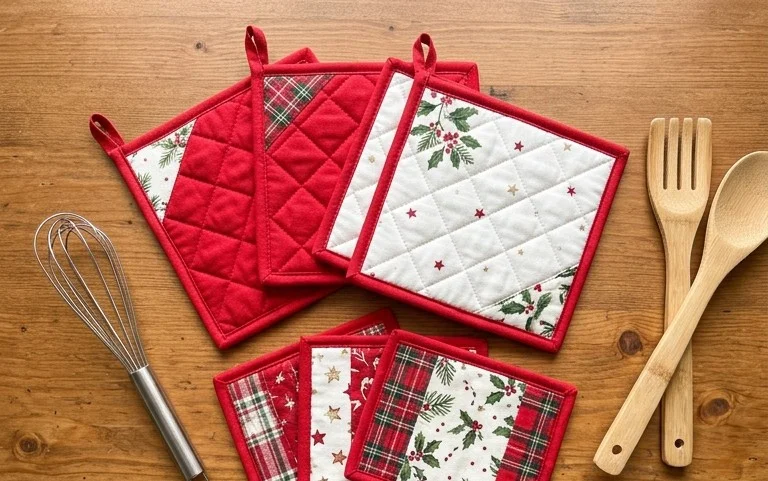
A handmade pot holder brings a specific warmth to a kitchen during the holidays, especially when it features the dense, squishy texture of cotton yarn. These squares lie flat against your palm, providing enough thickness to move a hot roasting pan safely while adding a splash of seasonal color to your oven handle. You will find this pattern approachable whether you are picking up a hook for the first time or looking for a fast gift that works up in a single evening. The rhythmic cluster stitch creates a sturdy fabric that holds its shape through many washes, ensuring your hard work lasts well beyond the winter season.
Why You’ll Love This Pattern
The Classic Crochet Granny Square is the quintessential building block for any fiber artist. This pattern relies on a rhythmic, three-double-crochet cluster technique that works up quickly, making it an ideal choice for filling a spare hour or utilizing leftover yarn from larger projects. Its modular nature allows you to customize the final size of your item by simply joining more squares together. Because the pattern follows a consistent repeat, you can easily set it down and pick it back up without losing your place.
I learned to crochet using this exact square pattern because it is simple to memorize and very forgiving if you make a mistake on a corner cluster.
— Sarah, beginner crocheter
Pattern Overview & Skill Level
- Skill Level: Beginner
- Approximate Time: 30 minutes per square
- Construction: Worked in joined rounds, starting from the center and expanding outward
- Finished Dimensions: Approximately 5 inches by 5 inches using medium weight yarn
Materials & Supplies Needed
- Yarn: Worsted weight (#4) acrylic or cotton yarn, approximately 15-20 yards per square.
- Hook Size: 5.0 mm (US H-8) crochet hook.
- Notions: Tapestry needle for weaving in ends, sharp scissors.
- Yarn substitutions: You may use DK weight (#3) yarn with a 4.0 mm hook for a smaller, delicate square, or bulky weight (#5) yarn with a 6.0 mm hook for a larger, denser texture. Note that size changes will require adjustment of yardage.
Stitch Guide & Abbreviations (US Terms)
- ch: chain
- st/sts: stitch/stitches
- sl st: slip stitch
- dc: double crochet
- dc cluster: three double crochet stitches worked into the same space
- sp: space
- Magic Ring: A method of starting rounds by crocheting over an adjustable loop
Step-by-Step Pattern Instructions
Granny Square Body
- Rnd 1: Start with a Magic Ring. Ch 3 (counts as first dc here and throughout), 2 dc in ring, ch 2, *3 dc in ring, ch 2; repeat from * twice more. Join with a sl st to the top of the beginning ch 3. (12 dc, 4 ch-2 spaces)
- Rnd 2: Sl st into the next 2 sts and into the first ch-2 space. Ch 3, 2 dc, ch 2, 3 dc in same ch-2 space. *Ch 1, skip 3 dc, (3 dc, ch 2, 3 dc) in the next ch-2 space; repeat from * twice more. Ch 1, join with a sl st to the top of the beginning ch 3. (24 dc, 4 ch-1 spaces, 4 ch-2 spaces)
- Rnd 3: Sl st into the next 2 sts and into the next ch-2 corner space. Ch 3, 2 dc, ch 2, 3 dc in corner space. *Ch 1, 3 dc in next ch-1 space, ch 1, (3 dc, ch 2, 3 dc) in next corner space; repeat from * twice more. Ch 1, 3 dc in final ch-1 space, ch 1, join with a sl st to the top of the beginning ch 3. (36 dc, 8 ch-1 spaces, 4 ch-2 spaces)
- Rnd 4: Sl st into the next 2 sts and into the next ch-2 corner space. Ch 3, 2 dc, ch 2, 3 dc in corner. *[Ch 1, 3 dc in next ch-1 space] twice, ch 1, (3 dc, ch 2, 3 dc) in corner; repeat from * twice more. [Ch 1, 3 dc in next ch-1 space] twice, ch 1, join with a sl st to the top of the beginning ch 3. (48 dc, 12 ch-1 spaces, 4 ch-2 spaces)
- Finishing: Fasten off leaving a 6-inch tail. Use your tapestry needle to weave the tail through the back of the stitches to secure it.
Care & Washing Instructions
- Machine wash your squares on a gentle cycle in cool water, ideally inside a mesh laundry bag.
- Lay the squares flat on a towel to air dry, avoiding direct sunlight to prevent fiber fading.
- If the corners curl after washing, dampen the square slightly and pin it flat on a blocking mat or carpeted surface until fully dry.
Pro Tips & Common Mistakes to Avoid
- Consistent tension is the secret to a flat square; if your square starts to cup or ruffle, try going up or down a hook size.
- Always place a locking stitch marker in the top of your starting chain-3 so you can easily identify the join point at the end of every round.
- When weaving in ends, work the yarn tail through the base of the same-colored stitches on the reverse side to keep your work looking clean and professional.
- You can make the square as large as you want by repeating the instructions for Round 4, adding one additional 3-dc cluster in every ch-1 space for every new round you add.
Frequently Asked Questions
Can I use different yarn weights for the same project?
Mixing yarn weights will result in squares of varying sizes, which may make them difficult to join together. It is best to stick to one weight unless you adjust your hook size to compensate.
How do I know if I have enough yarn to finish a blanket?
A good rule is to weigh one finished square on a kitchen scale and multiply that weight by the number of squares you intend to make, then add 10 percent for joining and weaving ends.
Is this pattern suitable for complete beginners?
Yes, this is an excellent starter project because it teaches you how to work in rounds, create corners, and manage stitch counts without needing to master complex stitch patterns.
May I sell the squares I make from this pattern?
You are welcome to sell items made from this pattern, provided you credit the designer and use your own original photography for your listings.
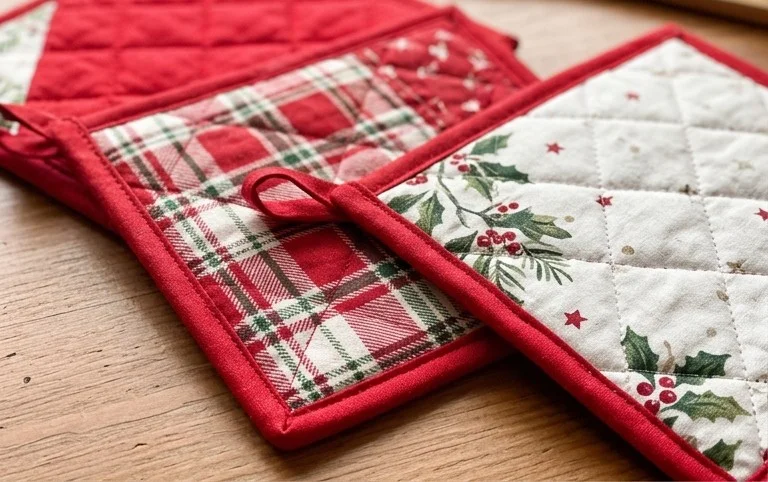
Your finished pot holders provide a functional touch of handmade charm that makes every holiday kitchen prep session feel a little more intentional. You can easily experiment with metallic yarn accents or a thicker cotton blend if you need extra heat protection for heavy cast iron cookware. Sharing a photo of your color choices helps others find inspiration for their own yarn stashes. Visit the main blog page for more quick projects to fill your home with handmade items throughout the entire year.