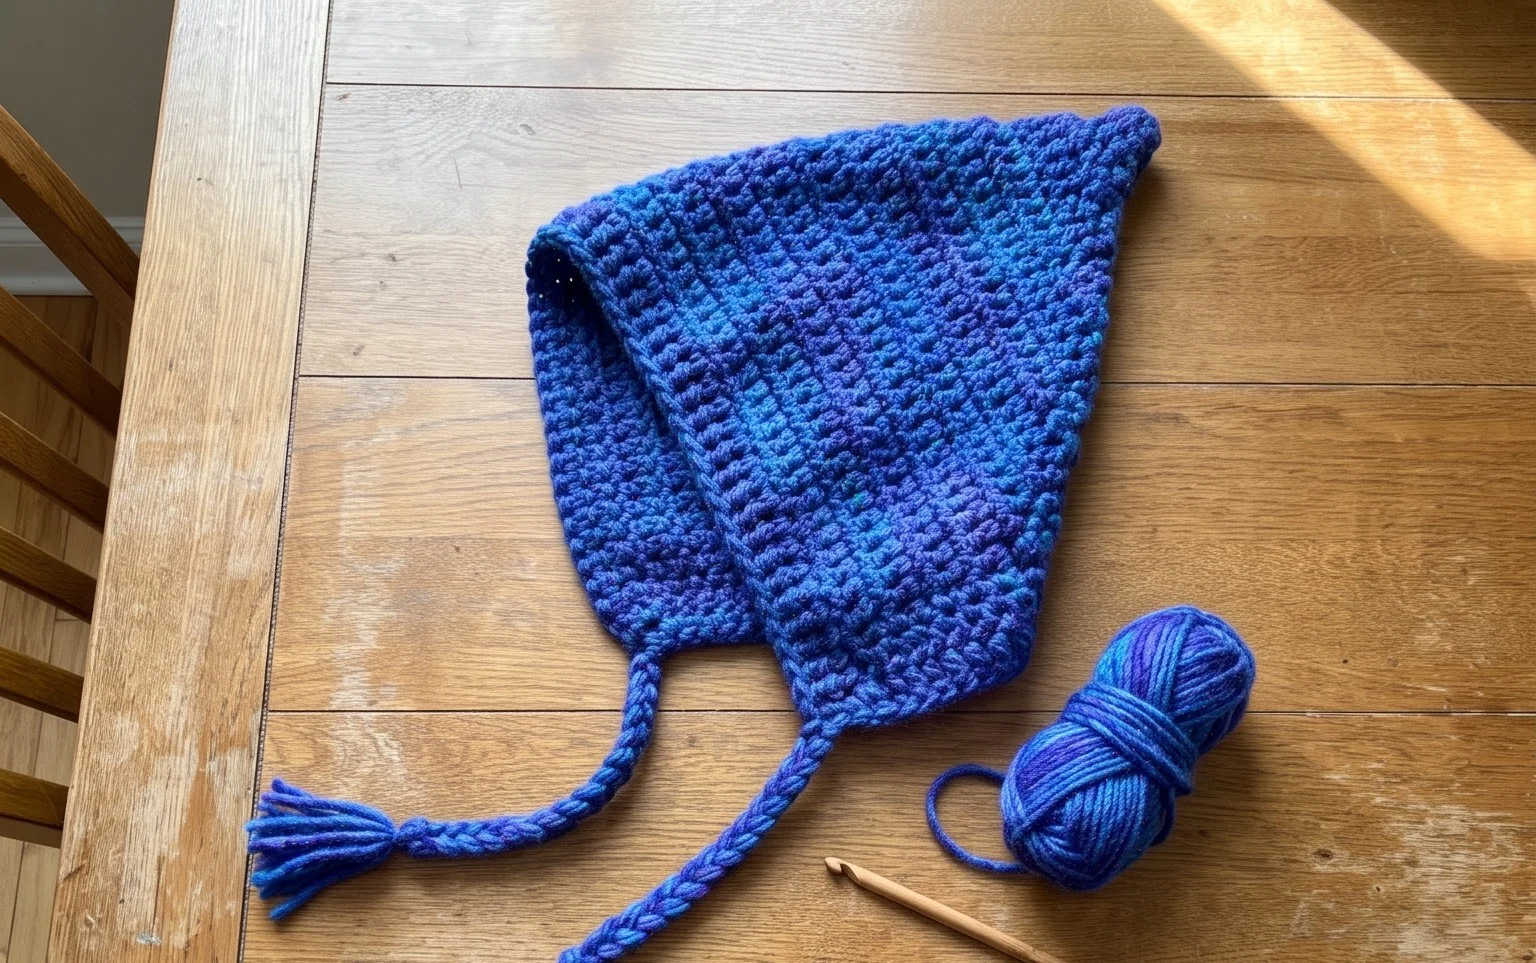
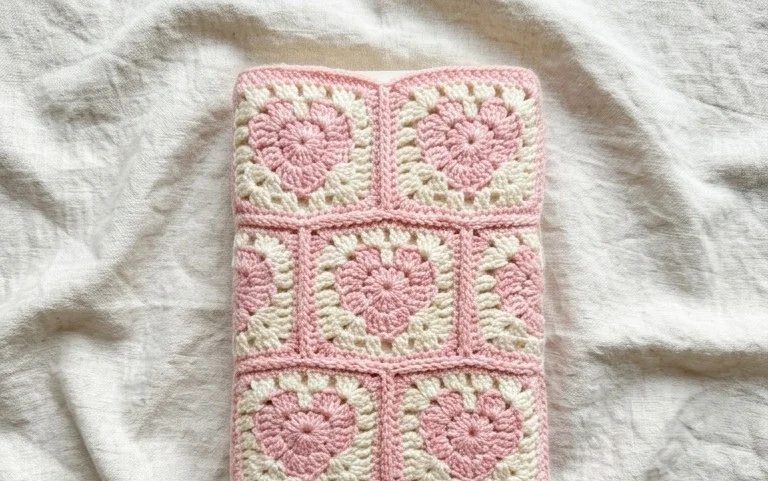
35 Free Christmas Quilt Crochet Patterns for Beginners
A handmade holiday blanket brings a layer of warmth and nostalgia to a living room, especially when the colors match your seasonal decor. These crochet designs combine traditional geometry with festive motifs, resulting in cozy pieces that hold up to years of winter movie nights. You will find projects ranging from simple squares for beginners to geometric mosaics for those comfortable with color changes. This collection covers specific stitch placements that ensure straight edges and consistent tension throughout large panels. Working on these blankets provides a meditative routine during the busy holiday weeks while creating a lasting heirloom piece.
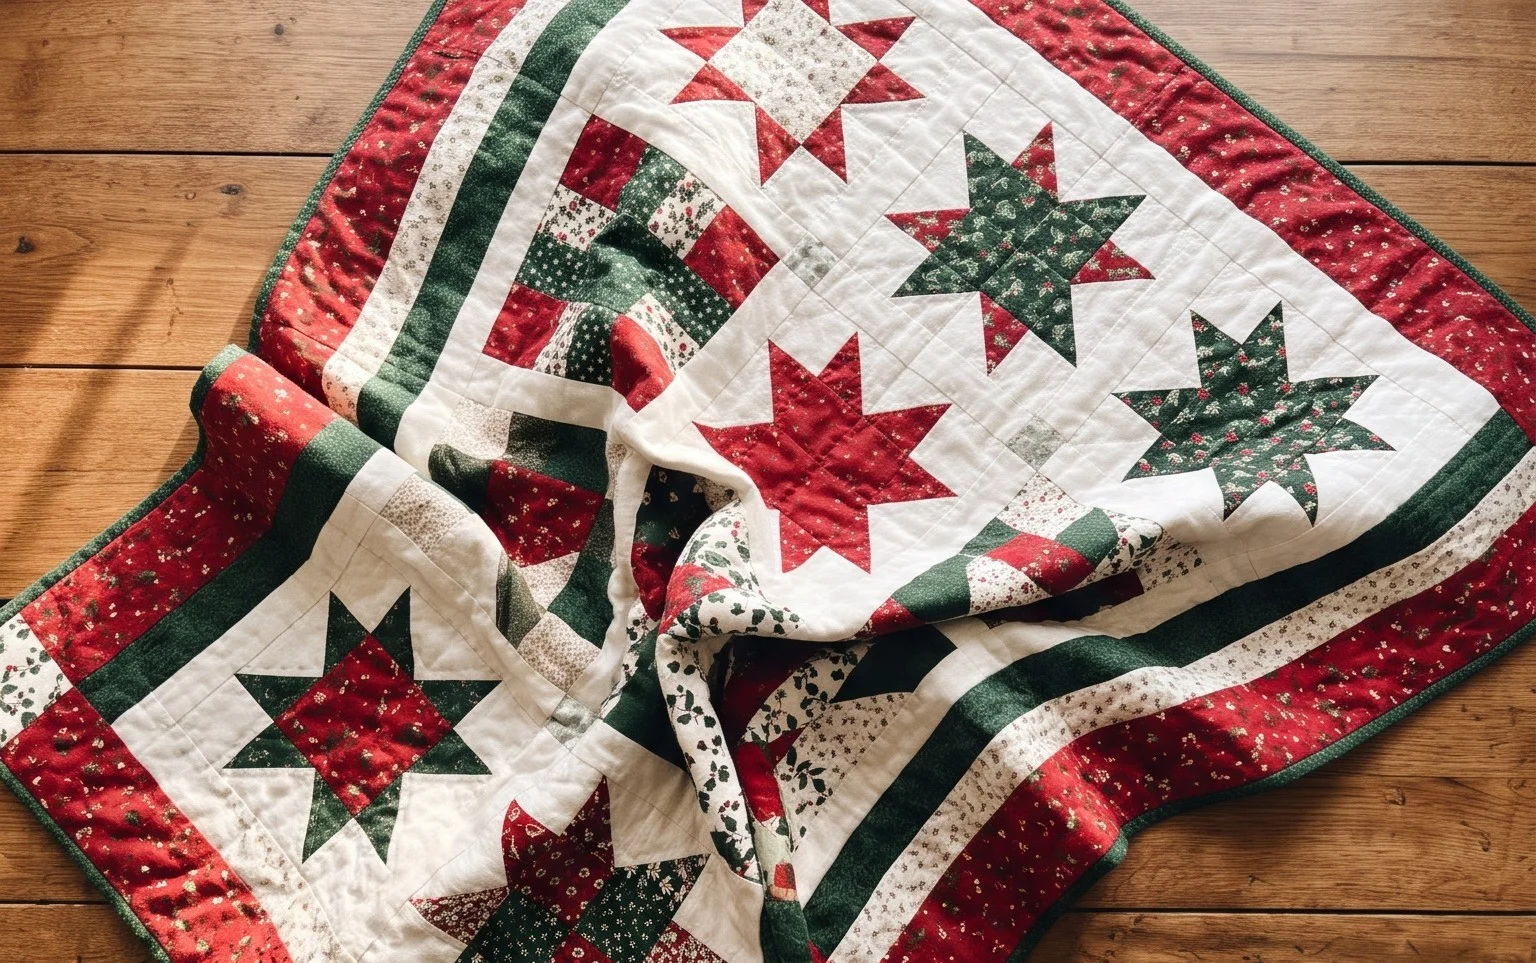
Why You’ll Love This Pattern
This beginner-friendly crochet coaster pattern uses simple single crochet stitches and a tight tension to create a sturdy, heat-resistant surface for your favorite mugs. Because the design relies on basic circular increases, it serves as an excellent exercise for mastering the magic ring and maintaining uniform stitch counts across multiple rounds. You can complete a full set of four in a single evening, making these an ideal last-minute gift for housewarmings or coffee lovers. The compact size makes this a perfect project to use up leftover bits of cotton yarn remaining from larger blanket or garment endeavors.
I managed to whip up a set of six in just a couple of hours. The pattern is very easy to follow even if you are still learning how to track your rounds.
— Sarah, hobbyist crafter
Pattern Overview & Skill Level
- Skill Level: Beginner
- Approximate Time: 30 minutes per coaster
- Construction: Worked in continuous rounds from the center outward using a magic ring for a seamless finish
- Finished Dimensions: Approximately 4 inches in diameter
Materials & Supplies Needed
- Yarn: Worsted weight (#4) 100% cotton yarn, approximately 15 yards per coaster. Cotton is essential for heat resistance and absorbency.
- Hook Size: 4.5 mm (US 7)
- Notions: Tapestry needle for weaving in ends, a locking stitch marker to track the start of rounds, and scissors.
- Yarn Substitutions: You can use acrylic yarn, but note that it may melt if a very hot mug is placed directly on it. Wool is a natural alternative, but it may felt over time with repeated washing.
Stitch Guide & Abbreviations (US Terms)
- MR: Magic Ring
- ch: Chain
- sc: Single crochet
- inc: Increase (work 2 sc into the same stitch)
- st: Stitch
- sl st: Slip stitch
- BLO: Back loop only
Step-by-Step Pattern Instructions
Coaster Body
- Rnd 1: Start with a MR and work 6 sc into the ring. Pull the tail tight to close the center. (6 sts)
- Rnd 2: Work 2 sc in each st around. Place your stitch marker in the first stitch of every round. (12 sts)
- Rnd 3: 1 sc in next st, inc in next st. Repeat from * to * 6 times. (18 sts)
- Rnd 4: 1 sc in each of the next 2 sts, inc in next st. Repeat from * to * 6 times. (24 sts)
- Rnd 5: 1 sc in each of the next 3 sts, inc in next st. Repeat from * to * 6 times. (30 sts)
- Rnd 6: 1 sc in each of the next 4 sts, inc in next st. Repeat from * to * 6 times. (36 sts)
- Rnd 7: 1 sc in each of the next 5 sts, inc in next st. Repeat from * to * 6 times. (42 sts)
Finishing
To finish the edge, work a round of slip stitches into the BLO of every stitch around the perimeter. This provides a clean, decorative border and prevents the edges from curling. Cut the yarn, leaving a 4-inch tail. Pull the tail through the final stitch and use a tapestry needle to weave the end securely into the back of the work. Trim the excess yarn close to the fabric.
Care & Washing Instructions
- Machine wash your cotton coasters on a gentle cycle in cool water to prevent shrinking or color fading.
- Lay the coasters flat on a clean towel to dry, shaping them into a perfect circle with your hands while damp.
- If the coasters lose their shape after repeated use, steam press them lightly with an iron on the low heat setting to flatten the stitches.
Pro Tips & Common Mistakes to Avoid
Maintaining a firm, consistent tension throughout the rounds is vital for a coaster that lies flat rather than rippling or cupping. Always move your stitch marker up to the first stitch of the new round as soon as you complete it, as it is very easy to lose count once you hit the 30-stitch mark. When weaving in your ends, run the needle through the stitches on the reverse side of the coaster in two different directions to ensure the yarn does not pull loose over time. If you want a larger coaster, continue the increase pattern by adding one additional single crochet between each increase in each subsequent round, but ensure you have enough yarn to account for the larger surface area.
Frequently Asked Questions
Can I use a different weight of yarn for this pattern?
Yes, you can use a lighter or heavier yarn, but your finished coaster size will change accordingly. Using a finer yarn will result in a smaller, thinner coaster, while using a chunky yarn will create a much larger, thicker mat.
Why are the edges of my coaster curling upward?
Curling usually occurs if your tension is too tight or if you missed an increase in a round. If your coaster does not lay flat after finishing, try blocking it by wetting it and pinning it into a circle on a foam mat until dry.
Is this pattern suitable for complete beginners?
This is an excellent project for beginners because it focuses entirely on the single crochet stitch and simple circular increases. It teaches you how to work in continuous rounds and how to properly increase to maintain a flat shape.
Am I allowed to sell coasters made from this pattern?
You are welcome to sell finished items you create using this design. However, you may not sell, distribute, or claim the written instructions as your own work.
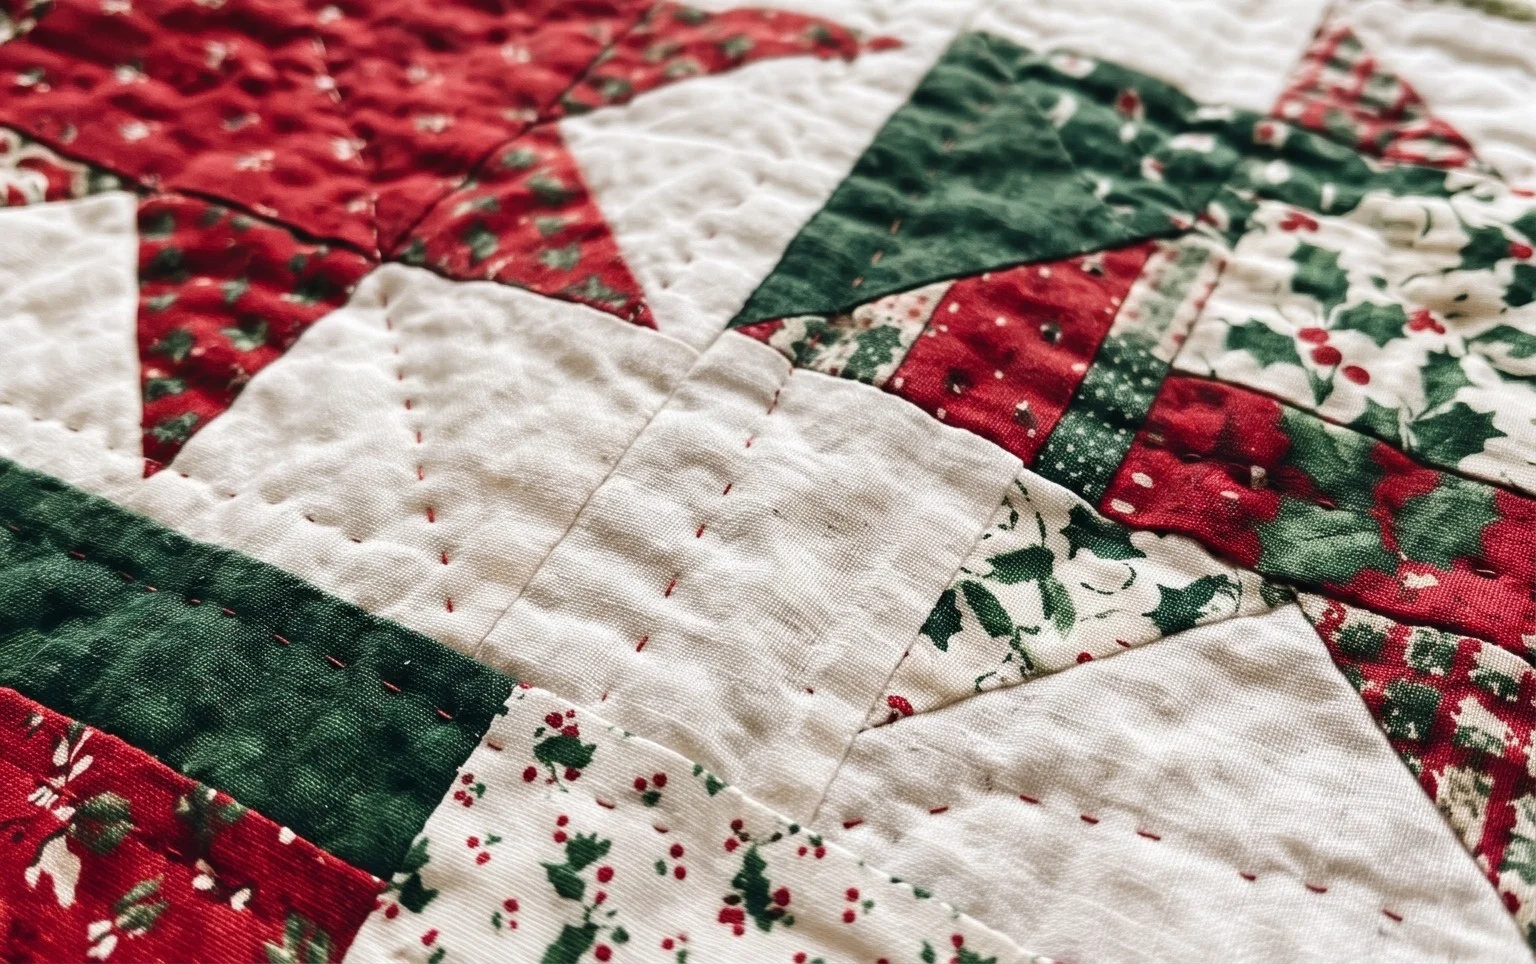
Your new holiday blanket will look wonderful draped over a sofa arm or folded neatly at the foot of a bed for guests to enjoy. If you want a lighter feel, substitute the heavy worsted yarn for a DK weight blend to create a breathable throw. Please upload a photo of your finished work to your favorite social platform so others can see your color choices. Browse the rest of the site for additional pattern ideas and techniques to continue expanding your crochet library throughout the coming year.