10 Beautiful Flower Crochet Stitches with Free Patterns
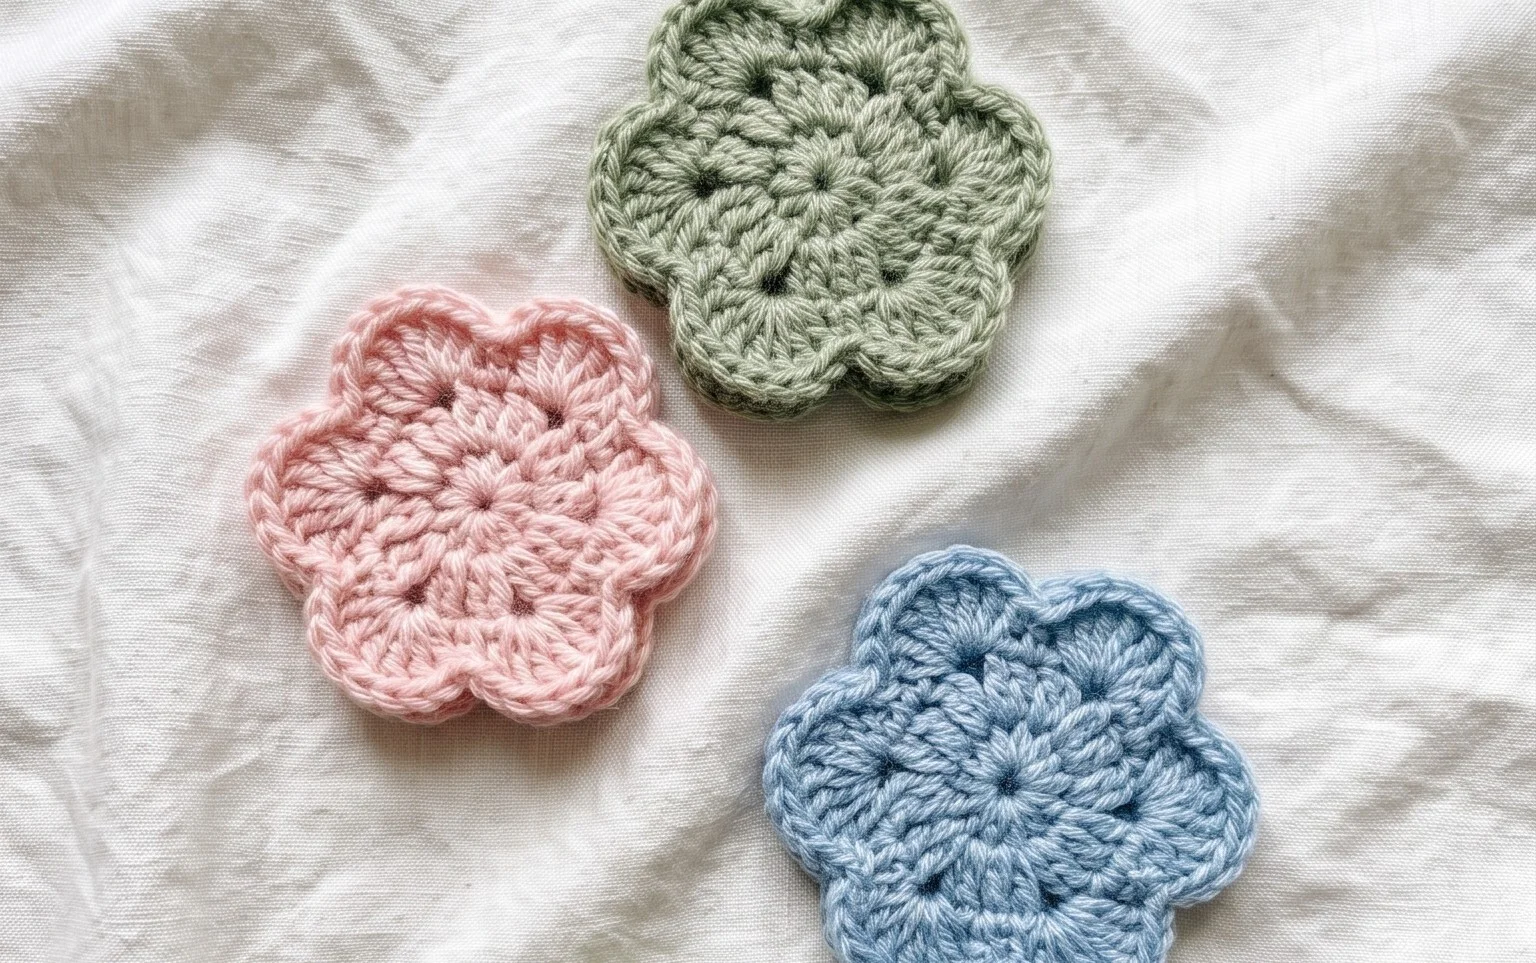
Soft petals blooming right from your yarn stash turn basic acrylic or cotton skeins into dimensional art. These floral motifs add a touch of nature to blankets, headbands, or throw pillows, making them a joy for anyone who loves tactile, textured work. You will learn how to build layers using front post stitches and cluster techniques that create depth without complexity. Whether you need a handmade gift or a quick afternoon project to brighten up your living space, these motifs offer a satisfying rhythm. Mastering these techniques transforms your standard crochet skills into a botanical display of handcrafted beauty.
Why You’ll Love This Pattern
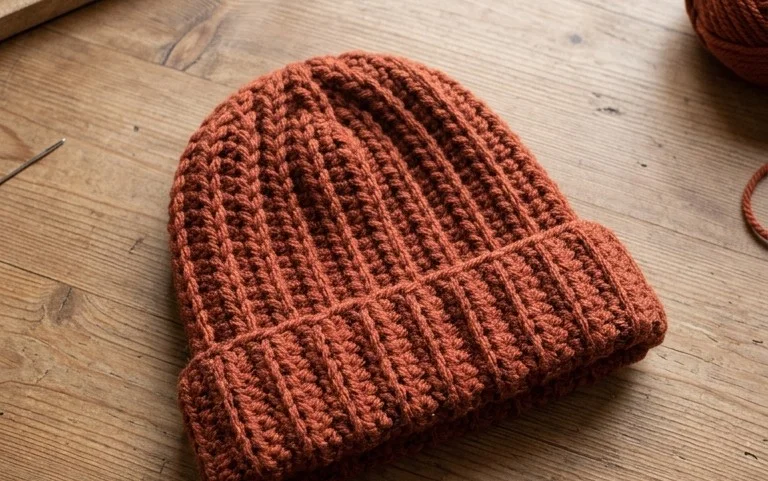
This crochet ribbed beanie pattern uses a simple construction method that mimics a professional knit-look finish without requiring double-pointed needles. The vertical ribbing creates a natural stretch, ensuring the hat fits snugly and maintains its shape even after repeated wear. Because it is worked as a flat rectangular panel that is later seamed into a tube, it is an ideal project for those who find working in circular rounds cumbersome or prone to inconsistent tension.
The texture relies entirely on the post-stitch technique, which creates a dense, warm fabric perfect for winter weather. You only need to master two basic stitches to complete the entire design, making it an excellent choice for a weekend project or a quick gift for friends and family. The straightforward stitch repeat allows you to easily adjust the width and height to fit children or adults of any head circumference.
I managed to finish this beanie in one evening while watching a movie. The ribbing looks exactly like store-bought knitwear and it fits perfectly on my head without stretching out of shape.
— Sarah, hobbyist crocheter
Pattern Overview & Skill Level
- Skill Level: Beginner
- Approximate Time: 3 to 4 hours
- Construction: Flat panel worked in rows, then seamed at the back and gathered at the crown
- Finished Dimensions: 18 inches circumference (stretches to 22 inches) by 9 inches height
Materials & Supplies Needed
- Yarn: Worsted weight (#4), wool or acrylic blend, approximately 200 yards.
- Hook Size: 5.0 mm / H-8
- Notions: Tapestry needle, locking stitch markers, measuring tape, and scissors.
- Safe yarn substitutions: You may use a cotton-acrylic blend for a summer-weight hat, but note that cotton has less natural elasticity than wool, so you may need to decrease the number of starting chains slightly to maintain a snug fit.
Stitch Guide & Abbreviations (US Terms)
- ch: chain
- st: stitch
- sc: single crochet
- BLO: back loop only (insert hook under the back loop of the stitch only)
- sl st: slip stitch
- HDC: half double crochet
- HDC-BLO: half double crochet in the back loop only—this creates the raised ribbed texture.
Step-by-Step Pattern Instructions
Main Body
The beanie is worked in one large rectangle. The number of chains determines the height of the hat; if you want a slouchier fit, add more chains to the starting row.
- Row 1: Ch 35. HDC in the 3rd ch from hook and each ch across. Turn. (33 sts)
- Row 2: Ch 2 (does not count as a st). HDC-BLO in each st across. Turn. (33 sts)
- Row 3-50: Repeat Row 2 until the piece measures approximately 18 inches when laid flat.
- Finishing: Fasten off, leaving a 12-inch tail for sewing.
Assembly
- Seaming: Fold the rectangle in half, matching the short ends together. Using the tapestry needle and the long tail, sew the two edges together using a whip stitch or mattress stitch.
- Closing the Crown: Turn the tube inside out so the seam is on the inside. Thread your needle with a new length of yarn and weave it in and out along one of the open edges of the tube. Pull the yarn tight to cinch the top closed, securing it with several knots.
- Weaving Ends: Turn the hat right-side out and weave in all remaining ends securely into the interior of the fabric.
Care & Washing Instructions
- Hand wash in cool water using a mild wool-safe detergent to preserve the elasticity of the stitches.
- Lay the beanie flat on a towel to air dry, ensuring it is reshaped to its original dimensions before it dries completely.
- Do not iron or bleach, as excessive heat can damage synthetic fibers and cause the ribbing to lose its defined texture.
Pro Tips & Common Mistakes to Avoid
The most important factor in this pattern is maintaining even tension throughout the rows. If your tension is too loose, the ribbing will look gapped and saggy, so consider dropping down a hook size if you find your stitches are excessively large.
Counting your stitches at the end of every row is essential. Beginners often drop the last stitch of a row, which will cause your rectangular panel to become a trapezoid shape, making it difficult to seam the hat together evenly.
When seaming the long edges together, place a stitch marker every two inches to ensure the edges stay aligned. This prevents the panel from shifting while you sew, ensuring a seamless finish.
You can easily adjust the width of the hat by adding or subtracting rows of HDC-BLO. If you increase the row count, you will need more yarn, so ensure you have at least 250 yards available if you are making a larger adult size.
Frequently Asked Questions
Can I substitute a different yarn weight?
Using a lighter weight yarn will require you to chain more stitches for height and work more rows for width. It will change the gauge significantly, so you will need to measure against your own head as you go.
Is this pattern suitable for complete beginners?
Yes, this is an ideal first project because it uses only the half double crochet stitch and requires no increases or decreases.
How do I adjust the size for a child?
Simply reduce the starting chain length by 5 to 7 stitches and work fewer rows until the rectangle reaches about 15 inches in length.
Can I sell the hats I make from this pattern?
You are welcome to sell finished items created from this pattern, though I ask that you credit the designer and link back to this tutorial when listing your products online.
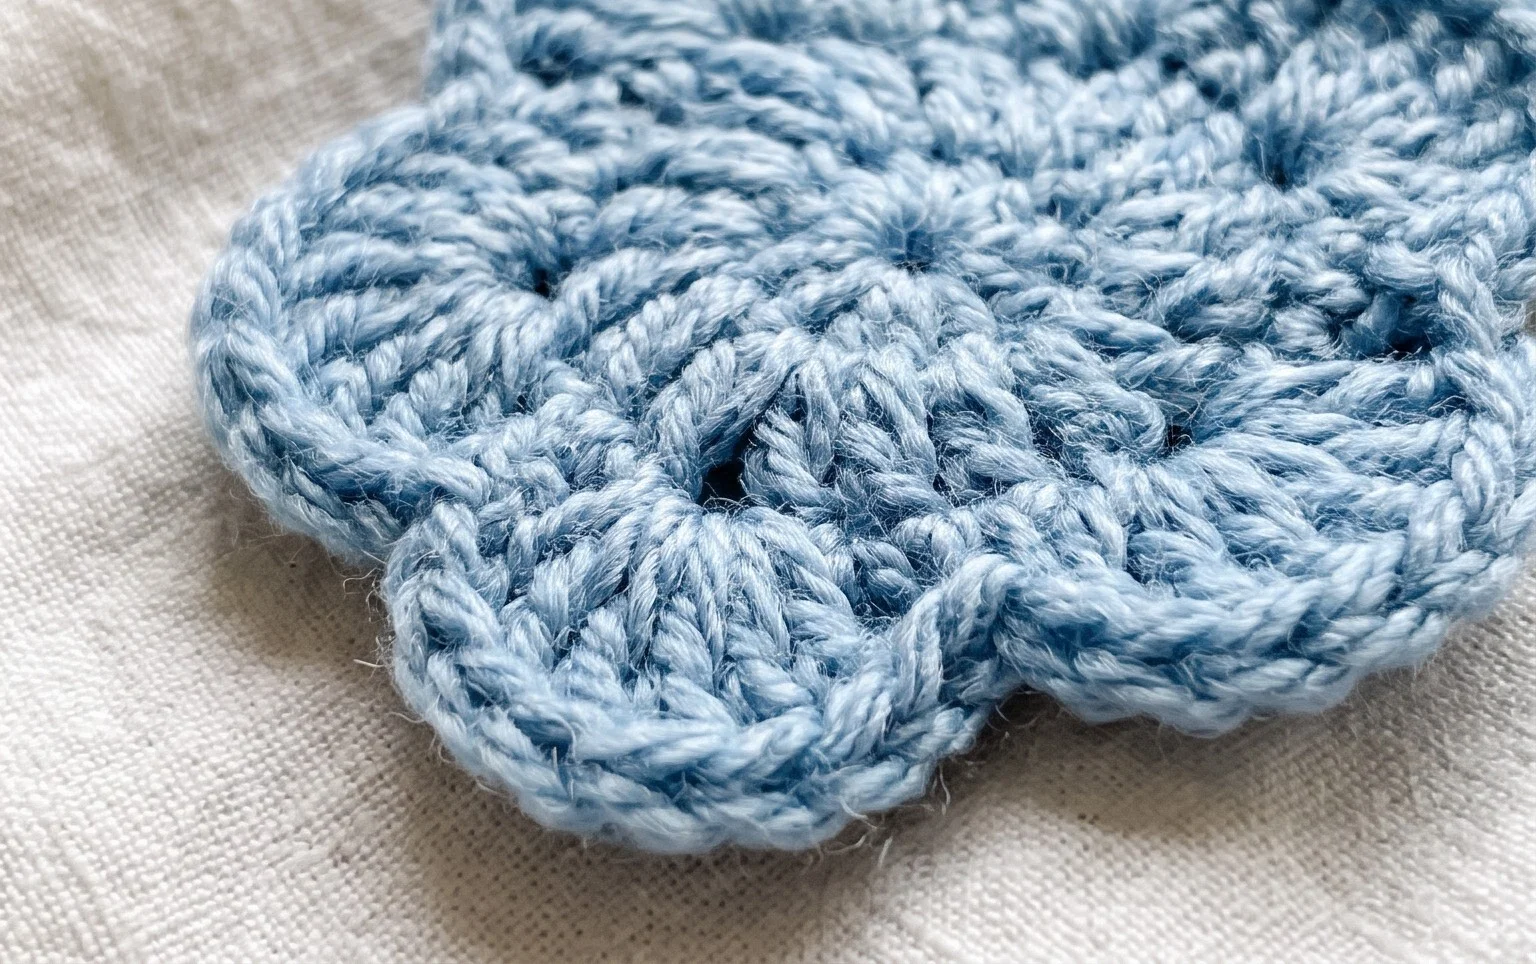
Your finished floral piece brings a sweet, organic charm to any accessory or home item you choose. You can swap out your standard yarn for a variegated cotton blend if you want the colors of the petals to change naturally as you work. Sharing your progress on Pinterest or social media helps fellow makers find inspiration for their own yarn stash projects. Feel free to browse our other free patterns on the blog to find your next creative venture after you finish these blossoms.