Easy Pumpkin Beanie: Free Crochet Pattern for Beginners
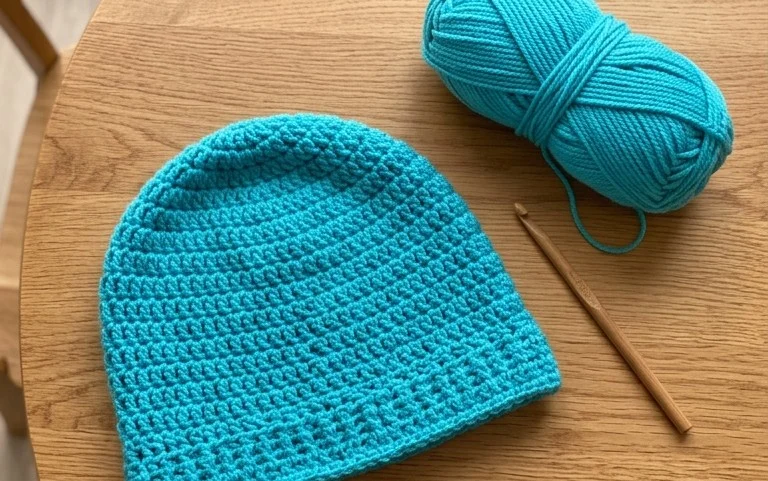
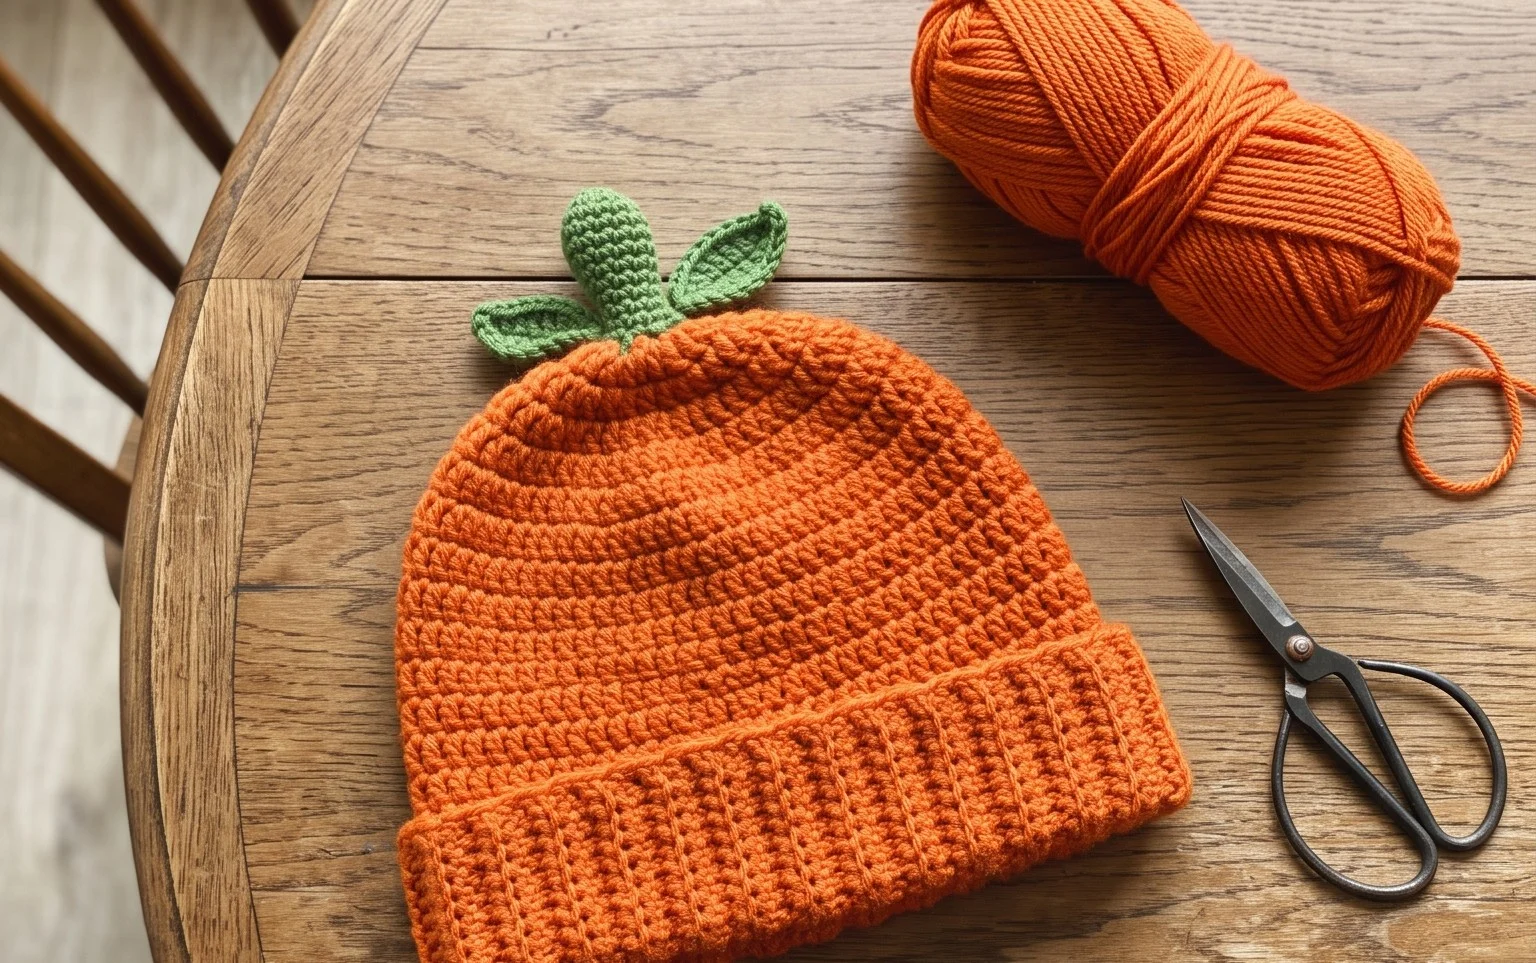
A cozy hat with deep, vertical ridges mimics the look of a knitted garment while remaining simple enough for anyone holding a crochet hook for the first time. The dense fabric traps warmth against your ears, making this an essential accessory for chilly autumn walks or brisk winter mornings. Because the design relies on a flat rectangle that is seamed at the end, you avoid the frustration of circular counting or complex increases. You will learn how to maintain consistent tension while working into the back loops, which creates the signature stretch and squishy texture of this seasonal accessory. It is a rewarding afternoon project that turns a single skein of yarn into a handmade gift for friends or a staple in your own seasonal wardrobe.
Why You’ll Love This Pattern
This crochet ribbed beanie pattern uses a simple construction method that turns a single flat rectangle into a stylish, cozy winter accessory. Because the pattern relies on working in the back loop only, the resulting fabric has incredible stretch and a squishy, knit-like texture that fits most adult head sizes comfortably. It serves as an ideal project for beginners who want to practice consistent tension and clean edges without the complexity of shaping rounds or shaping complex stitch patterns. You can complete this beanie in one or two evenings, making it a reliable choice for last-minute gifts.
I finished this hat in just a few hours using a soft wool blend. The instructions for the ribbing are very clear, and the hat fit perfectly on the first try without any adjustments.
— Sarah, hobbyist crocheter
Pattern Overview & Skill Level
- Skill Level: Beginner
- Approximate Time: 3 to 4 hours
- Construction: Worked as a flat rectangle in rows, then seamed along the side and gathered at the top
- Finished Dimensions & Sizing: 18 inches circumference (unstretched) by 9 inches height (adjustable for slouch)
Materials & Supplies Needed
- Yarn: Worsted weight (#4) wool or acrylic blend, approximately 200 yards. Solid colors show off the texture best.
- Hook Size: 5.5 mm (US I-9) crochet hook to ensure a relaxed, drapey fabric.
- Notions: Large eye tapestry needle for seaming and weaving ends, locking stitch markers to track your rows.
- Safe yarn substitutions: You can use a cotton-acrylic blend for better breathability, though it will have less natural elasticity than 100% wool. If you choose a heavier Aran weight yarn, your gauge will be larger, so reduce your starting chain by 4-6 stitches to compensate.
Stitch Guide & Abbreviations (US Terms)
- ch: chain
- st(s): stitch(es)
- sc: single crochet
- BLO: back loop only (insert the hook only under the back loop of the stitch from the previous row)
- sl st: slip stitch
- turn: turn your work to begin the next row
Step-by-Step Pattern Instructions
Main Body Panel
The hat is created by crocheting a long rectangle that will be folded in half. The length of your starting chain determines the height of your hat, while the number of rows determines the circumference.
- Row 1: Ch 41. Sc in the second ch from the hook and in each ch across. Turn your work. (40 sts)
- Row 2: Ch 1, working in BLO, sc in each st across. Turn your work. (40 sts)
- Rows 3-60: Repeat Row 2 until the piece measures approximately 18 inches when laid flat. Do not fasten off. (40 sts)
Assembly and Finishing
Once you have reached your desired length, fold the rectangle in half so the short edges meet. You will now join these two edges to form a tube.
- Seaming: Working through both the back loop of the edge closest to you and the foundation chain of the opposite side, work a row of sl st across to join the edges together.
- Closing the Crown: Fasten off your yarn, leaving a 12-inch tail. Thread this tail onto your tapestry needle. Weave the yarn in and out of every other row end along the top edge of the tube. Pull the tail tight to cinch the top of the hat closed like a drawstring. Secure with a knot on the inside.
- Final Step: Weave in all remaining loose yarn ends securely into the fabric to prevent unraveling.
Care & Washing Instructions
- Hand wash your beanie in cool water using a mild wool-safe detergent to maintain the integrity of the fibers.
- Avoid wringing or twisting the fabric while wet, as this can distort the ribbing; instead, lay it flat on a clean towel to air dry.
- Reshape the hat while damp and keep it away from direct heat sources or harsh sunlight to prevent shrinking or fading.
Pro Tips & Common Mistakes to Avoid
Maintain consistent tension by relaxing your shoulders while you work; tight stitches make the BLO ribbing look uneven. Always place a stitch marker at the start of every row to ensure you do not accidentally skip the final stitch, which often leans inward. When weaving in your ends, run the needle through the center of the stitches rather than across the surface to keep the repair invisible. If you want a slouchier fit, simply add 10 to 15 more rows during the construction phase, but note that this will require approximately 30 additional yards of yarn.
Frequently Asked Questions
Can I use a chunky weight yarn instead of worsted?
Yes, but you must adjust your starting chain to about 30 stitches instead of 40 and use a larger 8.0 mm hook. Chunky yarn will create a much thicker, heavier fabric.
Is this pattern suitable for children?
Yes, reduce the number of rows from 60 to 45 to fit a smaller head circumference. You may also want to reduce the starting chain length to 35 stitches for a shorter height.
Why does my rectangle look wavy?
A wavy edge is usually caused by inconsistent tension or missing the final stitch in a row. Always count your stitches at the end of every row to ensure you have 40.
Can I sell the hats I make from this pattern?
Yes, you are free to sell finished items you create using this design. Please credit the original pattern designer when posting your listings online.
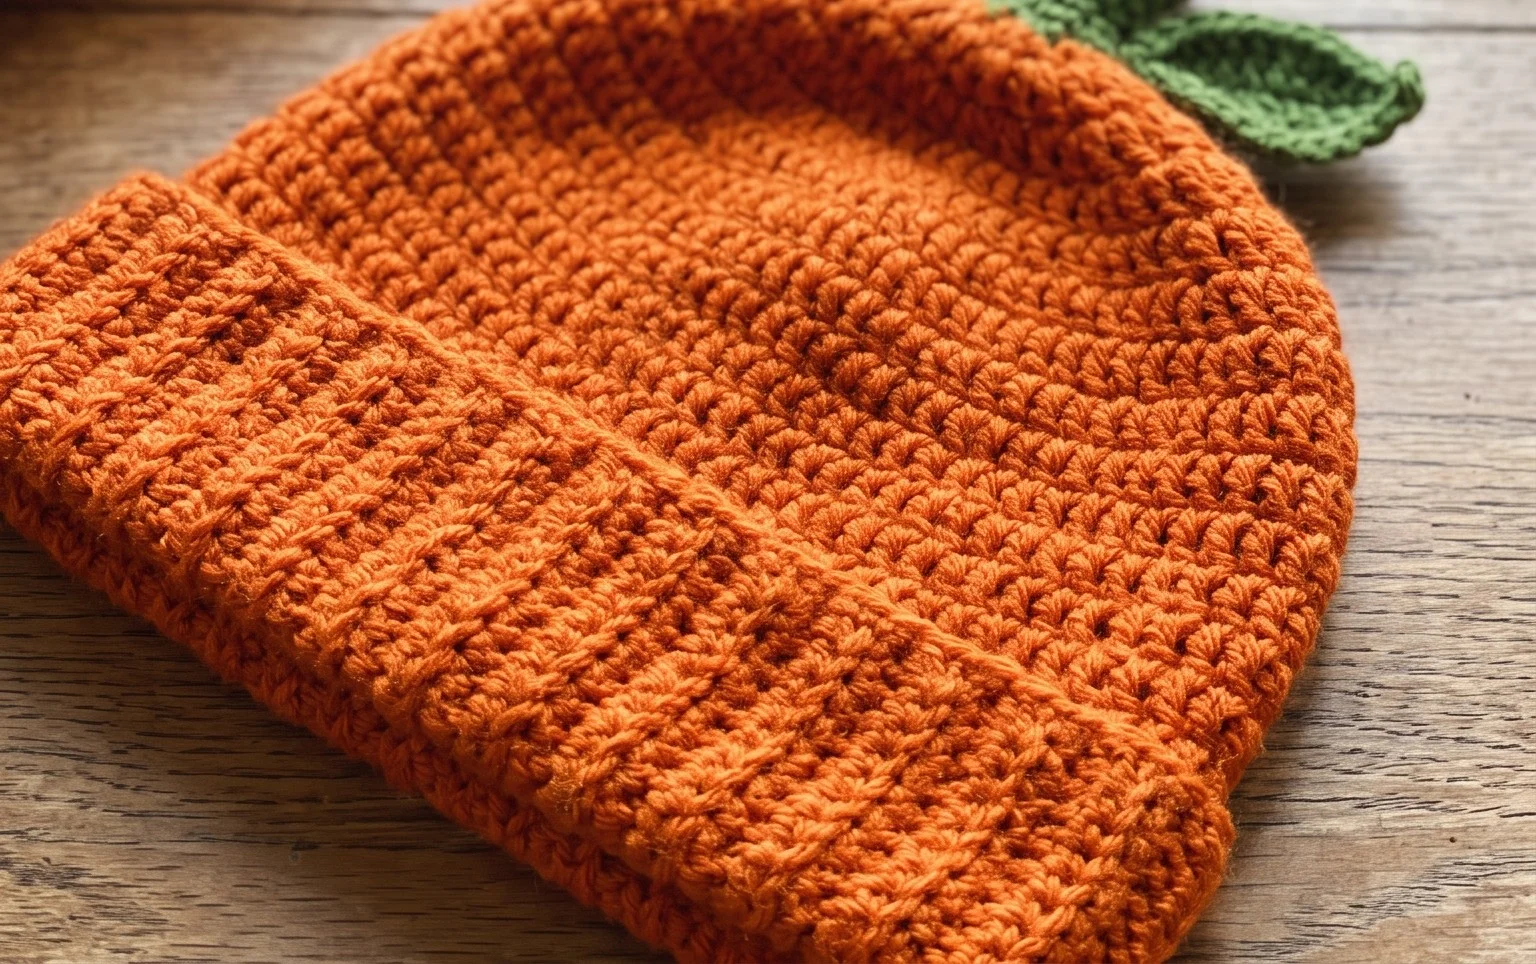
Your finished hat brings a touch of handmade warmth to any outfit while providing a functional accessory for the coldest months of the year. If you want to customize your next version, try working the ribbing in a vibrant mustard yellow or a muted forest green to see how different fibers change the overall stitch definition. Sharing a photo of your finished work helps others see the potential of this simple construction. Visit the rest of the blog to find more free projects for your collection.