Easy Winter Potholders: Free Beginner Crochet Patterns
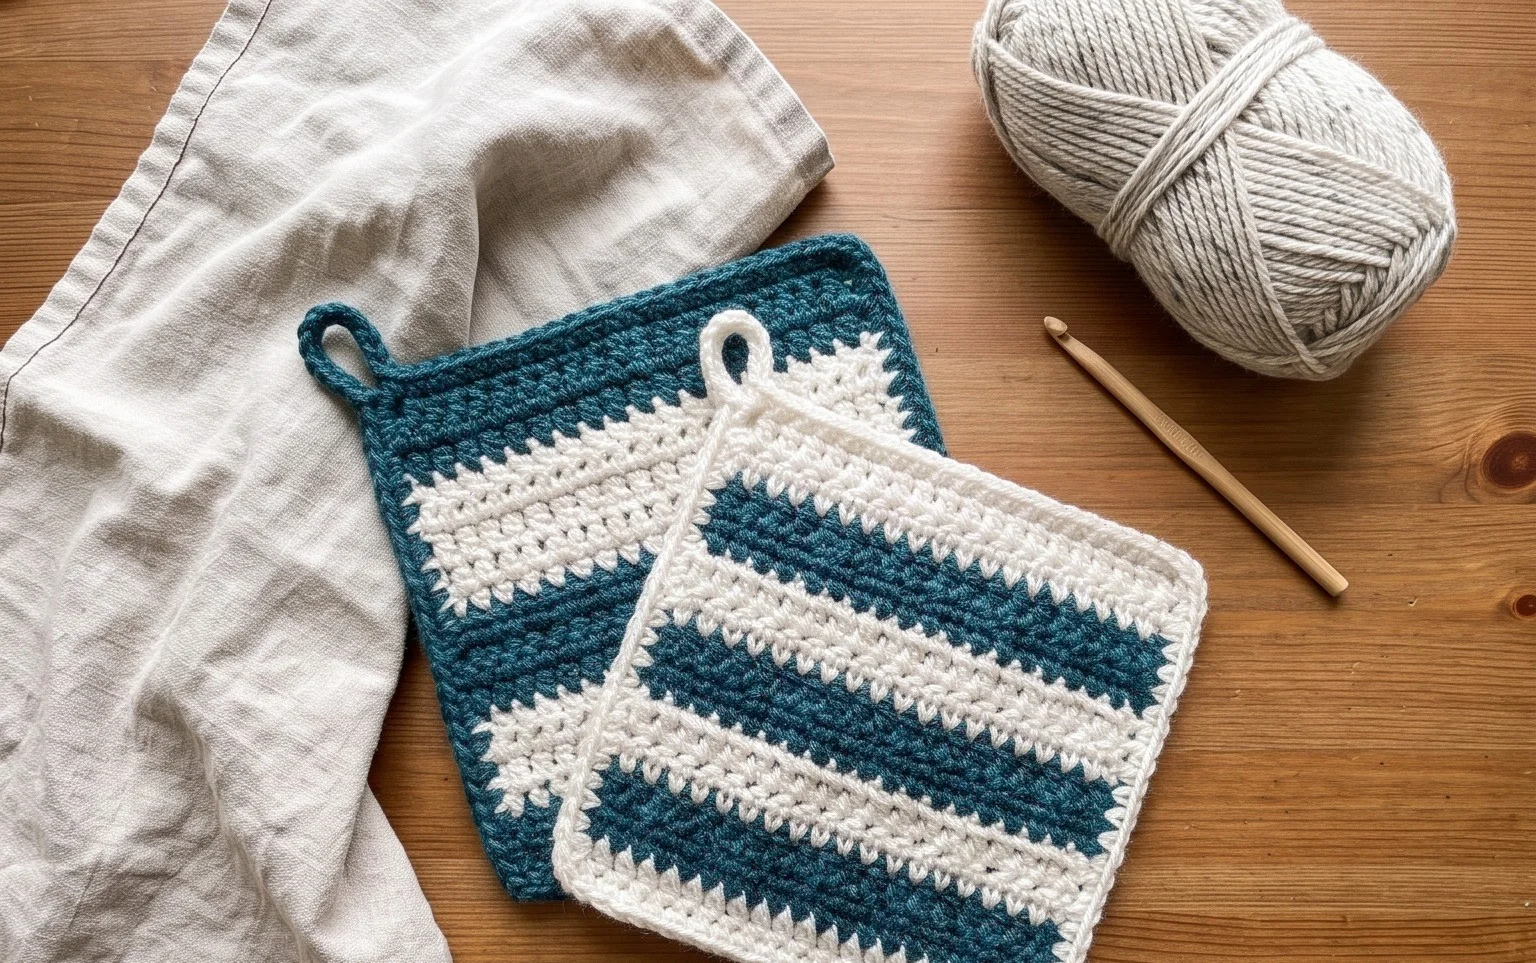
Dense cotton yarn creates a thick, heat-resistant barrier that protects your kitchen surfaces while adding a cozy touch to your stove handle during the colder months. These squares fit comfortably in your palm and gain a sturdy, reliable structure that feels substantial enough for daily use. Beginners appreciate how these simple geometric shapes teach foundational stitching techniques without overwhelming the process, while gift makers find them a quick, thoughtful way to share handmade warmth with friends. By learning to work in consistent rounds, you build the muscle memory required for more advanced projects while finishing a functional housewarming present.
Why You Will Love This Pattern
The Classic Crochet Granny Square is the quintessential building block for fiber artists. It works up quickly using basic stitches, making it an ideal project for practicing consistent tension while creating something useful. You can easily adapt the size by adding more rounds, allowing you to create anything from simple coasters to large-scale bedspreads. Because this pattern relies on a repetitive sequence, it becomes meditative once you master the first few rounds, serving as a reliable project for long commutes or relaxing evenings on the couch.
I learned to crochet last week and finished my first square in under thirty minutes. The instructions are very clear about where to place the stitches in the corners, which helped me avoid the common mistake of skipping gaps.
— Sarah, beginner crafter
Pattern Overview & Skill Level
- Skill Level: Beginner
- Approximate Time: 30 to 45 minutes per square
- Construction: Worked in joined rounds, starting from a center ring and expanding outward.
- Finished Dimensions: Approximately 6 inches by 6 inches when using worsted weight yarn.
Materials & Supplies Needed
- Yarn: Worsted weight (#4), 100% cotton or acrylic blend, approximately 20 yards per square.
- Hook Size: 5.0 mm (US H-8).
- Notions: Tapestry needle for weaving in ends, sharp scissors.
- Safe Yarn Substitutions: You can use DK weight yarn with a 4.0 mm hook for a smaller, tighter square, or bulky weight yarn with a 6.0 mm hook for a larger, quicker square. Note that changing weight affects the final dimensions significantly.
Stitch Guide & Abbreviations (US Terms)
- ch = chain
- dc = double crochet
- sl st = slip stitch
- st/sts = stitch/stitches
- sp = space
- Cluster = A group of 3 dc stitches worked into the same space.
- Corner = The sequence of (dc 3, ch 2, dc 3) worked into a chain-2 space to create a 90-degree angle.
Step-by-Step Pattern Instructions
Center and Foundation
Rnd 1: Start with a magic ring or ch 4 and join with a sl st to form a ring. Ch 3 (counts as first dc), work 2 dc into the ring, ch 2. Work a cluster of 3 dc into the ring, ch 2, repeat cluster 3 times more. Join with a sl st to the top of the initial ch 3. (12 dc, 4 ch-2 spaces)
Expanding the Square
Rnd 2: Sl st into the next dc and into the first ch-2 corner space. Ch 3, 2 dc in same sp, ch 2, 3 dc in same sp. *Ch 1, skip 3 sts, (3 dc, ch 2, 3 dc) in next ch-2 corner sp. Repeat from * 2 more times. Ch 1, join with a sl st to the top of the initial ch 3. (24 dc, 4 ch-1 spaces, 4 ch-2 spaces)
Rnd 3: Sl st into the next dc and into the corner sp. Ch 3, 2 dc in same sp, ch 2, 3 dc in same sp. *Ch 1, 3 dc in next ch-1 space, ch 1, (3 dc, ch 2, 3 dc) in corner sp. Repeat from * 2 more times. Ch 1, 3 dc in final ch-1 space, ch 1, join with a sl st to the top of the initial ch 3. (36 dc, 8 ch-1 spaces, 4 ch-2 spaces)
Finishing
Fasten off the yarn, leaving a 6-inch tail. Use a tapestry needle to weave the tail through the back of the stitches to secure it. Repeat this process for the starting yarn tail at the center ring. Block the square by pinning it to a flat surface, lightly misting with water, and allowing it to air dry to ensure all edges remain straight.
Care & Washing Instructions
- Hand wash in cool water with a mild detergent to prevent fiber stretching.
- Lay the square flat on a clean towel to air dry away from direct sunlight.
- Avoid using a tumble dryer, as high heat can shrink or distort the stitches.
Pro Tips & Common Mistakes to Avoid
Maintain consistent tension by ensuring your yarn flow remains smooth through your fingers; if you pull too tightly, the square will cup or curve. Always place a stitch marker in the top of your starting chain-3 to make identifying the join point easier on subsequent rounds. Weave your ends in multiple directions, specifically back and forth through the cluster stitches, to prevent them from unraveling after repeated washings. If you want to adjust the size, add as many rounds as you like by placing a cluster in every ch-1 space along the sides and a corner set in every ch-2 corner space.
Frequently Asked Questions
Can I use different colors for each round?
Yes, you can fasten off at the end of every round and join a new color in any corner space to create a vibrant, multi-colored effect.
Is this square suitable for a beginner?
Absolutely, it only requires knowledge of chains and double crochet stitches, which are the most common stitches in crochet.
How do I join these squares together?
You can join them using a whip stitch along the back loops or by using a slip stitch join to create a raised seam between the squares.
Can I sell items made with this pattern?
You are welcome to sell finished products made from this pattern, provided you credit the design and use your own photographs.
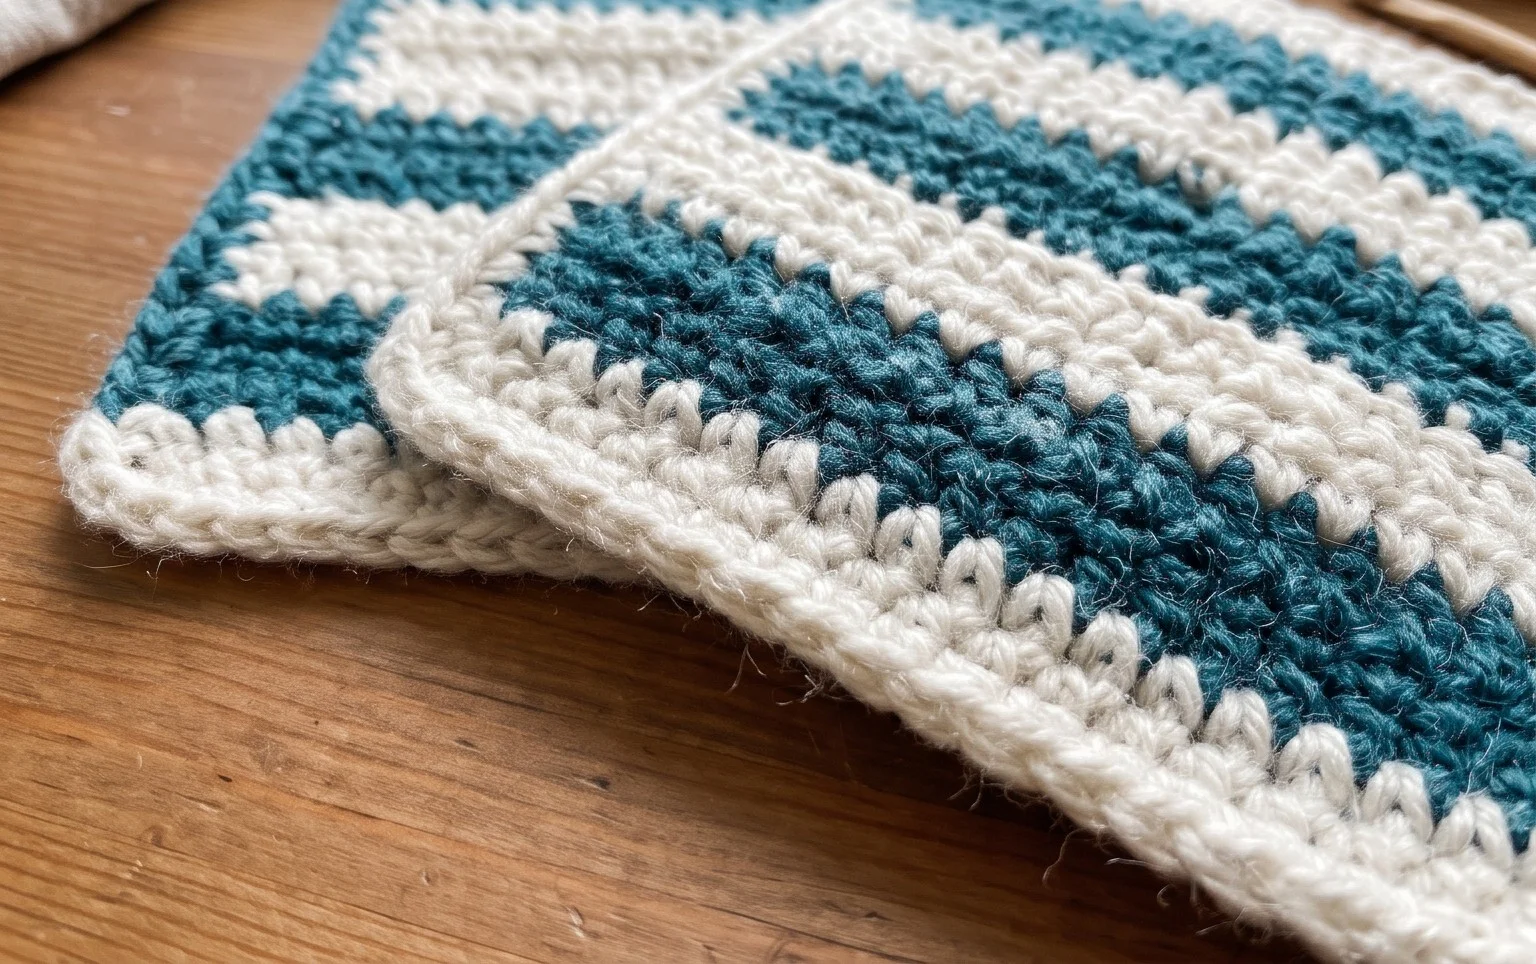
A stack of these finished cotton squares brings a tidy sense of accomplishment to your kitchen drawer. You can swap the solid colors for a bold variegated yarn to highlight the stitching or stitch two squares together for extra thickness when handling hot cast iron pans. Sharing a photo of your finished work helps others visualize their own color combinations for these useful winter staples. Please browse the rest of the blog for more patterns that use basic stitches to create practical household items you will reach for daily.