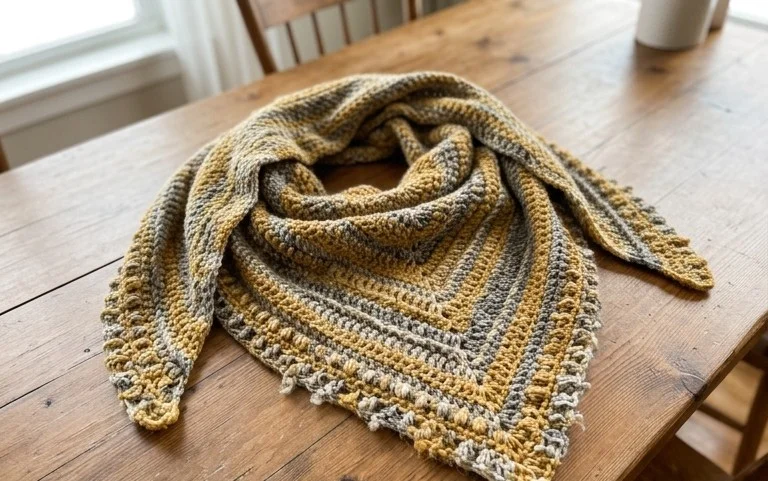
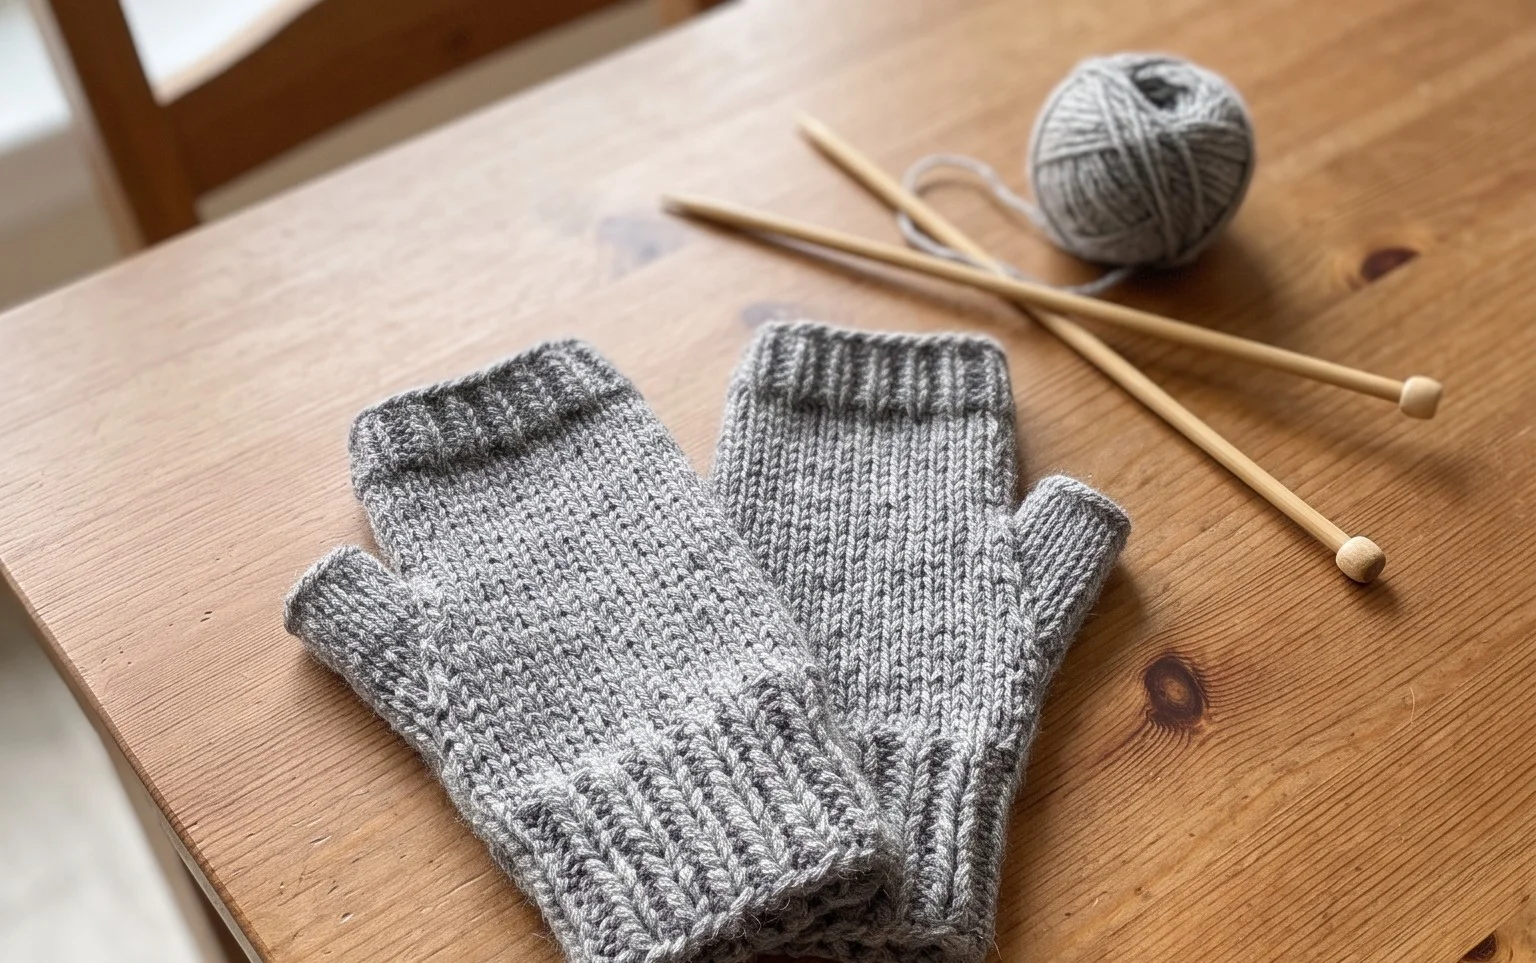
Free Mitten Template for Crafts: Easy Printable Pattern
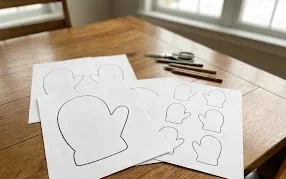
A simple mitten outline turns paper, felt, and yarn scraps into a cheerful winter craft. This free printable mitten template gives you a clear shape to trace, cut out, and decorate, whether you are making classroom projects, handmade gift tags, or a small piece of seasonal home decor. Beginners can keep the design plain, while confident makers can add crochet details, buttons, or stitched cuffs. The rounded thumb and roomy palm are easy to recognize, and working with a paper guide helps keep both sides close in size. You will find practical tips for printing and sizing the template, choosing materials, and adding texture with simple crochet stitches such as double crochet clusters. The finished mitten feels personal, takes little space to store, and is satisfying to complete in one crafting session.
Why You’ll Love This Pattern
This four-round granny square uses double crochet clusters and open corner spaces to build a flat, recognizable motif. The repeated groups are easy to see, so you can check your work as you go, and the small size makes it a manageable first project for practicing crochet in the round.
A square takes little yarn and works well with leftovers, though using a consistent yarn weight helps keep its edges even. Make several squares in the same yarn for a coordinated set, or practice joining and finishing on a single sample before making a larger project.
The corners were easy to spot, and I had a finished square before I expected. It was a good way to practice keeping my clusters even.
— Maya, beginner crocheter
Pattern Overview & Skill Level
- Skill Level: Beginner. You should know how to make a slip knot and chain; the pattern explains the remaining stitches.
- Approximate Time: About 30–45 minutes for one square, depending on your pace and how often you check your stitches.
- Construction: Work four joined rounds from the center outward. Chain spaces form the corners, and double crochet clusters fill the sides.
- Finished Dimensions & Sizing: Approximately 4½ inches (11.5 cm) square in worsted-weight yarn with a 5.0 mm hook. Individual tension can change the finished measurement.
Materials & Supplies Needed
- Yarn: Worsted-weight (#4) acrylic or cotton yarn, about 15–20 yards (14–18 m) for one square. Use one color, or change colors at the start of a new round.
- Hook: 5.0 mm / H-8 crochet hook.
- Notions: Tapestry needle for weaving in ends, scissors, and a stitch marker to mark the first stitch of each round if helpful.
- Substitutions: A similar-weight wool or cotton blend can replace acrylic. A different yarn weight will change the square’s size and texture; choose a hook recommended on the yarn label, and expect to use a different amount of yarn.
Stitch Guide & Abbreviations (US Terms)
- ch: Chain.
- dc: Double crochet. Yarn over, insert the hook, yarn over and pull up a loop, yarn over and pull through two loops twice.
- sl st: Slip stitch. Insert the hook, yarn over, and pull the yarn through the stitch and the loop on the hook.
- sp: Space, usually the open gap made by chain stitches.
- st / sts: Stitch / stitches.
- cluster: Three double crochet stitches worked into the same space.
- corner cluster: Three double crochet stitches, ch 2, then three double crochet stitches worked into the same corner space.
The beginning ch 3 counts as one dc throughout. Stitch counts below list double crochet stitches only; chain stitches and slip stitches are not included. Each round has four corner spaces.
Step-by-Step Pattern Instructions
Granny Square
- Rnd 1: Make a slip knot and ch 4. Join with a sl st to the first ch to form a ring. Ch 3 (counts as dc), work 2 dc into the ring, ch 2. Repeat 3 dc in the ring, ch 2 three times. Join with a sl st to the top of the beginning ch 3. (12 dc)
- Rnd 2: Sl st across the next 2 dc and into the first ch-2 corner sp. Ch 3, work 2 dc, ch 2, and 3 dc in that same corner sp. Ch 1. In each of the next 3 corner sps, work a corner cluster, then ch 1. Join with a sl st to the top of the beginning ch 3. (24 dc)
- Rnd 3: Sl st across the next 2 dc and into the first corner sp. Ch 3, work 2 dc, ch 2, and 3 dc in that corner sp. Ch 1. Work a cluster in the next ch-1 side sp, ch 1. In each of the next 3 corners, work a corner cluster, then ch 1; work a cluster in the next side sp, then ch 1. Join with a sl st to the top of the beginning ch 3. (36 dc)
- Rnd 4: Sl st across the next 2 dc and into the first corner sp. Ch 3, work 2 dc, ch 2, and 3 dc in that corner sp. Ch 1. Work a cluster in each side sp, with ch 1 between clusters. At each of the next 3 corners, work a corner cluster, then ch 1; work a cluster in each side sp, with ch 1 between clusters. Join with a sl st to the top of the beginning ch 3. (48 dc)
Finishing
Cut the yarn, leaving a 6-inch (15 cm) tail. Pull the tail through the final loop and snug it gently. Thread the tail onto a tapestry needle and weave it through the backs of several stitches on the wrong side. Weave in the center tail the same way. Lay the square flat and check that all four sides are even before using or blocking it.
Care & Washing Instructions
- For acrylic yarn, wash gently in cool water, around 30°C (86°F), by hand or on a gentle machine cycle; follow the yarn label if it gives different directions.
- Press out water in a towel and dry the square flat; avoid hanging it, which can stretch the corners.
- While damp, reshape the four corners and sides evenly; use light blocking only if the yarn label allows it.
Pro Tips & Common Mistakes to Avoid
- Keep your chain stitches loose enough to fit the hook comfortably into each corner space. Tight corner chains can pull the square inward.
- Use a stitch marker in the beginning ch-3 stitch or move it to the start of each round. Count the dc stitches at the end of every round: 12, 24, 36, then 48.
- When weaving in the ends, follow the backs of stitches in more than one direction. Avoid pulling the yarn tight, which can pucker the fabric.
- For a larger square, continue with another round: make a corner cluster in each corner and a cluster in every side space, adding a chain between side clusters. Each added round uses more yarn and increases the width; keep the same stitch pattern to maintain a square shape.
Frequently Asked Questions
Can I use a different yarn weight?
Yes. Choose a hook that suits the yarn, then expect a smaller square with fine yarn or a larger, thicker square with bulky yarn. The stitch counts stay the same, but the amount of yarn and finished dimensions change.
How can I make the square larger?
Work additional rounds using the same arrangement: one corner cluster in each corner space and a cluster in every side space, with chain stitches between clusters. Measure after each round because your tension and yarn affect the final width.
Is this pattern suitable for a first crochet project?
It is suitable if you can make chains and are ready to learn double crochet and slip stitches. The corners and side spaces can take a round or two to recognize; count the clusters and mark the round start until the layout feels familiar.
May I sell items made from this pattern?
Check the designer’s terms before selling finished work, and follow any requirements for credit or sales. This guide does not establish permission for commercial use of another designer’s pattern.
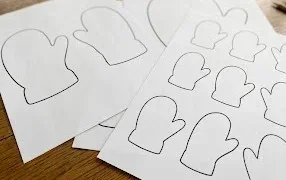
A finished mitten cutout or decorated motif is a small, cheerful reminder of the time you spent making something by hand. For a simple variation, print the template at a smaller scale and use a second yarn color for the cuff or stitched details. You can also trace the shape onto felt or cardstock when you want a different texture without changing the outline. If you make one, share a photo on Pinterest or your favorite social media account so other crafters can see your colors and finishing touches. Then browse the blog for more free patterns and printable projects to keep your craft table busy through the season.