Easy Granny Square Blanket: Free Pattern & Step-by-Step
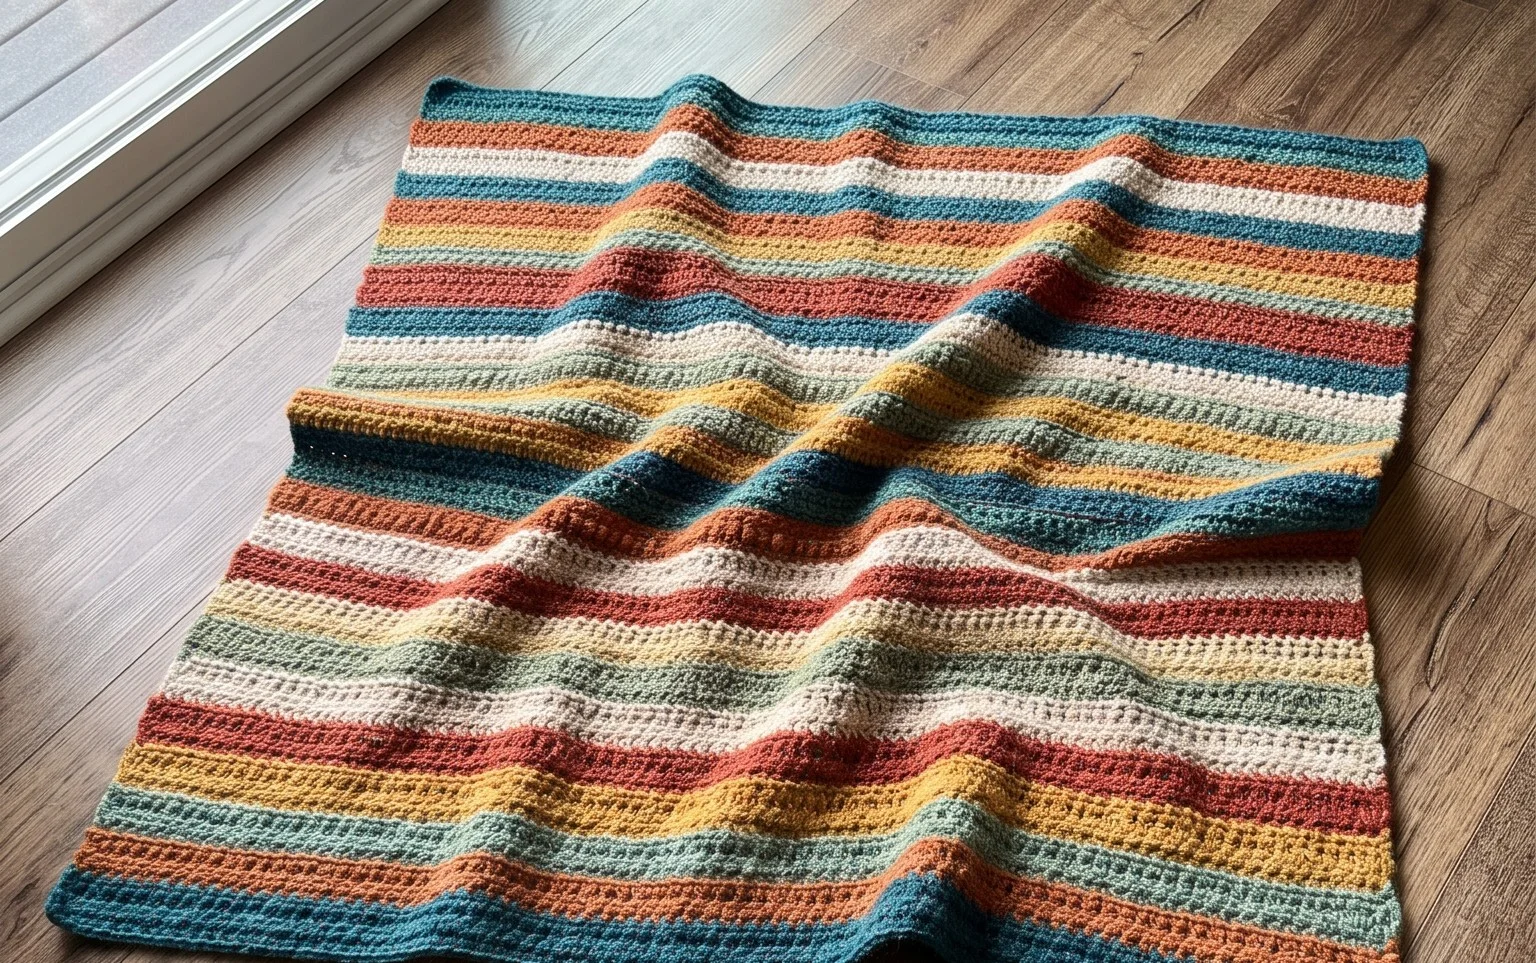
A soft blanket draped over the arm of your favorite sofa provides the kind of warmth that makes a house feel like a home. This project relies on simple stitches and rhythmic repetition to create a dense, squishy fabric that holds up to years of daily use. You will enjoy how the yarn colors shift as you work, allowing you to build a custom palette that matches your decor. Beginners appreciate this pattern for its straightforward construction, while experienced makers find comfort in the meditative pace. Master the standard granny square technique and learn how to join your finished pieces cleanly.
Why You’ll Love This Pattern
The Classic Crochet Granny Square is the fundamental building block of crochet heritage, favored for its modular nature and meditative rhythm. Making these squares is an ideal way to practice consistent tension because the stitches are worked into chain spaces rather than tight loops, making the process much faster than solid fabric crochet. Because each square is a standalone unit, it is a highly portable project that you can easily tuck into a small bag for travel or short breaks. You can transform a stack of these squares into anything from a small coaster to a sprawling heirloom blanket, giving you total control over the finished scale of your work. The repeat pattern is simple enough to memorize within the first few rounds, allowing you to relax while you work.
I finally learned how to keep my edges straight after making a dozen of these squares. The instructions are so clear that I never had to frog my work once.
— Sarah, beginner crocheter
Pattern Overview & Skill Level
- Skill Level: Beginner
- Approximate Time: 30-45 minutes per square
- Construction: Worked in joined rounds, starting from the center and expanding outward
- Finished Dimensions: Approximately 6 inches by 6 inches when using worsted weight yarn
Materials & Supplies Needed
- Yarn: Worsted #4 weight, 100% acrylic or wool blend, approximately 20 yards per square.
- Hook Size: 5.0 mm / H-8.
- Notions: Tapestry needle for weaving in ends, sharp scissors.
- Yarn Substitutions: You can use DK weight yarn for a smaller, 4-inch square or bulky weight yarn for an 8-inch square. Changing yarn weight will significantly alter the final dimensions, so adjust your hook size to match the yarn manufacturer’s recommendation on the label.
Stitch Guide & Abbreviations (US Terms)
- ch = chain
- sl st = slip stitch
- dc = double crochet: Yarn over, insert hook into space or stitch, yarn over and pull up a loop, yarn over and pull through two loops, yarn over and pull through remaining two loops.
- sp = space created by chain stitches
- cluster = a group of 3 dc worked into the same space
- st = stitch
Step-by-Step Pattern Instructions
Center and Foundation
- Rnd 1: Start with a magic ring or ch 4 and join with a sl st to the first chain to form a ring. Ch 3 (counts as first dc), work 2 dc into the ring, ch 2. Work 3 dc into the ring, ch 2. Repeat from * to * two more times. Join with a sl st to the top of the beginning ch 3. (12 dc, 4 ch-2 sps)
Expanding the Square
- Rnd 2: Sl st into the next dc and into the first ch-2 corner sp. Ch 3, 2 dc, ch 2, 3 dc all in the same corner sp. Ch 1, skip 3 dc, (3 dc, ch 2, 3 dc) in the next ch-2 corner sp. Repeat from * to * two more times. Ch 1, join with a sl st to the top of the beginning ch 3. (24 dc, 8 ch-1 sps)
- Rnd 3: Sl st into the next 2 dc and into the corner ch-2 sp. Ch 3, 2 dc, ch 2, 3 dc in the same corner sp. Ch 1, 3 dc in the next ch-1 sp, ch 1, (3 dc, ch 2, 3 dc) in the next corner sp. Repeat from * to * two more times. Ch 1, 3 dc in the last ch-1 sp, ch 1, join with a sl st to the top of the beginning ch 3. (36 dc, 12 ch-1 sps)
Finishing
After completing Round 3, fasten off your yarn, leaving a 6-inch tail. Pull the tail through the final loop to secure it. Use your tapestry needle to weave the tail back and forth through the back of the double crochet stitches to hide it securely.
Care & Washing Instructions
- Hand wash your finished squares in cool water using a mild wool wash or gentle detergent.
- Lay the squares flat on a clean towel and reshape them while damp to ensure the corners remain square.
- Avoid using a tumble dryer, as heat can shrink natural fibers and fray acrylic yarn over time.
Pro Tips & Common Mistakes to Avoid
- Maintain consistent tension by ensuring your yarn over motions are uniform throughout the square; if your stitches look loose, try dropping down half a hook size.
- Place a stitch marker in the first chain of your beginning chain 3 so you can easily identify the join point at the end of each round.
- Weave in your ends by traveling through the base of the stitches rather than across the gaps, which keeps the yarn hidden and prevents the ends from popping out.
- If you want a larger square, simply continue repeating the Round 3 logic, placing (3 dc, ch 2, 3 dc) in each corner and 3 dc in every side chain space. Note that each additional round will use approximately 10-15% more yarn.
Frequently Asked Questions
Can I use different colors for every round?
Yes, changing colors is a classic way to use up scrap yarn. Simply fasten off at the end of each round and join your new color in any corner space to start the next round.
Are these squares suitable for a beginner?
This pattern is excellent for beginners because it focuses on the double crochet stitch and working into chain spaces, which is much more forgiving than searching for the top loops of stitches.
Is it okay to sell items made from this pattern?
You are welcome to sell finished items created with this pattern, provided you credit the designer and use your own original photographs for your listings.
How do I join these squares together?
You can join squares using a whip stitch with a tapestry needle or by holding two squares together and working a slip stitch through the back loops of both squares to create a decorative ridge.
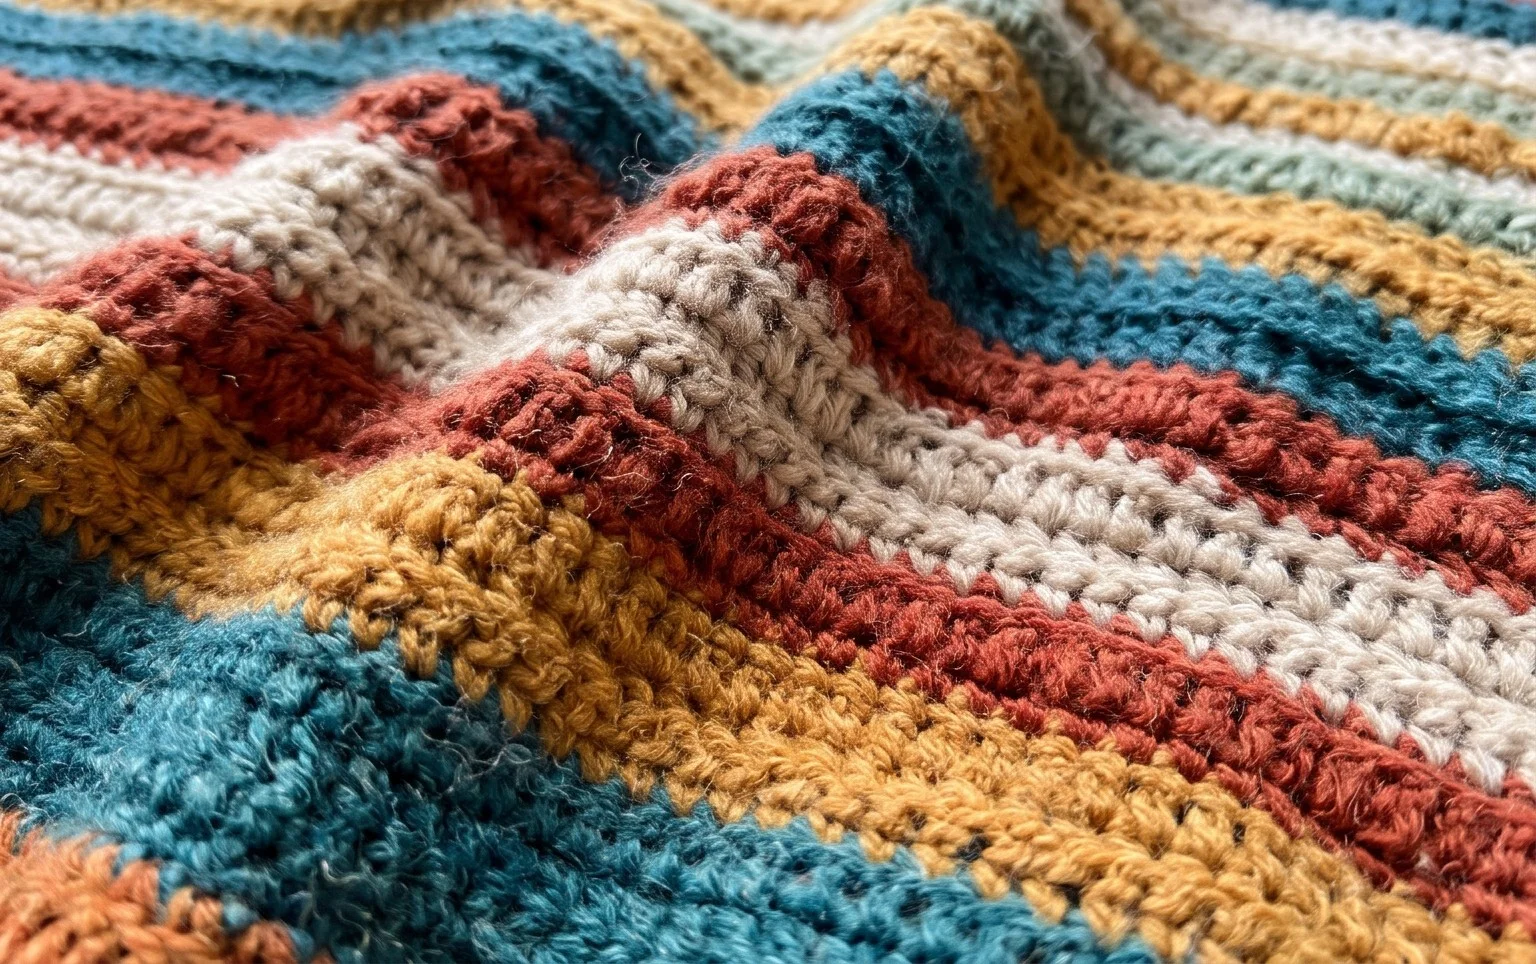
Your finished blanket serves as a cozy layer for chilly evenings or a thoughtful gift for a friend. You can experiment with using scrap yarn from your stash to create a multicolored look or increase your hook size to produce a lighter, drape-heavy throw. Posting a photo of your work on social media helps other makers find inspiration for their own color choices. Please visit our blog archive to find more free projects for your next afternoon session with a crochet hook and a fresh skein of yarn.