Woven Hearts Beanie Free Crochet Pattern for Beginners
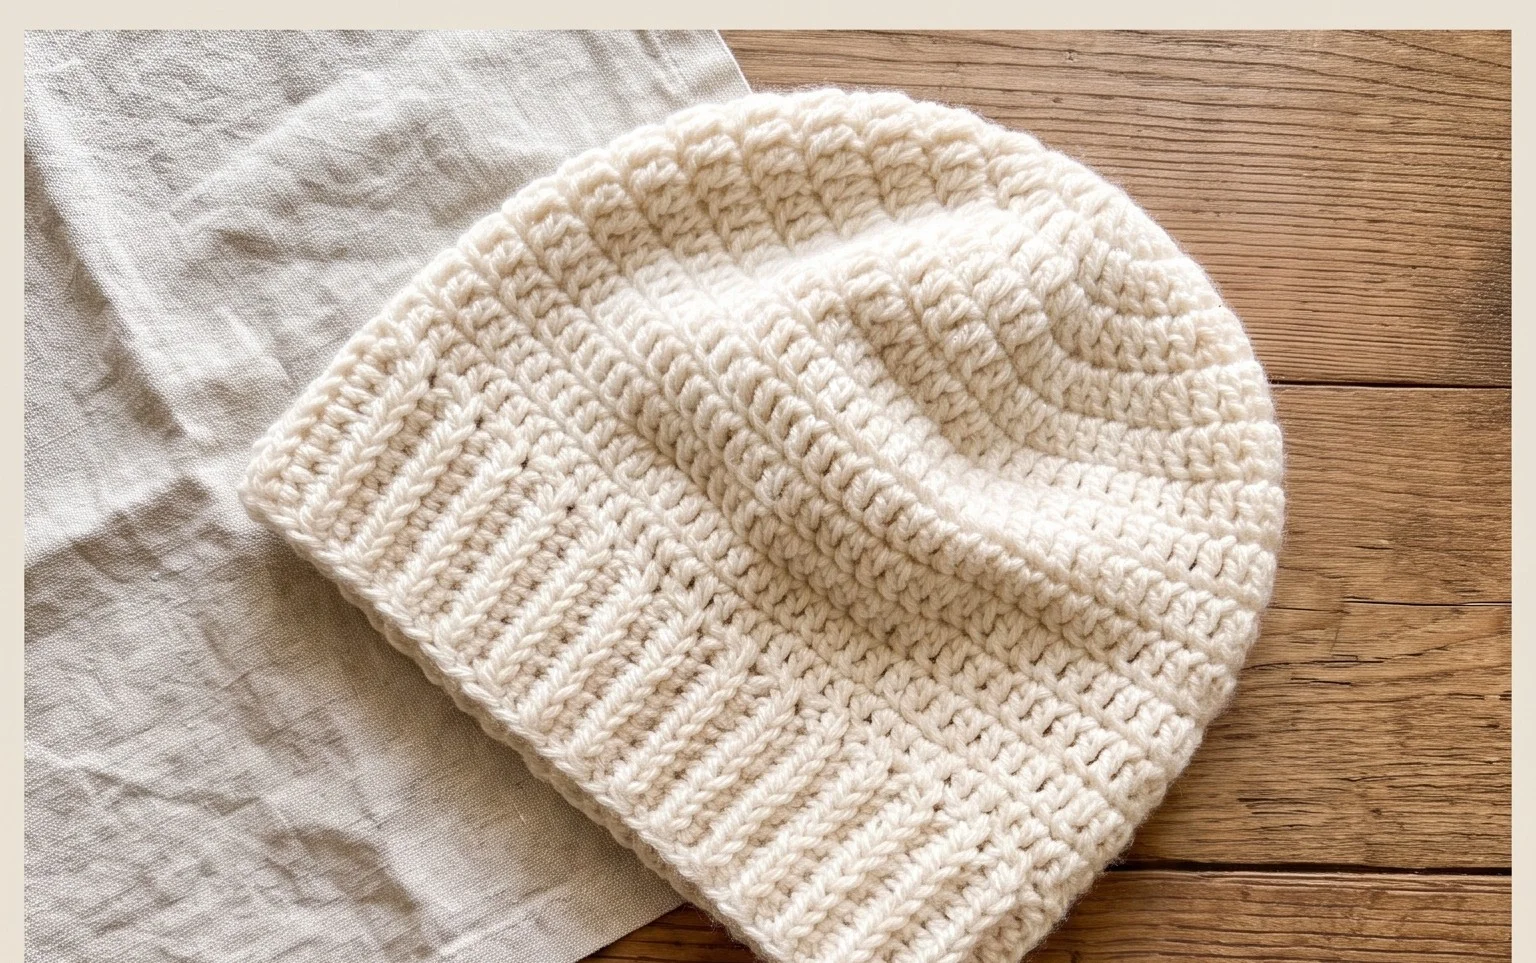
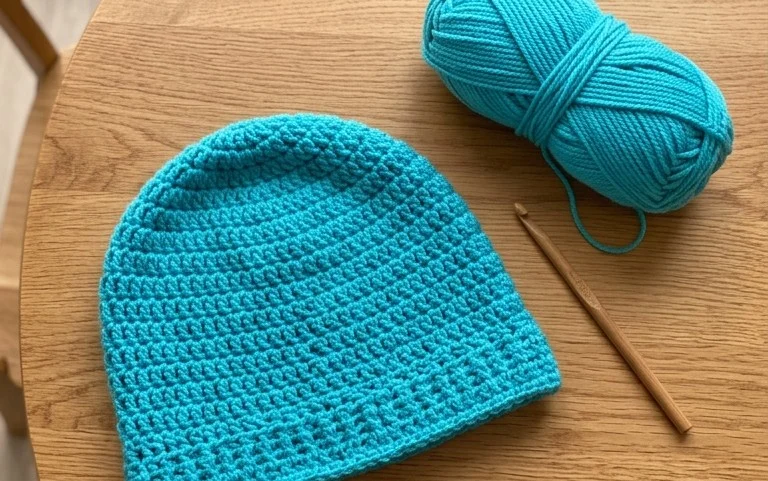
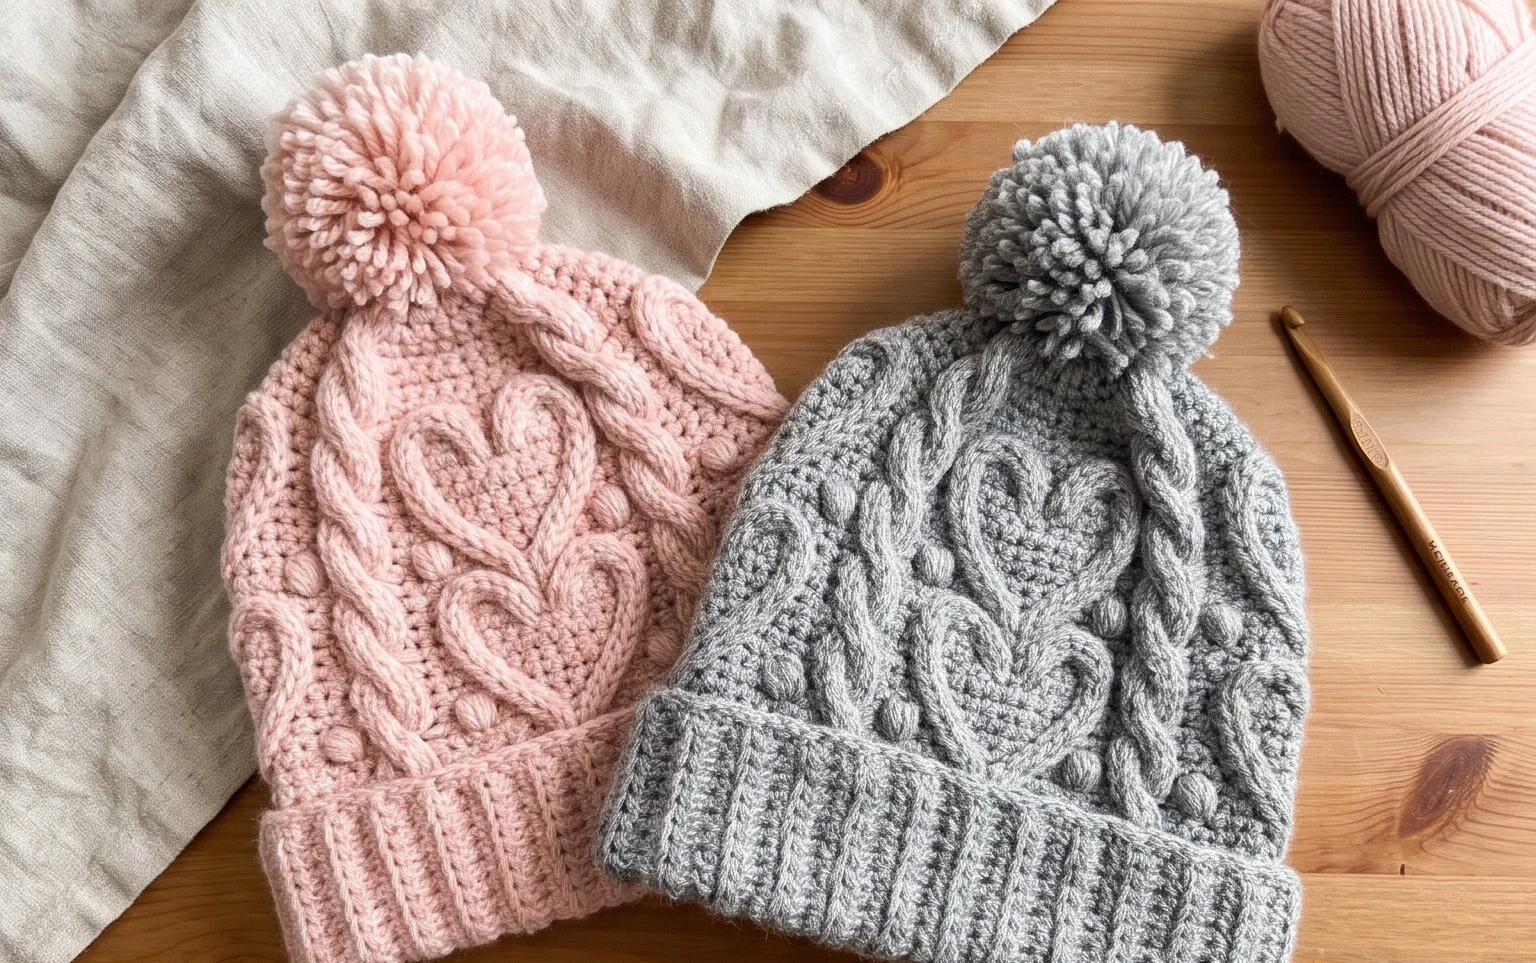
Raised heart shapes give this crochet beanie a woven look, with a soft texture that feels cozy on chilly walks and commutes. It makes a thoughtful handmade gift for someone who likes a little color and pattern, and the finished hat has the personal feel that home decor lovers often enjoy carrying into their winter wardrobe. Beginners can take their time with the repeating stitch pattern, while experienced crocheters can settle into the rhythm and enjoy watching the hearts appear. This project is satisfying because each section adds visible texture, and the finished beanie is useful as soon as the last end is woven in. The pattern article explains the stitch technique, how the hat comes together, and practical ways to choose yarn and get a comfortable fit.
Why You’ll Love This Pattern
A firm cotton fabric and straight rows make this crochet dishcloth useful for everyday kitchen cleanup. The pattern uses single crochet from edge to edge, so you can focus on even tension instead of tracking shaping or joining rounds. It is a practical first project for learning to count stitches, and one cloth takes roughly two to three hours, depending on your pace.
Worsted cotton is easy to find and holds up to frequent washing. A single solid color makes the stitch texture clear while you work, and leftover cotton can be used as long as you have about 70 yards. The finished cloth is about 10 by 8½ inches, a handy size for washing dishes or wiping counters.
The rows were easy to keep track of, and the cotton made a sturdy cloth. I used a stitch marker at the edge of each row and finished it in an evening.
— Maya, beginner crocheter
Pattern Overview & Skill Level
- Skill Level: Beginner. You need to chain and work single crochet in rows.
- Approximate Time: Two to three hours, not including washing or drying.
- Construction: One flat rectangle worked back and forth in single crochet. The turning chain does not count as a stitch.
- Finished Dimensions & Sizing: About 10 by 8½ inches after washing and drying, using the gauge below. Cotton and individual tension can change the finished measurements.
- Gauge: 12 single crochet stitches and 14 rows measure about 4 inches square. Gauge is a useful guide for size, but a small difference is fine for a dishcloth.
Materials & Supplies Needed
- Yarn: About 70 yards of worsted-weight cotton yarn, weight #4. One solid color is easiest for seeing your stitch tops; a small amount of another cotton color is optional for a contrasting first row.
- Hook: 5.0 mm / H-8 crochet hook. If your fabric feels stiff, try 5.5 mm / I-9; if it feels loose and holey, try 4.5 mm / 7.
- Notions: Tapestry needle for weaving in ends, scissors, and a ruler or measuring tape. A stitch marker can help identify the first stitch of a row.
- Substitutions: Use another smooth, washable cotton yarn of similar thickness. A thinner yarn makes a smaller, lighter cloth, while a thicker yarn makes a larger, heavier cloth and may need a larger hook. Acrylic can be used, but it may not absorb water as well as cotton. Check the yarn label and make a gauge swatch if you change yarn.
Stitch Guide & Abbreviations (US Terms)
- ch: Chain. Yarn over and pull through the loop on the hook.
- sc: Single crochet. Insert the hook into the stitch, yarn over and pull up a loop, then yarn over and pull through both loops.
- st / sts: Stitch / stitches.
- turn: Rotate the work so you can crochet back across the row.
The turning chain at the start of each row is for height only and does not count as a stitch. Work the first single crochet into the first stitch of the previous row, not into the turning chain.
Step-by-Step Pattern Instructions
Dishcloth
- Foundation: Ch 31. Keep the chain relaxed so the lower edge does not pull in.
- Row 1: Sc in the second ch from the hook and in each ch across. Ch 1 and turn. (30 sts)
- Rows 2–30: Sc in each st across. Ch 1 and turn after every row, including Row 30. Each row has (30 sts).
Before fastening off, check that the two sides are close to the same width and that the fabric lies flat. If the top edge is noticeably tighter than the foundation edge, your turning chains may be too snug. Fasten off, leaving a tail long enough to weave in comfortably.
Finishing
- Thread the tail onto a tapestry needle. Weave it through the backs of several stitches, change direction, and weave through a few more stitches so it is less likely to work loose.
- Weave in the foundation tail the same way. Trim the ends close without cutting into the fabric.
- Wash and dry the cloth according to the yarn label. Lay it flat, smooth the corners, and measure it once dry. A small difference from the stated size is normal when your gauge varies.
Care & Washing Instructions
- For cotton yarn, machine wash with like colors in warm water, up to 40°C (104°F), unless the yarn label gives different directions.
- Tumble dry on low or air-dry flat; avoid high heat if the label warns that the cotton may shrink.
- While damp, reshape the edges and corners by hand. Follow the yarn label if you use a fiber other than cotton.
Pro Tips & Common Mistakes to Avoid
- Keep the fabric flexible: A dishcloth should bend easily. If you have to force the hook through each stitch, loosen your tension or try a larger hook. Very tight single crochet can make the cloth stiff and smaller than expected.
- Count at the row ends: Check for 30 stitches before turning. A stitch marker in the first stitch can make the row edge easier to spot, especially if you tend to miss the last stitch.
- Watch the turning chain: Chain 1 without pulling it tight, then place the first sc in the first stitch. Treating the turning chain as a stitch will add width; skipping the final stitch will narrow the cloth.
- Change size in measured steps: To make the cloth wider or narrower, add or remove foundation chains while keeping one fewer single crochet than chains. Each extra stitch adds roughly one-third of an inch at the stated gauge. More rows make it longer and use more yarn; estimate extra yarn in proportion to the added fabric.
Frequently Asked Questions
Can I use acrylic yarn instead of cotton?
You can, but the cloth may absorb less water and feel different when wet. Choose a washable worsted-weight yarn, make a small swatch, and check that the fabric is comfortable to handle. Follow the yarn label for care.
How do I make the dishcloth smaller or larger?
Change the foundation chain for width, keeping the stitch count one less than the number of chains. Add or remove rows for length. A larger cloth uses more yarn, and a different yarn weight or hook can also change the measurements.
Is this pattern suitable for a first crochet project?
Yes. It uses only chain and single crochet, with no increases, decreases, color changes, or joining. The main skill to practice is finding the first and last stitch in every row so the edges stay straight.
May I sell dishcloths made from this pattern?
Check the designer’s terms before selling finished items, and write your own product description and take your own photographs. Do not claim someone else’s pattern or instructions as your own.
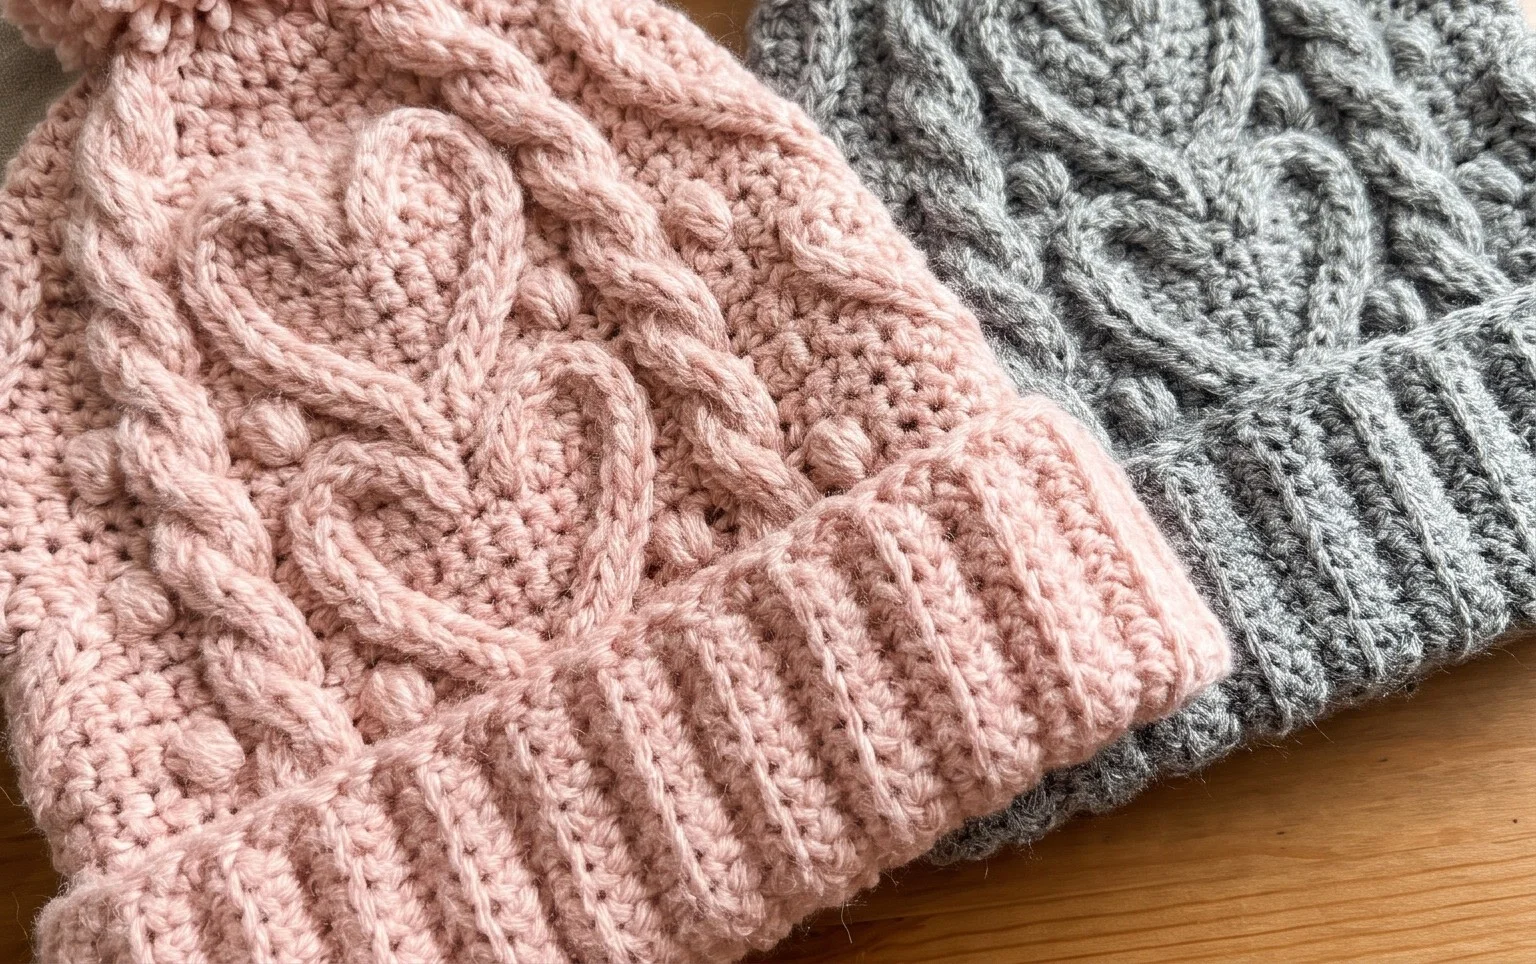
The finished beanie has a warm, textured look, and seeing the woven hearts take shape makes the steady rows feel worthwhile. For a simple variation, use two colors with a clear contrast so the heart motif stands out, or choose a single shade for a quieter finish. Take a photo of your hat in natural light and share it on Pinterest or your favorite social media platform; a close-up will show the raised stitches especially well. If you enjoyed making this project, browse the blog for more free crochet patterns, including useful accessories and giftable pieces to keep your hook busy through the colder months.