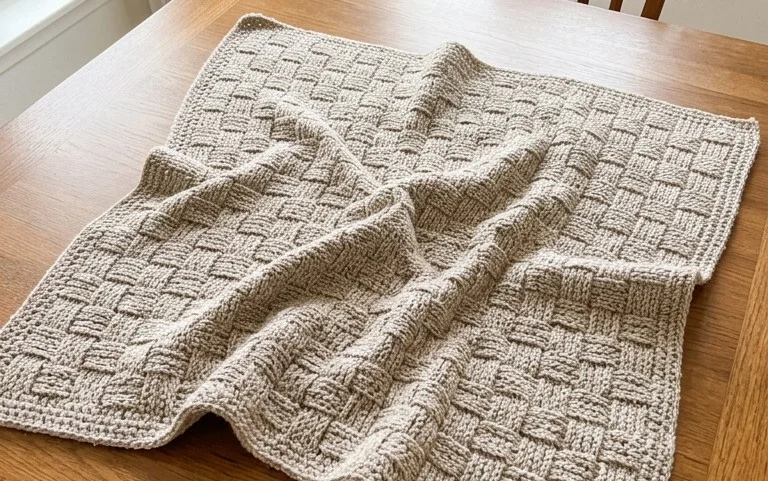
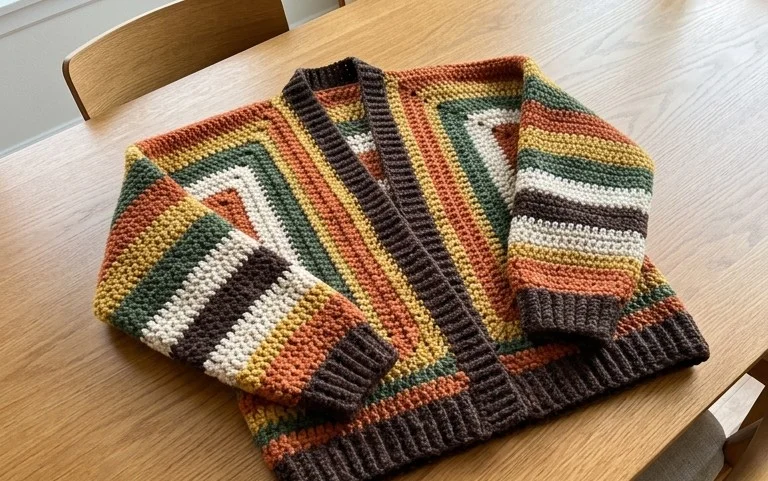
Easy Crochet Puff Stitch Flowers for a Sweet Meadow
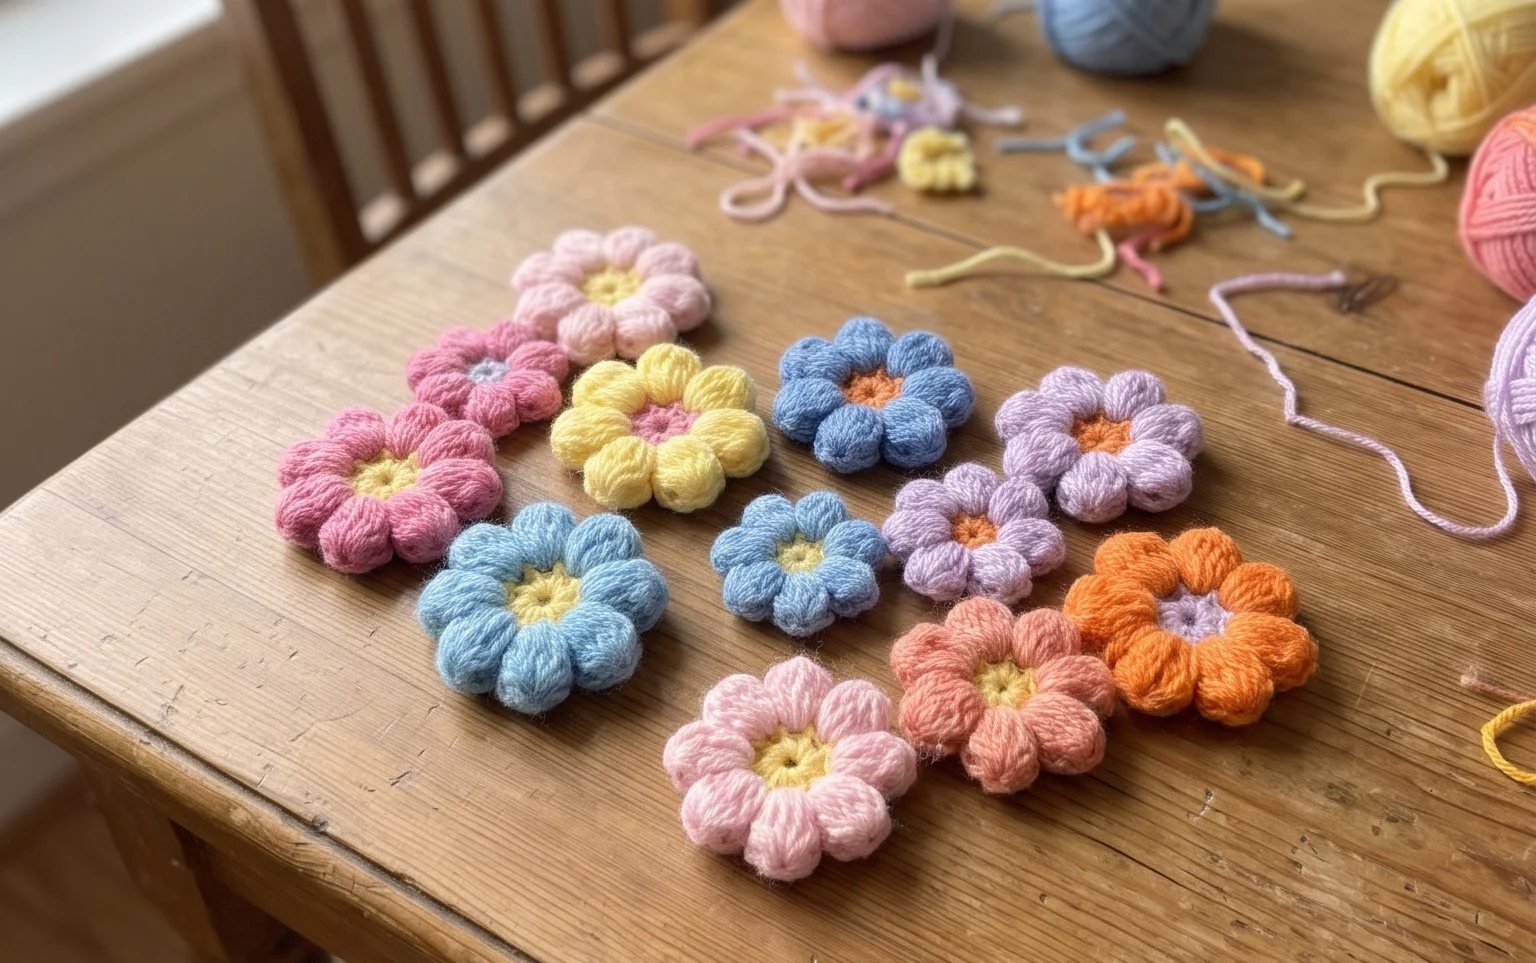
Raised puff-stitch petals give these little crochet flowers a soft, rounded texture that stands out against a simple green background. The finished blooms can be arranged like a tiny meadow, added to a square, or stitched onto a bag, blanket, or handmade card. Beginners can enjoy learning how a puff stitch builds up from a few yarn loops, while experienced crocheters can play with color and placement. This is a satisfying project to work in short sessions because each flower takes shape quickly, and a handful of motifs can turn leftover yarn into something cheerful. You’ll learn how to create the textured petals, keep the flower center neat, and combine blooms in a pleasing layout. Choose cotton for crisp details or a soft acrylic yarn for a lighter, cuddly finish.
Why You’ll Love This Pattern
This crochet square is worked in plain single crochet, so the fabric is firm, flat, and easy to count. Thirty stitches across and thirty rows make a useful 6-inch square that works as a small dishcloth, coaster, or practice piece.
The pattern uses one skein of worsted-weight cotton and has no shaping or complicated joins. It is a good first project for learning to keep row edges straight, and the steady stitch repeat makes it easy to pick up after a break. You can make one square in an evening or use the same instructions to create matching pieces for a set.
The rows were easy to follow, and the cotton square came out flat once I checked my edges as I went.
— Maya, beginner crocheter
Pattern Overview & Skill Level
- Skill Level: Beginner. You need to chain and work single crochet in rows.
- Approximate Time: About 2–3 hours, depending on your pace and how often you check your stitch count.
- Construction: A flat square worked back and forth in rows, starting with a foundation chain. No seams or edging are required.
- Finished Dimensions & Sizing: About 6 × 6 inches (15 × 15 cm) after weaving in the ends, based on the gauge below. Cotton can relax slightly after washing.
Gauge is 20 single crochet stitches and 20 rows across 4 inches (10 cm), measured after gently smoothing the swatch without stretching it. Matching gauge helps the square reach its stated size and keeps the yarn estimate useful. If your swatch is wider than 4 inches, try a smaller hook; if it is narrower, try a larger hook.
Materials & Supplies Needed
- Yarn: About 80 yards of worsted-weight (#4) cotton yarn. One solid color is simplest to manage; a small amount of a second color can be used for a contrasting final row, though it is not needed for this pattern.
- Hook Size: 5.0 mm / H-8 crochet hook. Change hook size if needed to meet gauge.
- Notions: Scissors, a tapestry needle for weaving in the ends, and a ruler or tape measure. A stitch marker can help identify the first stitch of a row, but is optional.
- Substitutions: Cotton is absorbent and holds up well to frequent washing. A cotton-acrylic blend can also work, but may feel softer and less absorbent. Use a yarn of similar thickness and check the label for care instructions. Thinner yarn makes a smaller, lighter square; thicker yarn makes a larger, denser one, and both changes affect the amount of yarn needed.
Stitch Guide & Abbreviations (US Terms)
- ch: Chain. Yarn over and pull the yarn through the loop on the hook.
- sc: Single crochet. Insert the hook into the stitch, yarn over and pull up a loop, yarn over again and pull through both loops on the hook.
- st: Stitch.
- sts: Stitches.
- rep: Repeat.
For each row, make the turning chain loosely and do not count it as a stitch. Work the first single crochet into the first stitch at the base of the turning chain. This keeps all rows at 30 stitches and avoids adding an unwanted stitch at the edge.
Step-by-Step Pattern Instructions
Square
- Foundation: Make 31 chains. Keep the chain relaxed so the bottom edge does not pull in. (31 ch)
- Row 1: Work 1 single crochet in the second chain from the hook and in each chain across. Turn. (30 sts)
- Row 2: Chain 1, then work 1 single crochet in each stitch across. Turn. (30 sts)
- Rows 3–30: Repeat Row 2, checking the stitch count at the end of every row. (30 sts each row)
Finishing
After Row 30, cut the yarn, leaving a tail of about 6 inches (15 cm). Pull the tail through the final loop to fasten off. Thread the tail onto a tapestry needle and weave it through several stitches on the back of the square. Change direction once, then trim the remaining yarn close without cutting into the fabric. Weave in the starting tail the same way.
Lay the square flat and measure it without stretching. If the edges curl, lightly dampen the piece and smooth it into shape. Let it dry completely before using or storing it. A small difference in finished size is normal if your personal gauge varies from the stated gauge.
Care & Washing Instructions
- Wash cotton by hand or in a machine on a gentle cycle with cool or warm water, up to about 40°C (104°F), unless the yarn label gives different directions.
- Dry flat on a clean towel to help the square keep its shape; avoid high dryer heat, which can shrink or roughen cotton.
- While damp, gently reshape the edges and corners. Blocking is optional for this simple square; follow the yarn label if you use a different fiber.
Pro Tips & Common Mistakes to Avoid
- Keep an even edge: Work the first stitch into the first stitch of every row, not into the turning chain. If the sides slope, check the first and last stitch before continuing.
- Count every row: Check for 30 stitches before turning. Place a marker in the first stitch if it is easy to lose track at the row edge, and move it up as you work.
- Mind your tension: Keep the foundation chain looser than your usual stitches, or use a hook one size larger just for the chain. Switch back to the 5.0 mm hook for Row 1. This helps prevent a tight, puckered bottom edge.
- Plan changes in size: For a wider square, begin with more chains while keeping one fewer single crochet than the chain count; add the same number of rows for extra height. Each added stitch and row uses more yarn, so allow extra yardage and check that the finished fabric still feels flexible.
When weaving in ends, pass the needle through the backs of several stitches and change direction once. Pulling the tail too tightly can pucker the fabric, while leaving it very loose can let the end work free during washing.
Frequently Asked Questions
Can I use acrylic yarn instead of cotton?
Yes. Choose worsted-weight acrylic and use the same hook as a starting point, then check the gauge. Acrylic may feel warmer and less absorbent than cotton, so it is better suited to a practice square or a decorative use than a dishcloth. Follow the yarn label for washing and drying.
How can I make the square smaller or larger?
For a smaller piece, begin with fewer chains and work fewer rows. For a larger one, add chains and rows in equal amounts if you want to keep a square shape. Measure as you go, since a change in yarn thickness or personal tension also changes the finished dimensions and yarn use.
Is this pattern suitable for a first crochet project?
Yes. It uses only chains and single crochet, with no increases, decreases, or joining. Take time to count the first few rows and check that the edges remain straight. If a row has the wrong count, undo it to the mistake and correct it rather than carrying the error forward.
May I sell squares made from this pattern?
Check the designer’s terms before selling finished pieces, and follow any limits on commercial use or pattern credit. If you sell the work, describe the yarn fiber accurately and include care information that matches the yarn label.
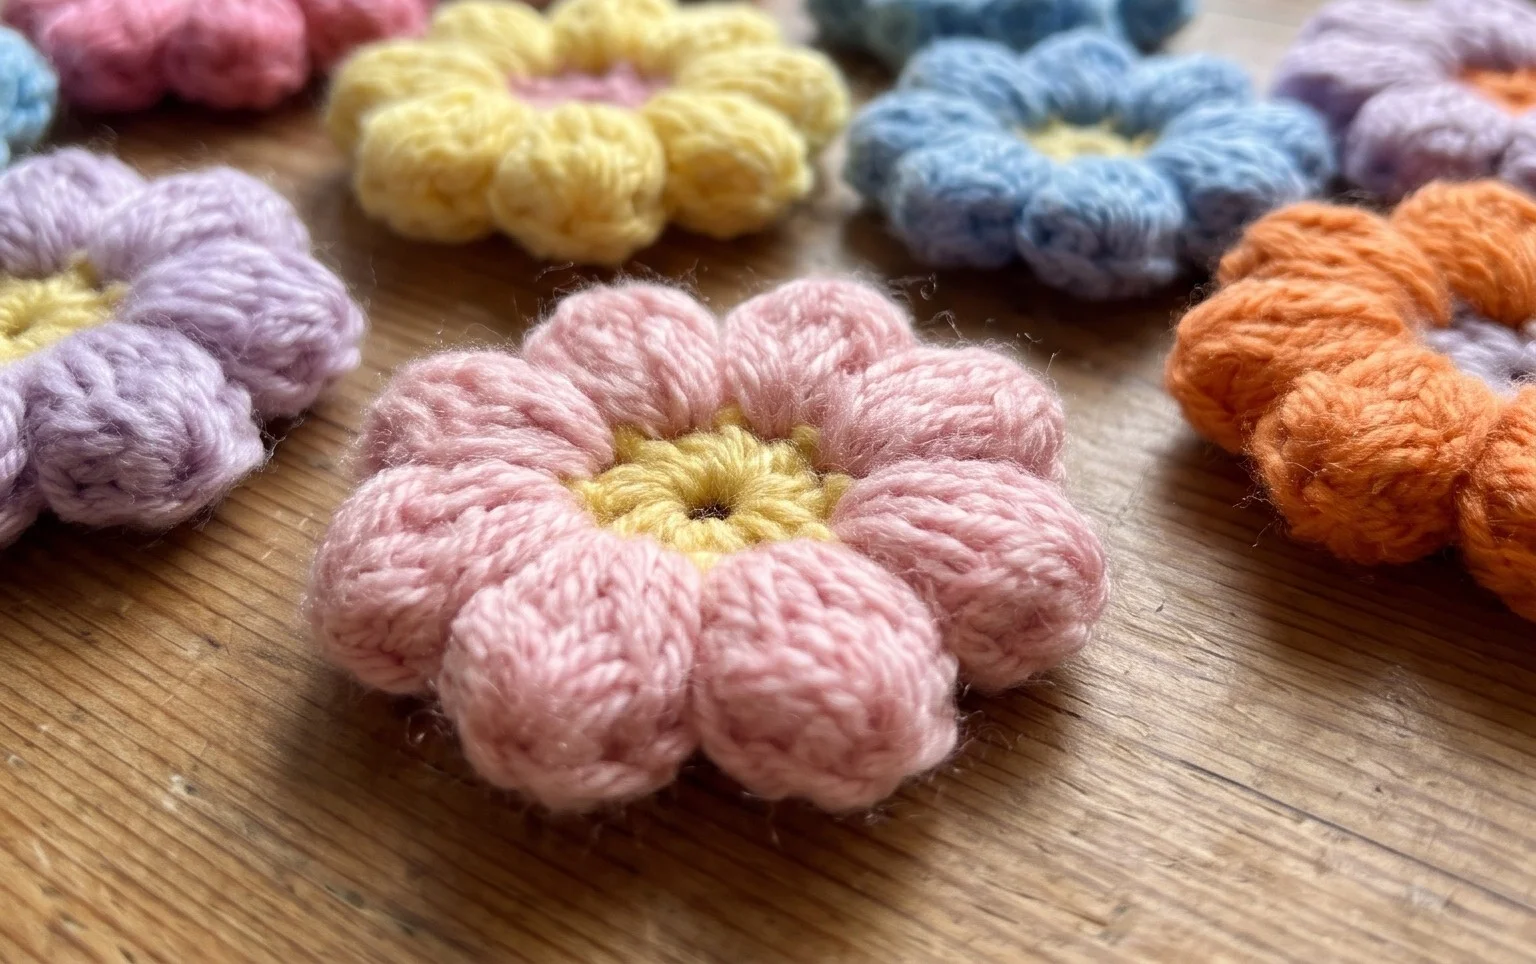
Your little meadow is ready, with raised petals that give each flower a soft, touchable shape and a cheerful handmade finish. For a simple variation, keep the same flower pattern and swap the petal color to make a spring mix, or use one shade throughout for a calmer look. A small amount of contrasting yarn for each center helps the blooms stand out without changing the construction. If you make a set, arrange the flowers before joining or sewing them down so you can adjust the spacing. Share a photo of your finished piece on Pinterest or social media; it’s lovely to see the color choices people make. Then browse the blog for more free crochet patterns to try with your leftover yarn.